P5's Flat Back Side
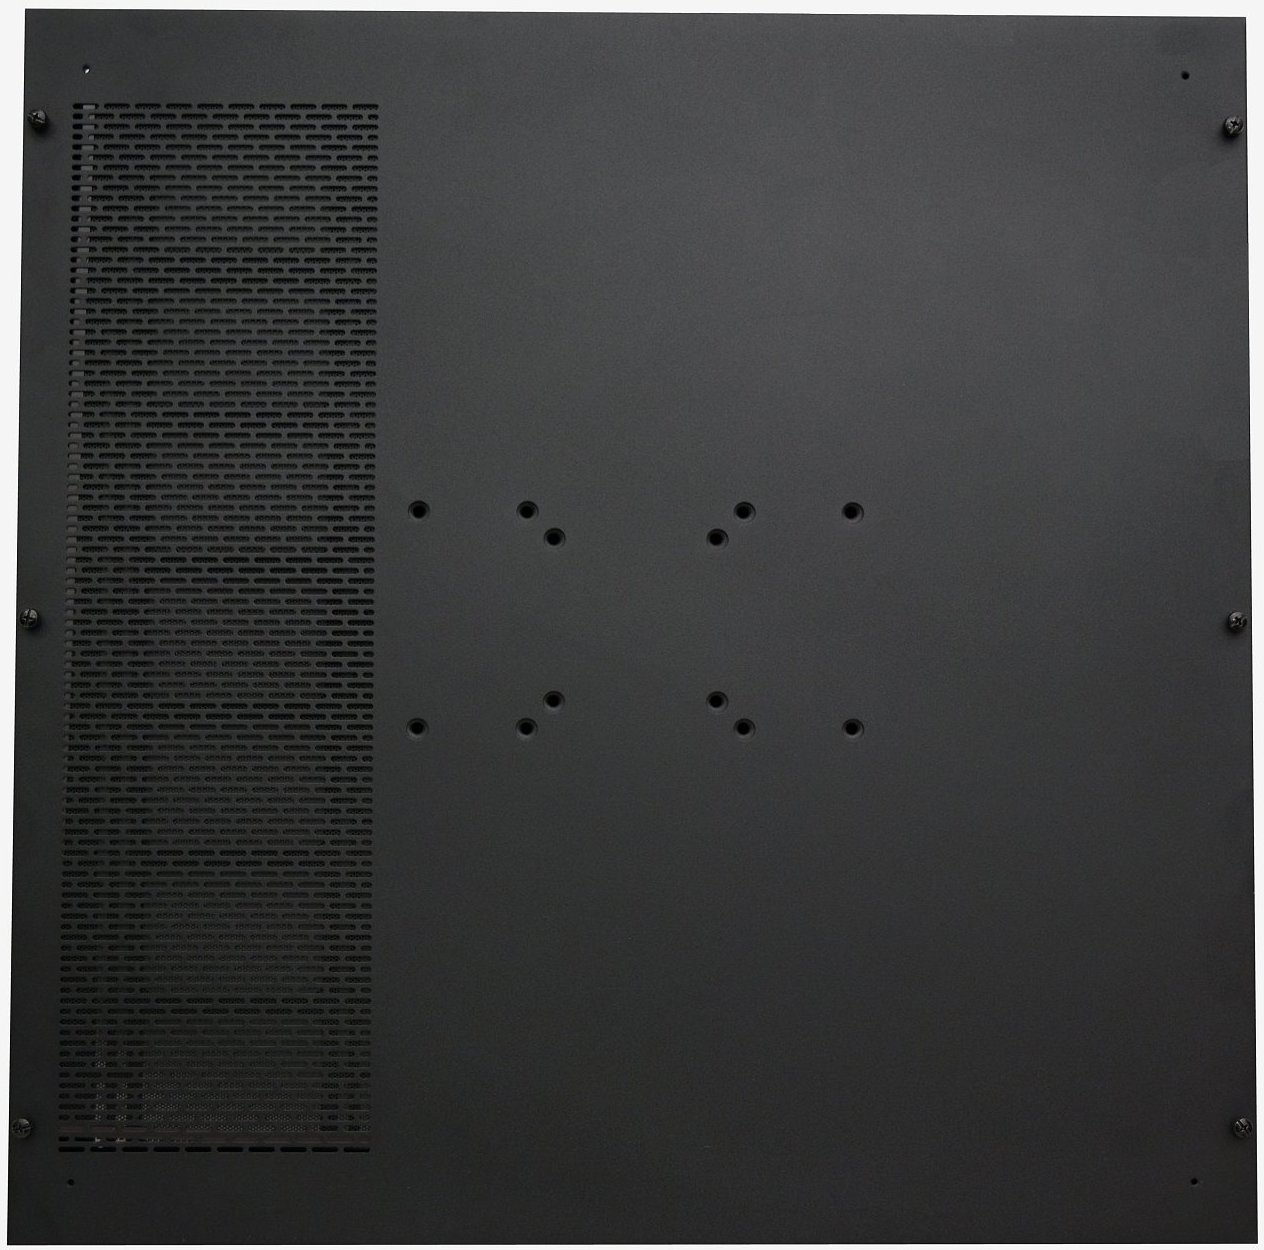
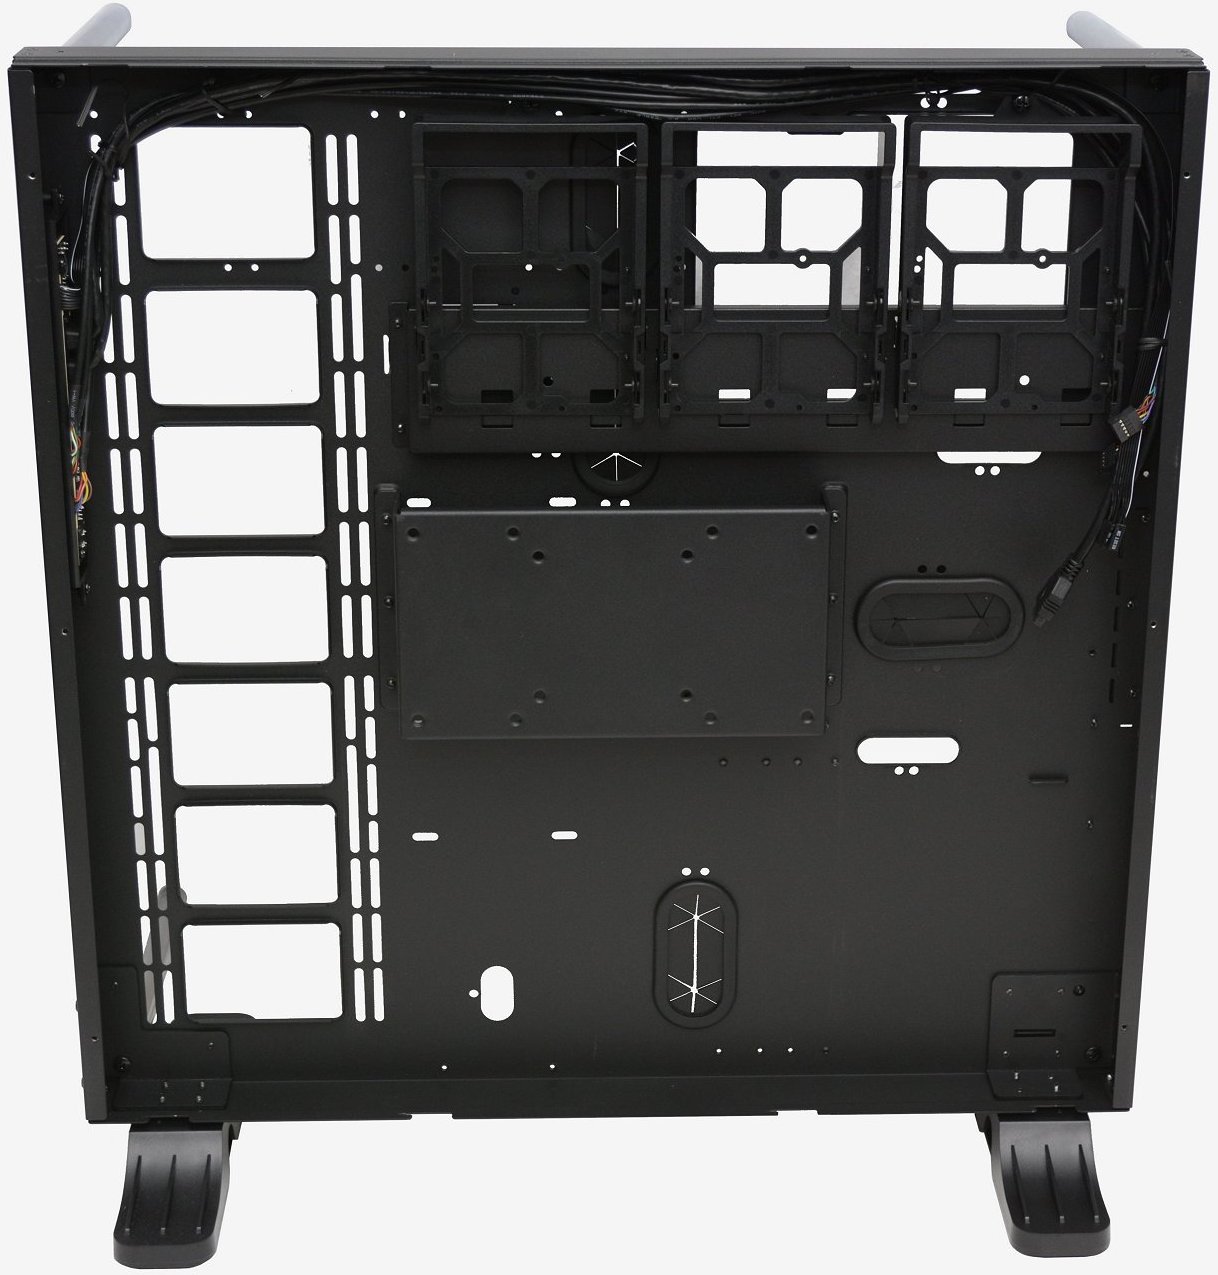
The back of the Core P5 looks a bit like a standard case door and nothing like the rear end of a traditional computer case. The panel itself is removable and provides access to the 50mm wide interior of the Core P5, which is used mostly for cable management, though a few 3.5" drive cages can also be found.
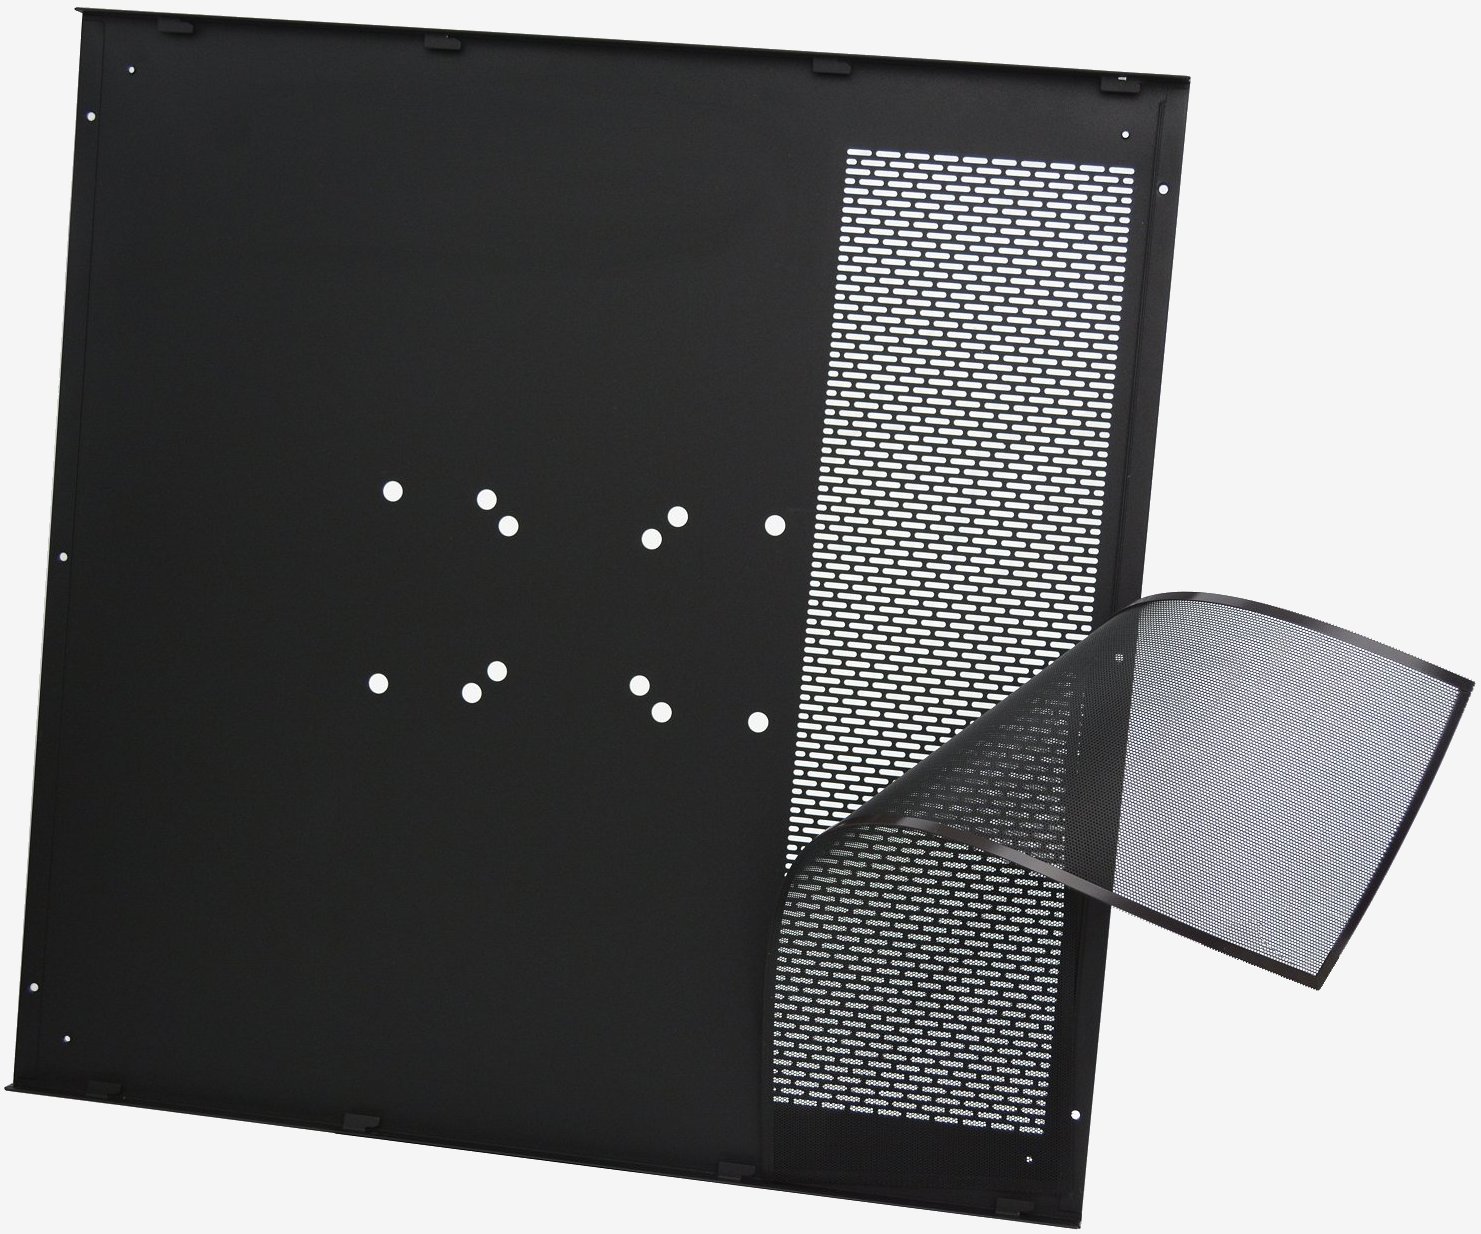
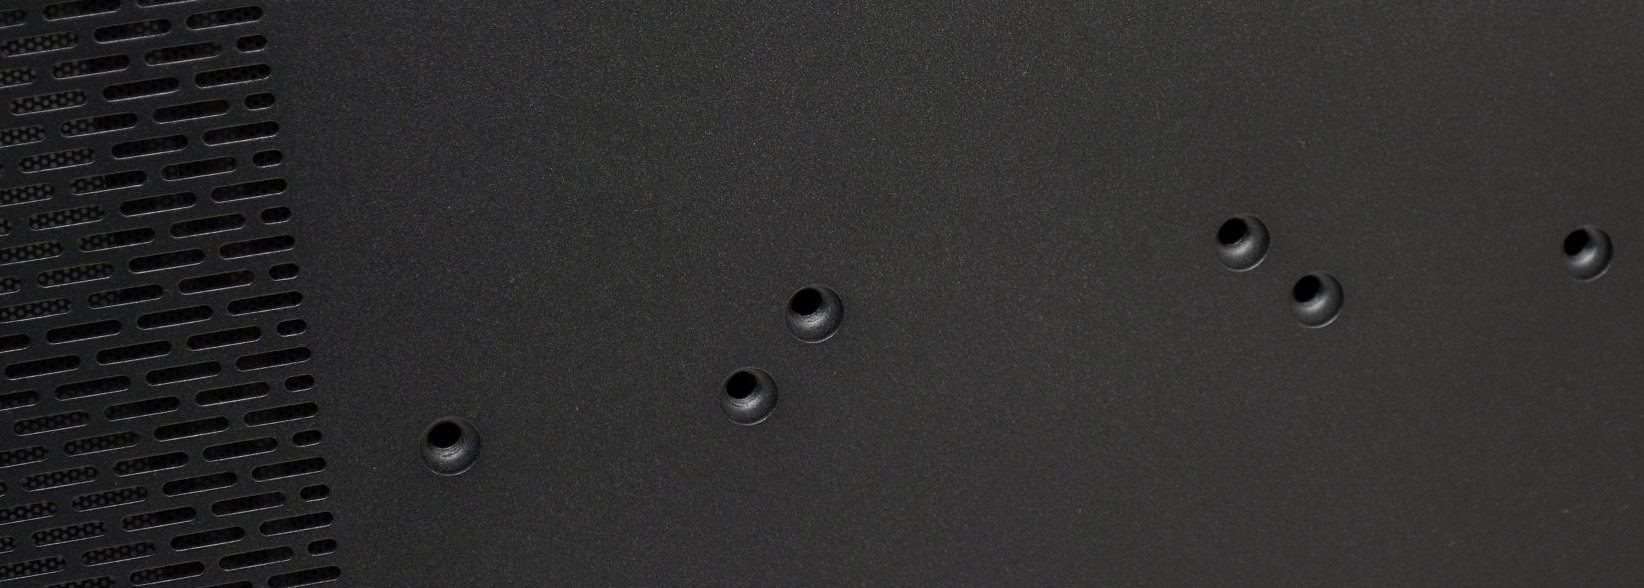
The panel itself is secured using six thumb screws and those wall mounting or laying the case horizontally might want to replace these with flush fitting screws. As expected, at the rear we find a VESA mount and Thermaltake has included plenty of screws for wall runners or brackets. It's a hefty case though, and with water-cooling thrown in too, you'll easily be needing a wall mount capable of 20kg+.
Again we find a long ventilated section which, of course, backs onto the radiator mounting position and behind it is a magnetic dust filter. Somewhat of a concern is the fact that the radiator would be trying to push or suck air though this panel, which when wall mounted would presumably be close to the wall. With the Core P5 already being so wide we imagine most will want to flush mount the case to the wall which will limit airflow quite drastically.
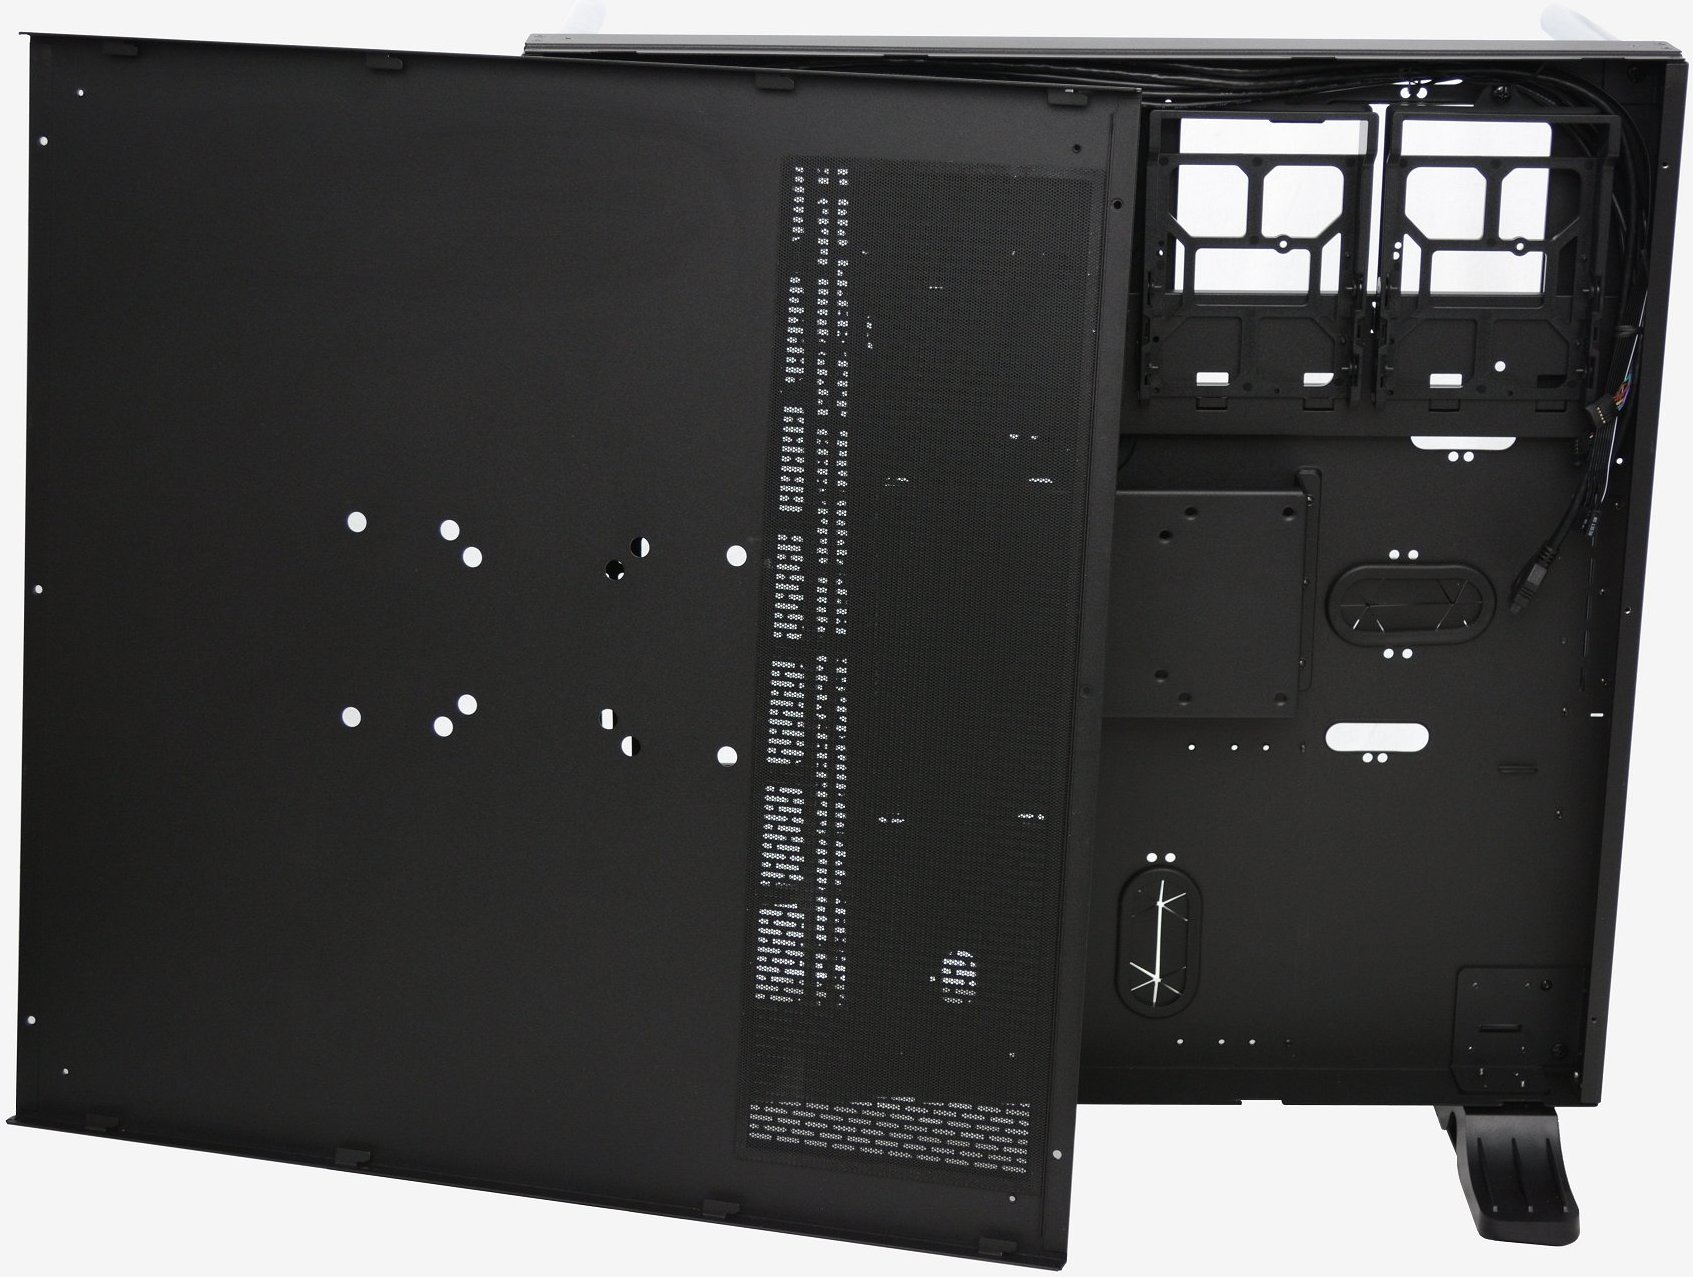
By removing the six thumb screws, the large rear panel can be slid off to reveal the internals of the Core P5. As expected there isn't much going on inside this case as the internal compartment is mostly there to hide excess cabling.
That said, at the top of the case there are three removable drive cages supporting either 2.5" or 3.5" storage devices.
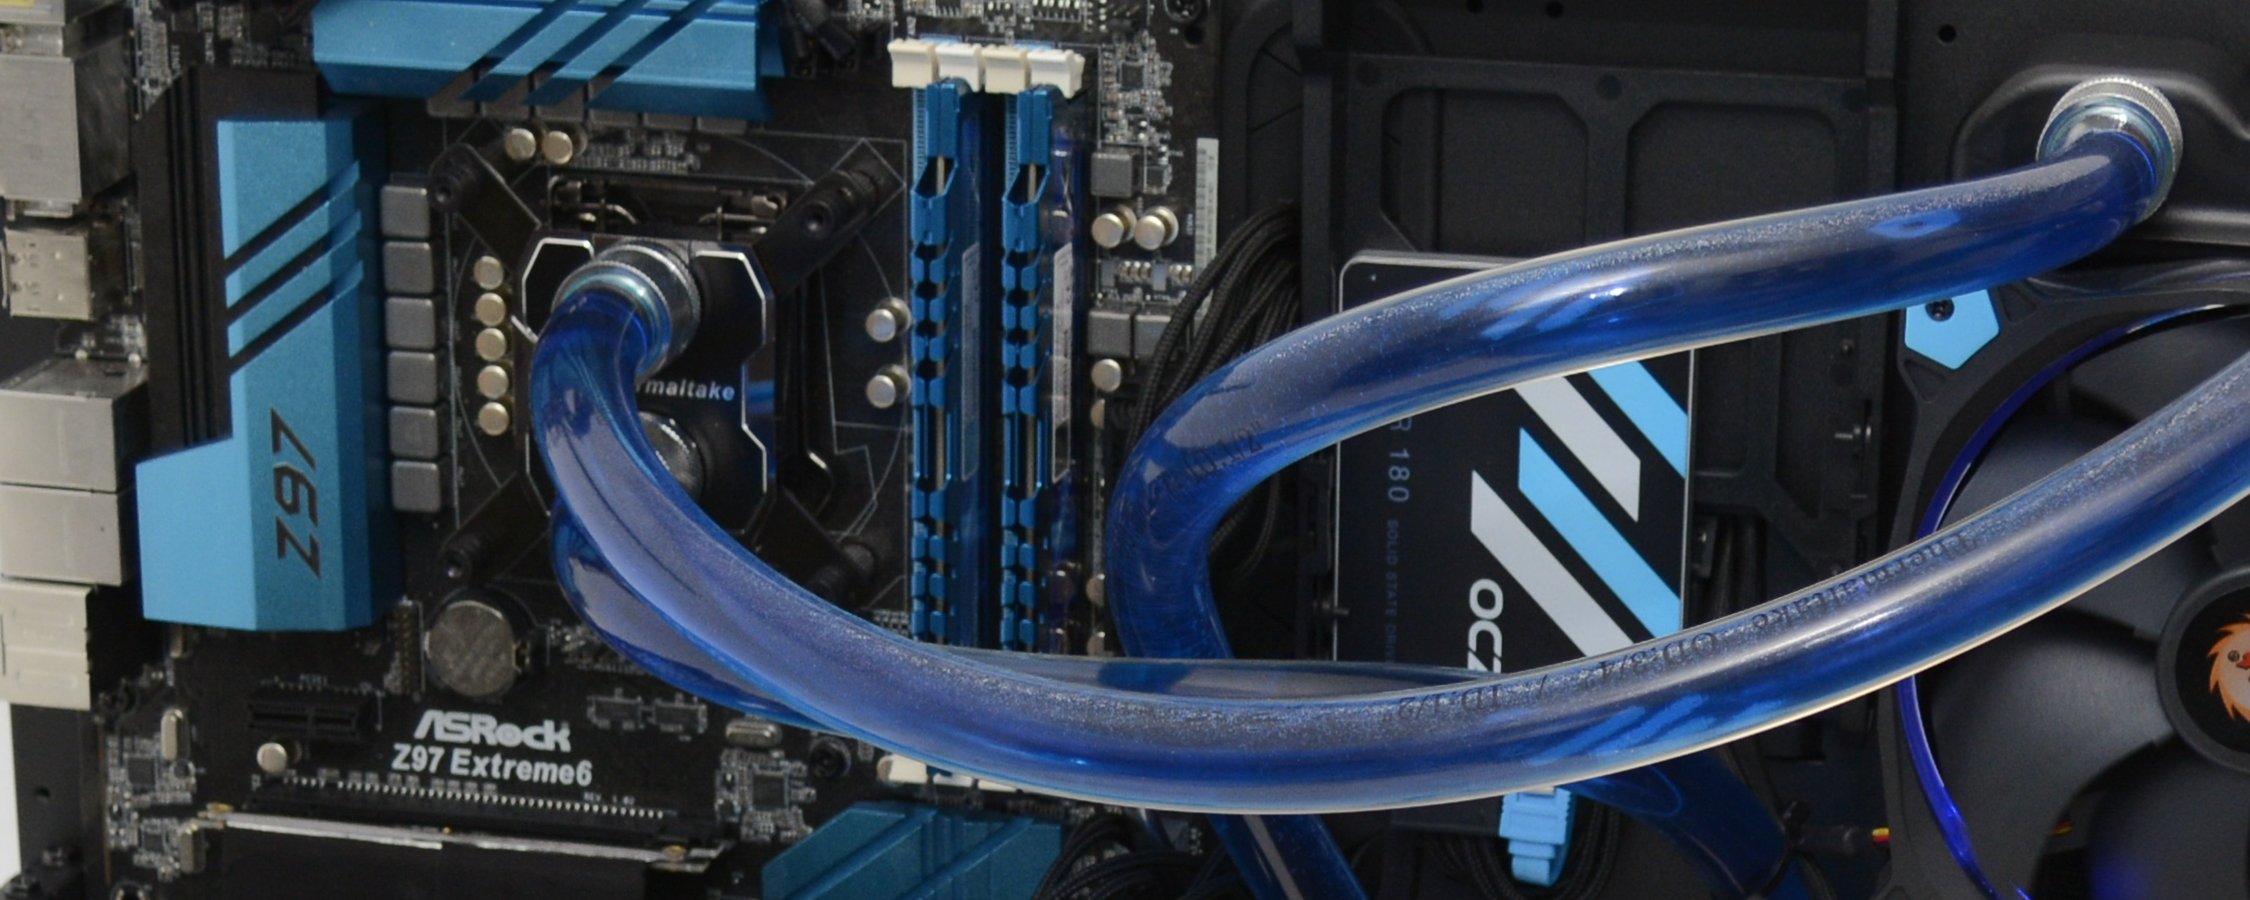
Something annoying about the design was the fact that the drive cages have a large support bracket below that gets in the way. We had to remove it to route the cables and then once again to install the waterblock on the CPU as the rear bracket couldn't be installed.
This is a real pain and we feel there could have been a better solution. The bottom right corner of the case for example is free of clutter and would have been an ideal location to stick at least two of these drive cages.
The VESA mount features enough clearance that it wasn't a real issue and we could easily work around or under it.
Inside the case there are a few pre-routed cables from the front (in this case side) panel connectivity which includes a USB 3.0 cable, USB 2.0 cable and the power/reset buttons along with the activity LEDs. Speaking of which, the front panel gear is crammed into the right hand side panel where it is easy to access and looks quite good.
