Installation Impressions
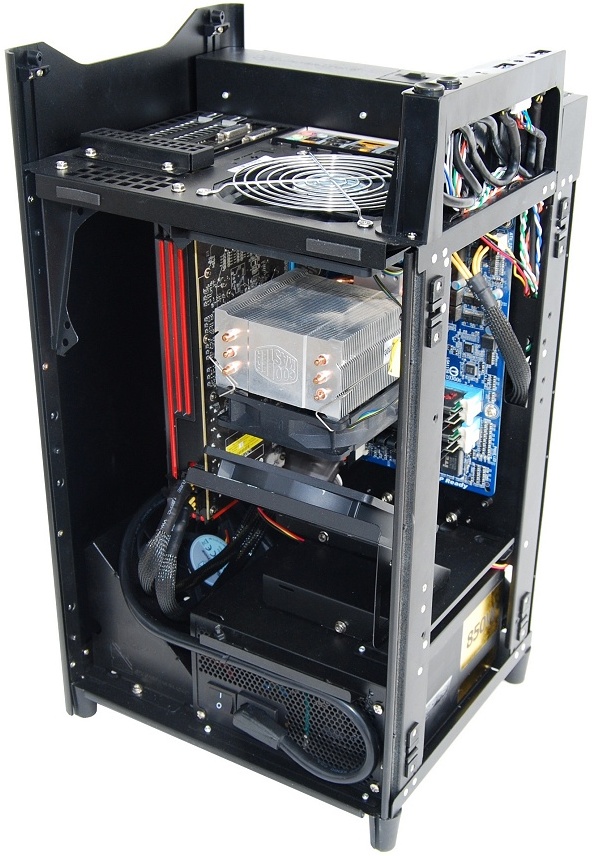
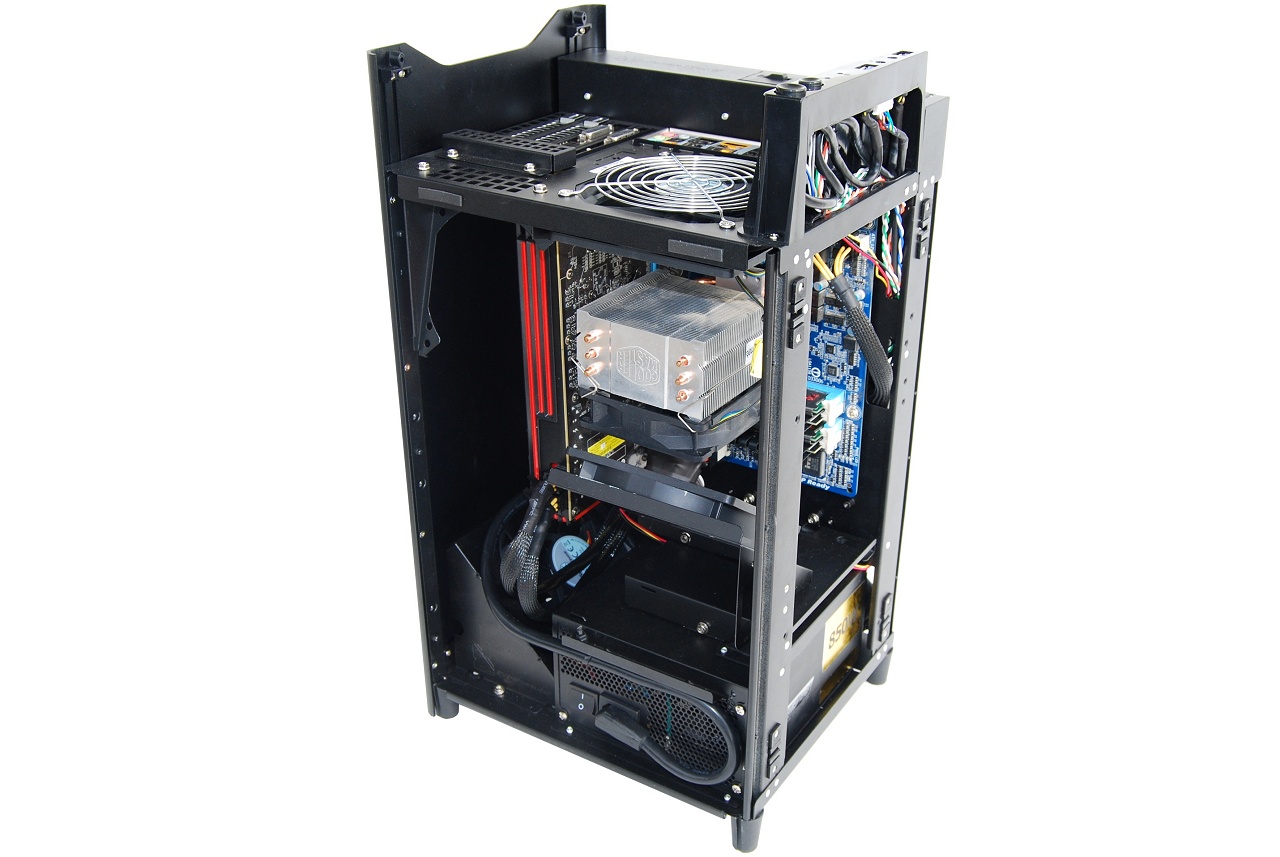
Working with the Silverstone Fortress FT03 is a challenge as you have to determine where everything goes and then how it goes there. We began by installing the motherboard and it seemed apparent that this would be best accomplished by removing the front face and sliding the motherboard in sideways. However, we quickly discovered this was not possible with our tower-style CPU cooler installed as it would hit the chassis skeleton.


The heatsink in question was the Cooler Master Hyper TX3, which measures a relatively petite 5.47" (139mm) tall – a veritable dwarf compared to some of the beefier 6.29" (160mm) models. It is worth mentioning that the FT03 does accommodate CPU coolers as tall as 6.57" (167mm) so you can still use those massive high-end air-coolers (impressively), it just makes the installation process a little trickier than you'd experience otherwise.
With the cooler removed, the motherboard slotted into place fairly easily and we were forced to attach the cooler afterwards. Though it should be noted that when using a processor heatsinks that requires access to the backside of the motherboard for installation, this method is not an option, so keep that in mind. Additionally, if you mount the heatsink prior to the board's installation, you'll have to remove the 120mm motherboard fan.

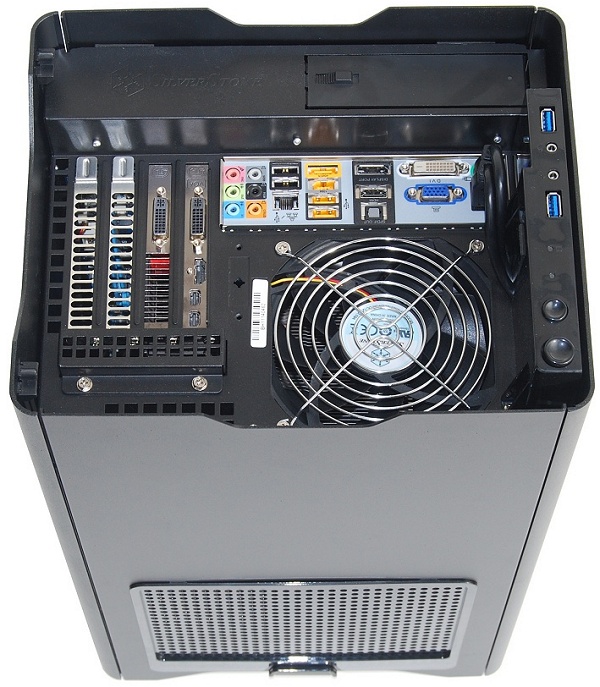
The FT03 supports 13.77" (349mm) long graphics cards, which should be more than ample space for your needs considering the longest gaming graphics card (the Radeon HD 6990) is 12.2" (310mm) long. For testing microATX cases we use the Radeon HD 6870, but to confirm longer cards can be used, we squeezed in a Radeon HD 6970 and a GeForce GTX 580 which wasn't a problem.
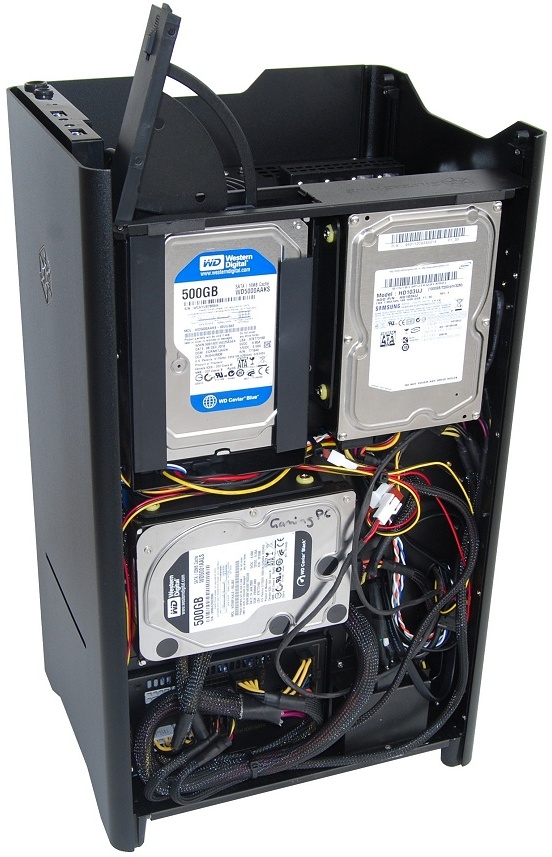
Next we installed the power supply. While our choice was certainly overkill, we chose it for its modular design. The OCZ ZX 850w measures 6.88" (175mm) long, which is just inside the FT03's maximum supported length of 7.08" (180mm). With the PSU secured, we spun the FT03 around. The front panel cables had already been neatly routed through the FT03's cable management system leaving us with plenty of space to install the hard drives.


To install the 3.5" drives, you must unfasten two mounting brackets, each of which are secured via a pair of screws. Once removed, the brackets are fixed to the hard drive and then installed back into the case. This is a fairly slow and fiddly process but it does work. Thankfully, for speedier installations there is the single hot-swap bay. We imagine most of you will use this for external storage, but it could serve as a permanent HDD caddy if desired.


With the hard drives installed we connected the power cables required to bring our machine to life, including a set of SATA cables, a 4-pin power cable, two PCIe 6-pin cables and of course the ATX 24-pin and 8-pin power cables. To complement the fact that we installed a modular power supply for the reduced cable clutter, the FT03 actually makes cable management mandatory. The result was a very clean installation as seen above.
