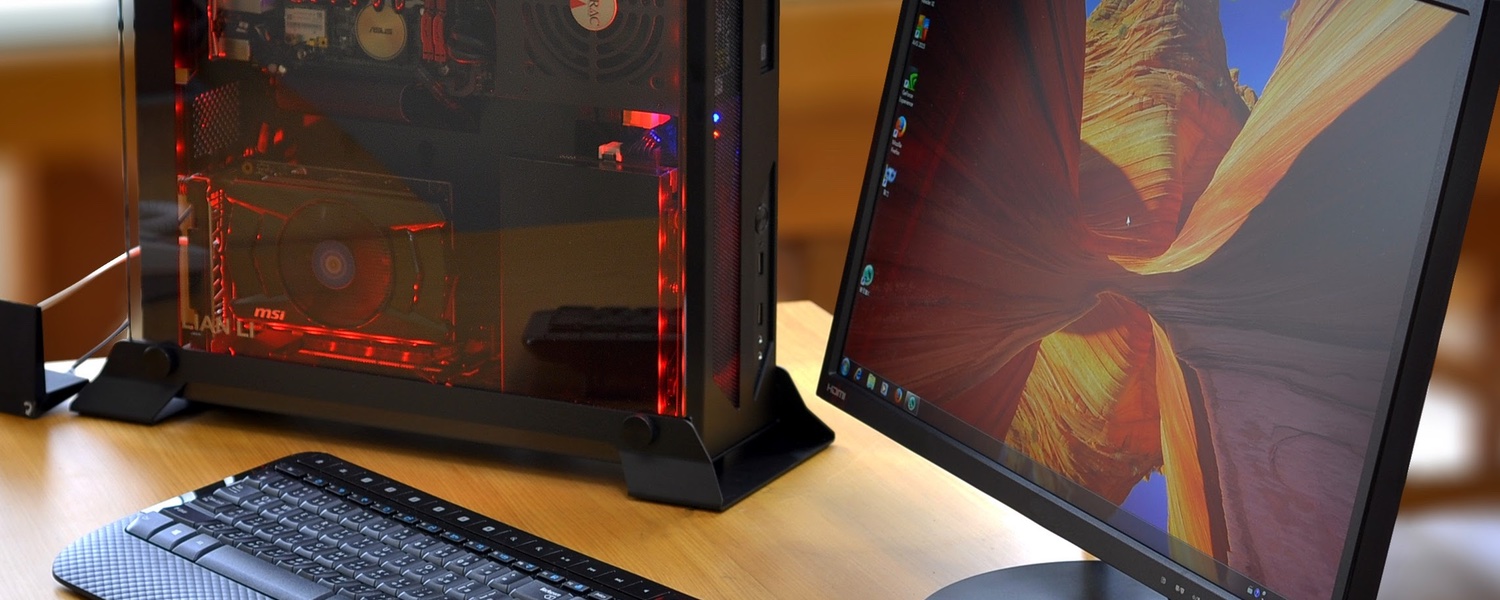
Installation Impressions
For the most part installing hardware into the Lian Li PC-O5S is a breeze, and while there were a few aspects that had me a little confused, I eventually worked it out. As of writing, the case's manual is still a work in progress (consumer release of this case is slated for next February).
As usual I started by installing the Mini-ITX motherboard. I used the Asrock Z97E-ITX/ac coupled with a Core i5-4690K processor. The motherboard tray does have the recommended large cut out area that allows for access to the rear side of the motherboard for installing aftermarket coolers.
Aware of this I held of installing the Silverstone Argon AR05 until after the motherboard was in the PC-O5S. This turned out to be a mistake as the hole in the motherboard tray didn't properly provide access to rear side of the motherboards CPU socket. As a result I had to remove the motherboard in order to install the Argon AR05. This was an annoying discovery but certainly not a deal breaker.
With the motherboard, memory, CPU and cooler installed I moved on to the SFX power supply. The Silverstone SX600-G was our power planet of choice and with a modular design it made installation a breeze.
The first step involves removing two screws from the PSU bracket so that the power supply can be attached to the bracket out of the case. Once that is done it is simply a matter of screwing the PSU bracket back into place with the power supply already attached.
What is odd about this design is that the power supply is installed into the case with no external access. Lian Li hasn't included a short male to female within the case so that connecting the power can be done easily. This kind of design was implemented in the Silverstone SG10, for example. Here you just run a standard power cord into the case which perhaps is not as graceful.
Moving on, the installation process for the 2.5" and 3.5" drives is a little tricky as well. The 3.5" drive cage which supports three drives must first be removed from the case before drives can be installed/removed. This isn't an overly complex process but it requires the removal of the glass panel as well as the rear panel and then another two thumb screws.
Installing the drives on the rear of the motherboard tray is much easier as it only requires the removal of the rear panel and then four screws.
The slim optical drive is installed in much the same way and the cage that supports the optical drive can also be used to house a single 2.5" drive instead if preferred.
Next we have that horizontally mounted PCIe 3.0 x16 riser card which supports 190mm long graphics cards with the 3.5" drive cage installed and 310mm long graphics cards with the cage removed.
For the purpose of testing and taking some photos, I installed a short GeForce GTX 750 Ti graphics card while leaving the drive cage installed, and then a huge Gainward GTX 980 Phantom card with the cage removed. Certainly, something to love about this design is the horizontally mounted PCIe x16 slot that lets you show off the GPU.
As for what we'd like to see changed/improved: the cut out in the motherboard tray, an extension cable to the PSU bracket, and a way to install/remove 3.5" drives from the cage without having to remove both case panels.


