Installation
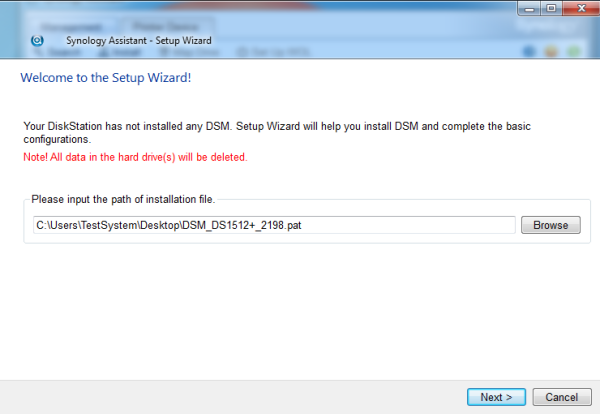
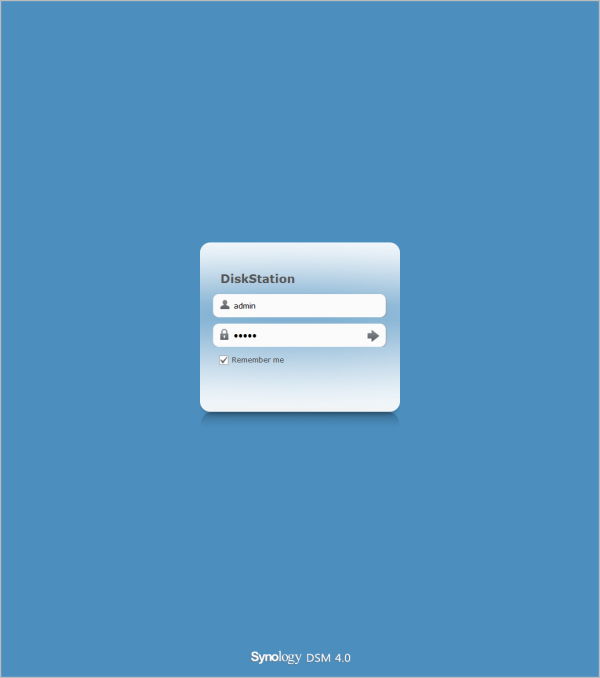
Installing the DS1512+ is as straightforward as it can be: you place drives in hot-swap bays, run the DiskStation Assistant to configure disks and install the operating system, and that's pretty much it. You then gain access to the DiskStation Manager by connecting to the DS1512+ with a web browser.

For the purpose of this review, we installed four Western Digital Blue 500GB hard drives. To really get your money's worth, we'd recommend opting for 2TB or even 3TB drives, giving a total capacity of 10TB or 15TB.

The DiskStation Assistant software comes on a CD, though the latest version as of writing (4.0-2198) can also be downloaded from Synology's website. This build lets you create the Synology Hybrid RAID volume at the first-time DSM installation on your new DiskStation.

The DiskStation Assistant software detects the DS1512+ and lets you install the latest firmware – DiskStation Manager 4.0, in this case.


Creating a volume on Synology's products is often an extremely lengthy process, and it's one of the few gripes we've had. Recent versions of DSM resolve this by letting you skip the check for bad sectors when formatting, creating the volume in minutes, not hours.

To create a volume you must choose the desired drives and volume type, which include Hybrid RAID, Basic, JBOD, RAID 0, RAID 1, RAID 5, RAID 5+Spare, RAID 6 and RAID 10. We configured the DS1512+ with RAID0 for testing, giving us 2TB storage capacity.

Once the volume is created, you're free to configure the DS1512+ as you see fit. The next logical step would be to setup user accounts and privileges. Shared folders can then be assigned, and features such as the Download Station 2 can be initiated. You can also connect a UPS or a printer to the DS1512+.
