TechSpot Features
Original features exploring tech culture, computing history, how-to guides, explainers, and tech trends
Latest Features
-
![TiVo: Binge-Watching Before Streaming]()
TiVo: Binge-Watching Before Streaming
Before Netflix and streaming, TiVo quietly rewired how we watched TV by introducing pause, rewind, and binge habits we now take for granted. This is the story of the box that changed everything. -
![Keeping Score: Has AMD Stopped Screwing Up?]()
Keeping Score: Has AMD Stopped Screwing Up?
A year after calling out AMD's product launch failures, we're revisiting the same 12 mistakes to see if 2025 AMD has finally learned how to get pricing, performance, and features right. -
![Nvidia DLSS 4 at 4K, 1440p, and 1080p: Which Preset is Right for You?]()
Nvidia DLSS 4 at 4K, 1440p, and 1080p: Which Preset is Right for You?
Is DLSS 4 Quality mode still the best choice? We put all three presets to the test at 4K, 1440p, and 1080p to see how Balanced and Performance modes stack up. The results may surprise you. -
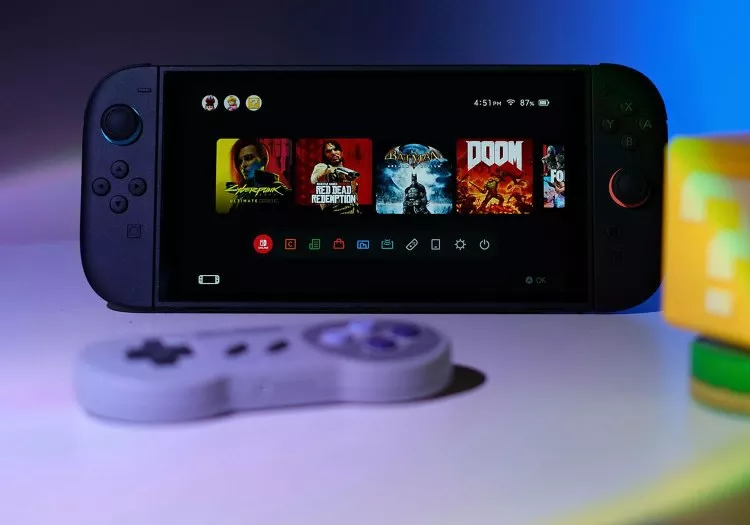
![We Tested the Switch 2 Display - Is It Really That Slow?]()
We Tested the Switch 2 Display - Is It Really That Slow?
The Nintendo Switch 2's display has sparked some criticism for poor motion and questionable HDR. We ran our own tests to see how it stacks up, and found some surprising (and not so flattering) results. -
![Essential Apps to Install on Windows and macOS]()
Essential Apps to Install on Windows and macOS
Just unboxed your new computer? Here's our curated list of essential desktop apps for Windows and macOS to kickstart your productivity and set up the perfect workspace. -
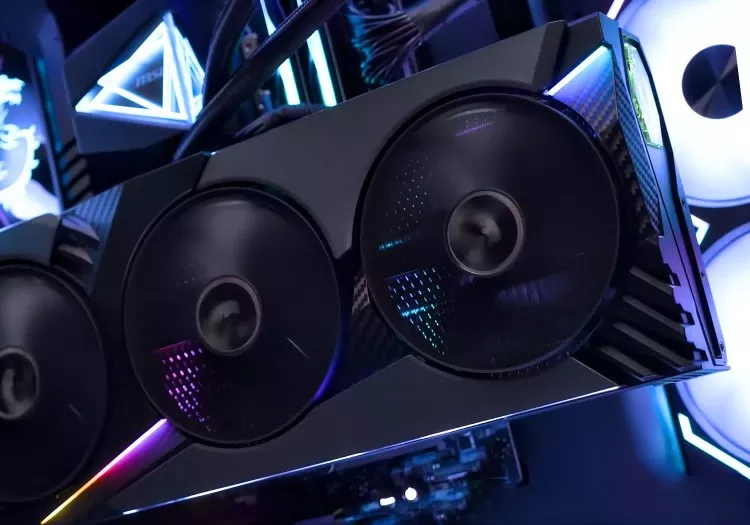
![Cost Per Frame Analysis: The Best Graphics Cards in Mid 2025]()
Cost Per Frame Analysis: The Best Graphics Cards in Mid 2025
If you're buying a new graphics card, our comparison of real-world cost per frame will help you in that pursuit. We have gathered data across 10 countries to see how global pricing stacks up. -
![So... You Want to Become a Penetration Tester?]()
So... You Want to Become a Penetration Tester?
Penetration testing is a key part of cybersecurity: finding and safely exploiting system flaws. Learn the skills, tools, and steps to start your career as an ethical hacker in this growing field. -
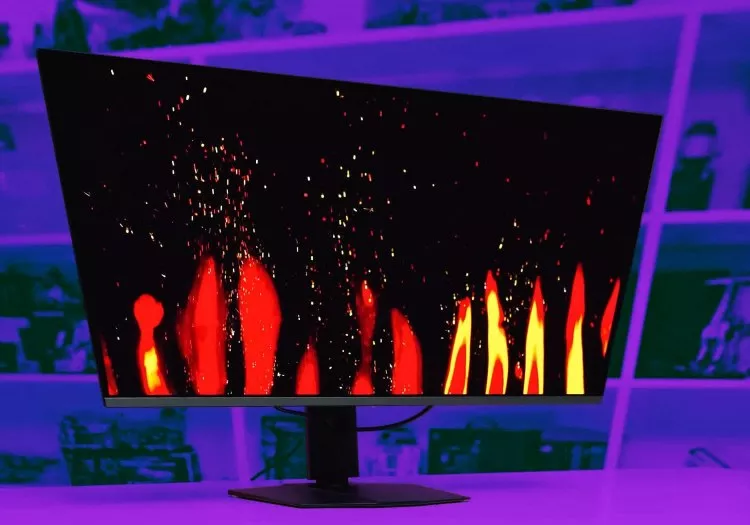
![The OLED Burn-In Test: 15-Month Update]()
The OLED Burn-In Test: 15-Month Update
We're back with another OLED monitor burn-in update! After 15 months of heavy static use on our MSI 4K QD-OLED, it's time to check how the display is holding up under worst-case conditions. -
![The Real Nvidia GPU Lineup: GeForce RTX 5060 is Actually a Mediocre 5050]()
The Real Nvidia GPU Lineup: GeForce RTX 5060 is Actually a Mediocre 5050
Nvidia's RTX 50 series suffers from major shrinkflation. We break down how the RTX 5060 is really a 5050 in disguise - and why its VRAM, pricing, and specs fall short. -
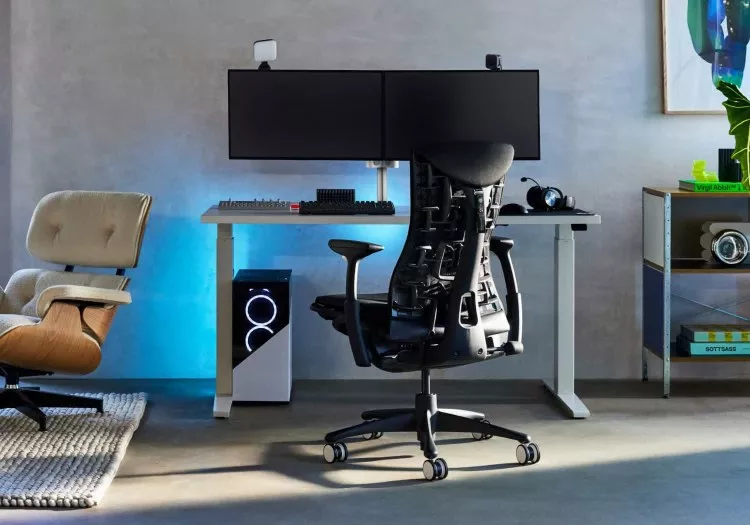
![TechSpot PC Buying Guide: 2025 Update]()
TechSpot PC Buying Guide: 2025 Update
Ready to build a new PC in 2025? Our updated TechSpot PC Buying Guide features four builds for four budgets, covering everything from entry-level to high-end, with smart picks for today's market. -
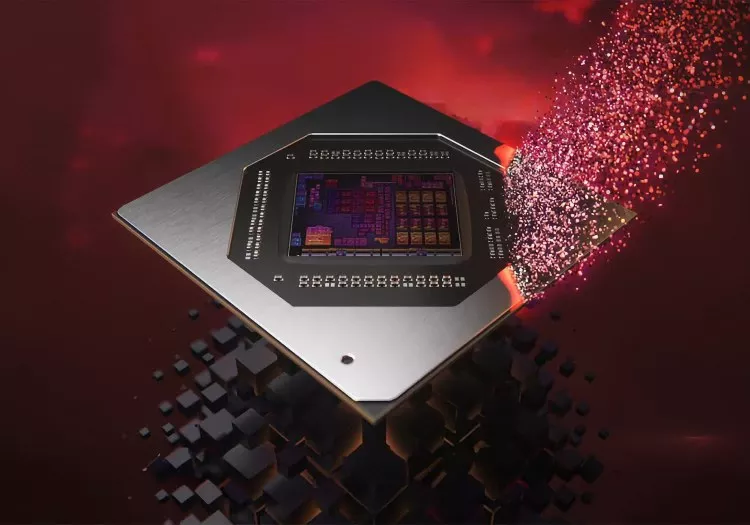
![Fake MSRP: AMD's Radeon 9070 XT $600 Launch Price Was a Fantasy]()
Fake MSRP: AMD's Radeon 9070 XT $600 Launch Price Was a Fantasy
Two months after launch, the Radeon RX 9070 XT is still nowhere near its advertised $600 price. With global supply stabilizing, it's time to examine the real cost of AMD's top GPU across key markets. -
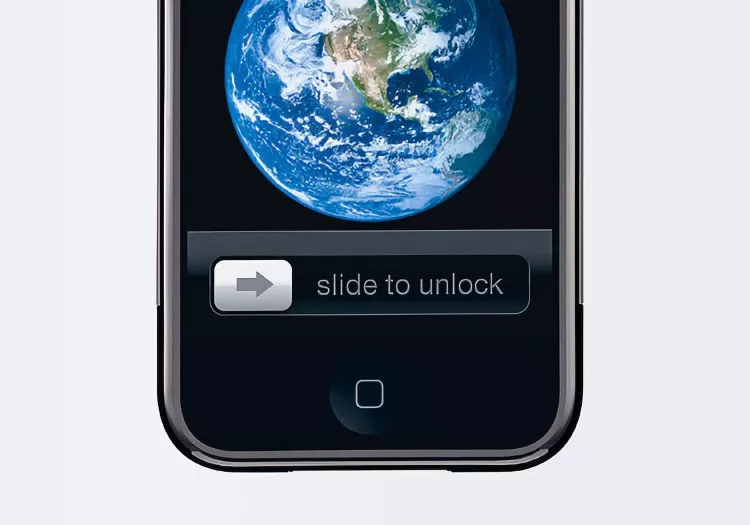
![Apple iPhone: The Gadget That Rewired Modern Life]()
Apple iPhone: The Gadget That Rewired Modern Life
The iPhone redefined technology and culture. More than a phone, it merged music, communication, and the web – transforming not just gadgets, but how we connect and create. -
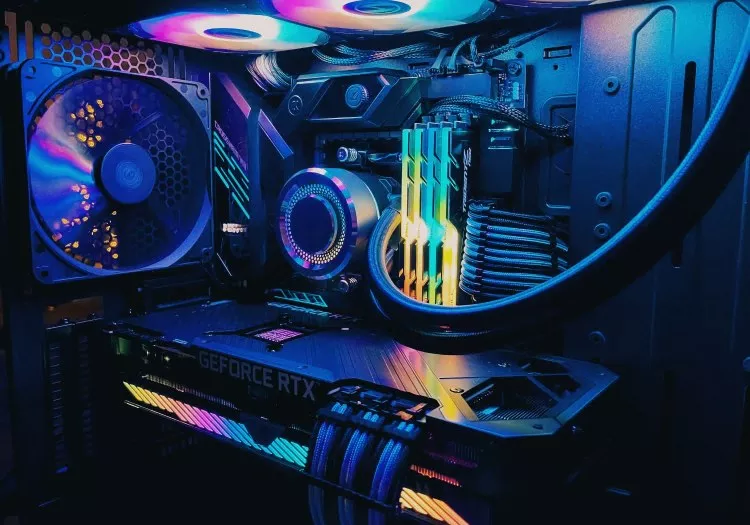
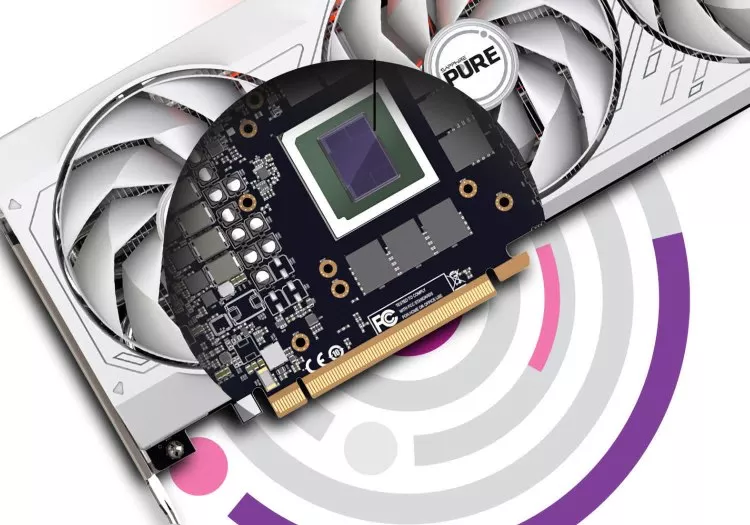
![The Science of Keeping Your Chips Cool]()
The Science of Keeping Your Chips Cool
Every electronic device generates heat, and managing it is key to performance. This article explores the basics of heat, why it's generated, and the cooling methods engineers use to control it. -
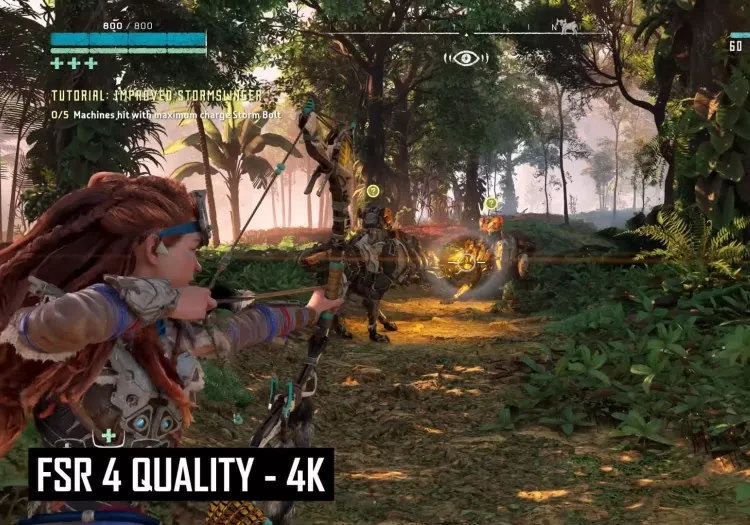
![AMD FSR 4 vs Nvidia DLSS 4 at 4K]()
AMD FSR 4 vs Nvidia DLSS 4 at 4K
After proving its mettle at 1440p, FSR 4 challenges Nvidia's DLSS 4 at 4K. In this deep dive, we test both upscalers on high-res scenes to see which delivers superior image quality and performance. -
![10 Tech Enthusiast Guilty Pleasures]()
10 Tech Enthusiast Guilty Pleasures
We've all thought about it: What would we buy if money were no object? Most people have mental lists of extravagant, unnecessary-but-awesome tech they'd snatch up if they ever hit the jackpot. -
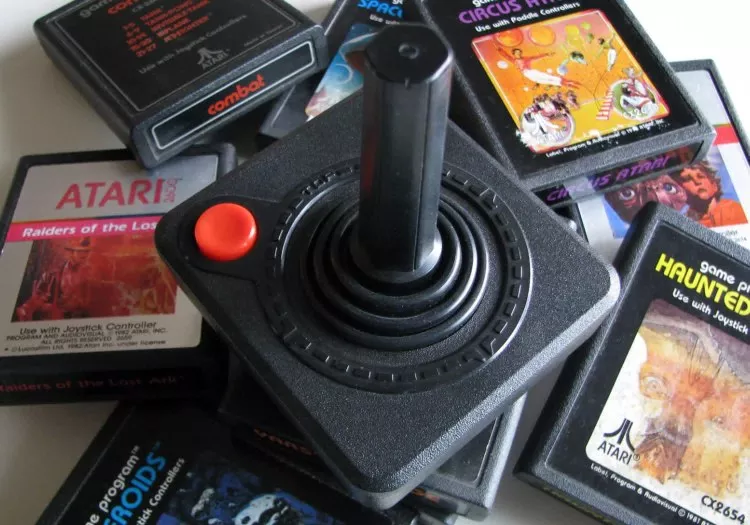
![Atari 2600: The Atlantis of Game Consoles]()
Atari 2600: The Atlantis of Game Consoles
Atari rose like a legend, bringing arcade games home with the 2600 - then fell just as fast. This is the story of a console that shaped gaming history and nearly took the industry down with it. -
![The Most Memorable Overclocking-Friendly CPUs]()
The Most Memorable Overclocking-Friendly CPUs
Enthusiasts have been pushing the limits of silicon for as long as microprocessors have existed. These are but a few of the landmark processors revered for their overclocking prowess. -
![The Machines Calling Balls and Strikes - Baseball Joins the Tech Takeover]()
The Machines Calling Balls and Strikes - Baseball Joins the Tech Takeover
MLB is testing robo umps in spring training, letting players challenge ball and strike calls using Hawk-Eye tech. The system could reach regular season games as early as 2026---but not all are sold. -
![Are Passwords Dead? What Are Passkeys, and Why Everyone's Talking About Them]()
Are Passwords Dead? What Are Passkeys, and Why Everyone's Talking About Them
Tired of forgetting passwords and getting locked out of your accounts? Passkeys offer a simpler, safer way to log in---no passwords, no frustration, just a quick scan or tap on your device. -
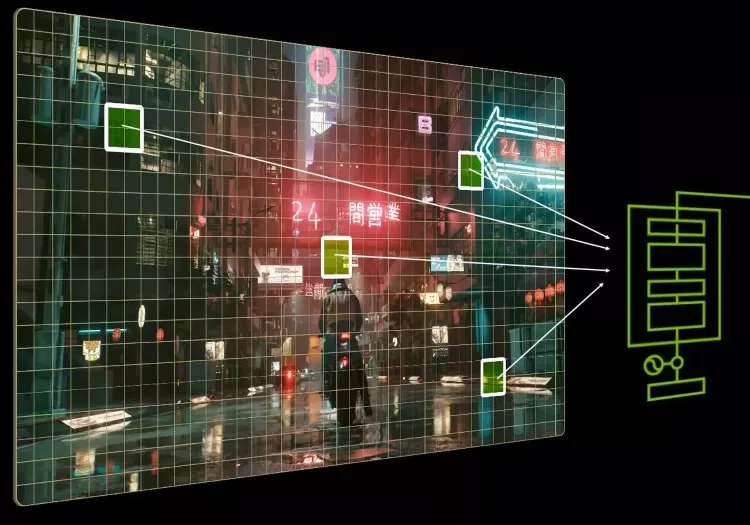
![The Weird World of AI Hallucinations]()
The Weird World of AI Hallucinations
When an algorithmic system generates information that seems plausible but is actually inaccurate or misleading, computer scientists call it an AI hallucination. -
![Cost Per Frame: Best Value Graphics Cards in Early 2025]()
Cost Per Frame: Best Value Graphics Cards in Early 2025
Graphics card prices have become detached from reality, making advertised MSRPs almost meaningless. In this article, we examine real-world GPU prices and reveal which offer the best value. -
![YouTube at 20]()
YouTube at 20
YouTube is now 20, from scrappy startup to $450 billion media giant. Once an afterthought in digital TV debates, it now rivals Netflix, fuels billion-dollar creators, and reshapes entertainment. -
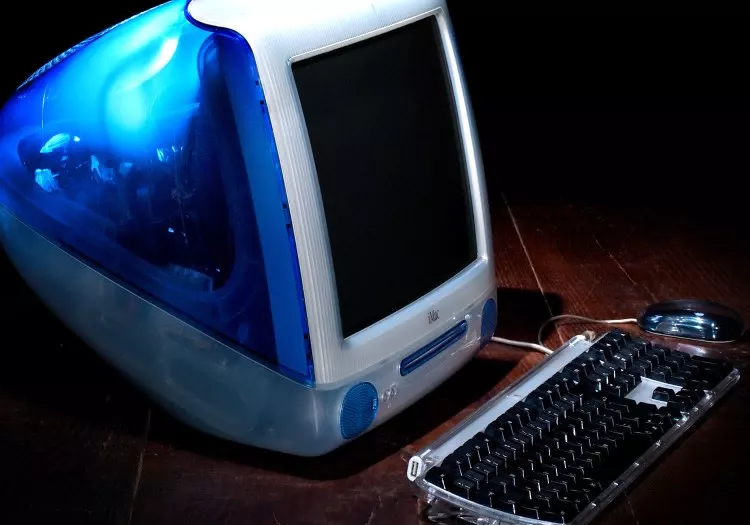
![Apple iMac: The Computer That Saved the Company]()
Apple iMac: The Computer That Saved the Company
Before the iPhone or iPod, Apple's comeback began with the iMac. In 1998, the Bondi Blue desktop revolutionized home PCs, rescued Apple from near bankruptcy, and set the stage for its future success. -
![The State of the GPU: All Fake MSRPs?]()
The State of the GPU: All Fake MSRPs?
The GPU market is a mess: low stock, inflated prices, and allegations of fake MSRPs. Nvidia and AMD's latest GPUs are scarce or overpriced. What's causing this chaos? Let's break it all down. -
![Which iPad Model Should You Get?]()
Which iPad Model Should You Get?
Thanks to class-leading hardware and optimized software, the Apple iPad lineup has long been the go-to tablet recommendation for most people. Now, let's choose the right model for you. -
![AMD FSR 4 is Very Impressive: 1440p Upscaling Tested]()
AMD FSR 4 is Very Impressive: 1440p Upscaling Tested
AMD's FSR 4 aims to close the gap with DLSS, bringing AI-powered upscaling to Radeon GPUs. With 1440p gaming in focus, can FSR 4 match or surpass DLSS? We analyze its image quality and performance. -
![The OLED Burn-In Test: One Year Later]()
The OLED Burn-In Test: One Year Later
After 12 months of heavy productivity use, our 4K QD-OLED monitor faces the ultimate burn-in test. With no gaming or content consumption, has it survived, or is it now a burnt-out mess? -
![DLSS 4 Upscaling at 4K is Actually Pretty Amazing]()
DLSS 4 Upscaling at 4K is Actually Pretty Amazing
The most interesting side of Nvidia's new RTX 50 series is not the GPUs themselves, not even close, it's DLSS 4 upscaling that steals the spotlight with a new AI model and much improved image quality. -
![How CPUs are Designed, Part 4: Where is Computer Architecture and Design Headed?]()
How CPUs are Designed, Part 4: Where is Computer Architecture and Design Headed?
Yes, transistors are smaller, CPUs are ever faster, but we're seeing diminishing returns. Learn about 3D integration, FPGAs, chiplets, accelerators and near memory computing. -
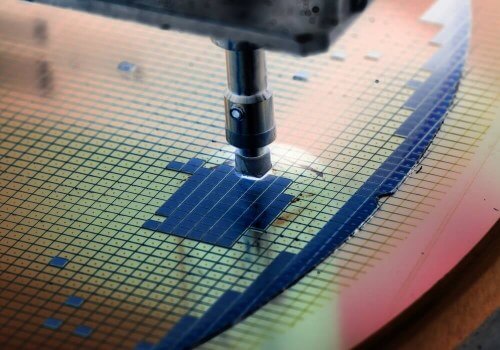
![How CPUs are Designed, Part 3: Building the Chip]()
How CPUs are Designed, Part 3: Building the Chip
How the physics of transistors work, how components are built in silicon, and how they are connected to create useful chips? How do you transform a pile of sand into an advanced processor?


No products matched your criteria.
Try refining your search or go back to the popular listing.