
It's hard not to be intrigued by Bitcoin, the peer-to-peer digital currency devised by the mysterious Satoshi Nakamoto (presumably a pseudonym). The Bitcoin network went online in early 2009 as the first truly successful attempt at creating virtual money, though it earned little attention until last year when the currency's value jumped from $13 to $1,000 on public exchanges like BTC-E.
Many who mined early and actually kept their haul suddenly realized they were millionaires. Others kicked themselves for not jumping in sooner but one thing was clear: everyone wanted in on the action – and not necessarily to get rich quick. For hardware enthusiasts like me, it's just another opportunity to build and optimize a system, though I wouldn't complain about making a few bucks in the process.
There are two ways to get into Bitcoins: buy them or mine them. Mining Bitcoins takes a lot of effort (processing power) to create (mine) new currency. The underlying process behind mining is extremely complicated so for the sake of brevity, I'll skip most of the in-depth stuff and instead break it down into layman's terms. If you want the long version, I recommend reading this article by Michael Nielsen or watching this:
Essentially, processing power is used to solve complex math problems and miners who complete them first are rewarded Bitcoins. Early on, traditional desktop CPUs were used to solve these problems but as more people got into mining, more processing power was needed to achieve similar payouts. People quickly realized that GPUs could solve these problems at a 50 to 100 times faster rate than CPUs.
Despite boosting mining speed, GPUs proved less than ideal because of their power draw and resulting heat. Bitcoin miners eventually transitioned to FPGAs (Field Programmable Gate Arrays), which brought a five-fold improvement to consumption levels. By mid-2012, FPGAs lost appeal with the arrival of fully functional application-specific integrated circuit (ASIC) systems, today's standard for Bitcoin mining.
Needless to say, Bitcoin mining is now a serious endeavor and unless you're prepared to compete with professional mining operations like this guy, don't waste your time. Fortunately, however, Bitcoin's success has spawned many other virtual currencies, with nearly half a dozen deemed "major" cryptocurrencies on Wikipedia. Of those, Litecoin is among the most popular alternative to Bitcoin.

As its name suggests, Litecoin is based on Bitcoin's technology but differs in that it targets a faster block rate and uses scrypt as the proof-of-work scheme when mining. Unlike the Bitcoin network, which can only ever have 21 million coins, the Litecoin network will allow for 84 million coins to exist once they're all mined. To use a common analogy, people say Litecoin is the silver to Bitcoin's gold.
With the network still in relative infancy, Litecoin mining is still financially viable and is still best done using traditional desktop graphics cards because ASIC Litecoin miners don't exist (yet).
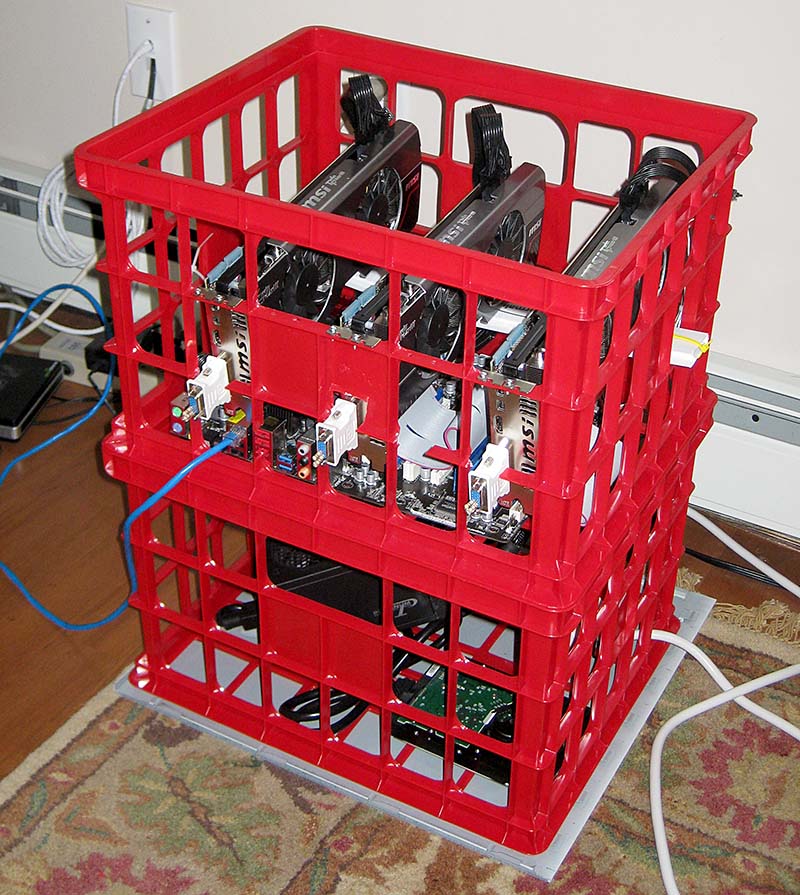
If you're looking to treat virtual coin mining as a hobby, Litecoins are probably the best bet right now and we'll show you how to get started with choosing and configuring the hardware and software you'll need. Also note we are aiming this article to PC enthusiasts who likely have spare hardware around, separating our project from milk crate builds, this seems like the most logical approach for us to get started.
Preparing the Hardware, Building a Litecoin Miner
Before you start building from scratch, I recommend taking inventory of your spare components. It also can't hurt to see if your friends or family have old parts. As a hardware enthusiast, I already had access to a case, retired hard drives (solid state drives are a waste here), an old optical drive as well as a spare keyboard. I also got an AMD Sempron 140 from a friend. As you'll soon learn CPU performance is mostly irrelevant.
GPUs are what matter if you want to mine Litecoins. The Litecoin Hardware Comparison Wiki offers a great comparison of mining performance but here's the short of it: forget about Nvidia and set your sights on AMD's Radeon R9 series. You'll get the best performance from a 290x card but it's also the most expensive. The 7950 is another popular choice but they're harder to come by with their age.

The R9 280x is currently regarded as the most popular choice for Litecoin mining in terms of price versus performance. Unfortunately, between holiday shoppers and coin miners buying up the R9 series, you can expect to pay a $100+ price premium than when the cards first launched. For a month or so, it was virtually impossible to find cards in stock at any major online retailer, but the market isn't quite as dry now.
I bought two 290x GPUs and a single 280x from three different manufacturers – not because I wanted different brands, but it's all I could get my hands on at the time. Specifically, I'm using a HIS 290x, another 290x from Sapphire and a PowerColor 280x. The two 290x cards are essentially identical as both are reference designs with AMD's cooling solution while the 280x has an aftermarket heatsink.

Surprisingly, most mining tutorials suggest putting your hardware in a plastic crate and cooling it with a box fan, but that didn't work for me at home. The case (or milk crate) you select will determine the capacity of your miner. I used Cooler Master's Cosmos II – partly because it's my favorite chassis but mostly because it's what I had on hand. Plus, it's a huge case and that means more GPUs fit.
With three R9 series cards in my miner, I opted for a motherboard with four PCIe x16 slots (Gigabyte's GA-990FXA-UD3). While your choice in memory isn't particularly important – I bought two 4GB sticks of Crucial Ballistix memory because it was on sale – you'll definitely want to research power supplies, compare the advertised wattage and 12v rail output with what your GPUs need.

- AMD Sempron 140 + retail heatsink
- Gigabyte GA-990FXA-UD3 mobo
- 2x4GB Crucial Ballistix 1866MHz RAM
- 400GB hard drive
- HIS Radeon R9 290X
- Sapphire Radeon R9 290X
- PowerColor Radeon R9 280X
- x16 to x16 PCI Express riser cable
- SilverStone ST1500 PSU
- Cooler Master JetFlo 120mm + NMB 120mm fans
- MediaLink Wireless-N USB adapter
- Cooler Master Cosmos II
- Windows 7 64-bit
I went for SilverStone's ST1500, a 1500W, 80 PLUS Silver unit. Aside from meeting my power needs, the ST1500's modular design is useful for maximizing airflow. I've had good luck with SilverStone PSUs over the years and this model proved no different. Whatever you do, don't skimp here. Get something rated for more than you'll need. You might be surprised at just how much power three high-end GPUs require.
These parts aren't necessary, but I found them worth buying. I picked up a single PCIe x16 riser cable to space out the cards as much as possible for cooling. I also bought the Tripp Lite UltraBlok Isobar protector, a Medialink Wireless-N USB adapter (Ethernet is fine, wireless was just more practical at my place), and a Kill-A-Watt electricity usage monitor to see exactly much power your miner is drawing.
Installation and Cooling Tips
After stripping it down, I upgraded the Cosmos II's preinstalled fans. I initially replaced the stock 200mm intake fan with a Spectre Pro from BitFenix which supposedly moves more air at 148.72 CFM @ 900 RPM. It was a letdown, however as the fan felt like it barely moved any air and as the main fan supplying air to the graphics cards, it wasn't enough.
I replaced BitFenix's fan with a 120mm x 38mm model 4715KL-04W-B49 from NMB – taken from a Dell tower server. What's more important than a specific fan recommendation here is noting that the noise of your chassis fans should be a secondary concern to their airflow, not least because your GPUs will likely be louder than any other fans, so don't be discouraged from using one with a high dBA rating.

Along with a second NMB fan (120mm x 25mm rated at 92 CFM) exhausting air from my GPUs out the left panel, I used three Cooler Master JetFlo 120s as top intakes, another as a rear exhaust, one in the front bottom as an intake and two more to blow air into the lower chamber for the power supply (picture below). This may not be an "ideal" layout on paper given that hot air rises, but this isn't a traditional build either.
I arrived at this configuration after countless hours of trial and error. Short of removing the side panel and using a box fan to flood the case with air, it's the best possible layout given the hardware and cooling I have on hand. If you can't keep temperatures under control with case fans, you can trim a few degrees off the top by replacing the GPU's stock thermal paste.


Keep in mind that if you're using a high-power fan, you'll want to attach it directly to your power supply instead of a motherboard header or a low-power fan controller to avoid damaging either.