Step 3: Install Windows 7 + Tips
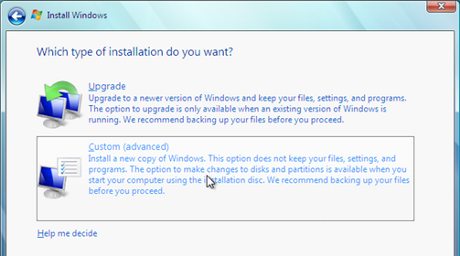
With the Windows 7 DVD in your optical drive, reboot and "press any key" to boot from the disc when prompted. The installation wizard that will greet you is pretty straightforward. Despite that, there is one critical thing to note:
Make absolutely sure that you choose the "Custom (advanced)" installation option, so you're able to select the freshly created partition. Be careful, you run the risk of installing over your old operating system along with all of your data if you select the wrong partition.

After defining all configuration parameters Windows will continue on with the installation process for roughly 15-30 minutes and then prompt you for more basic input.
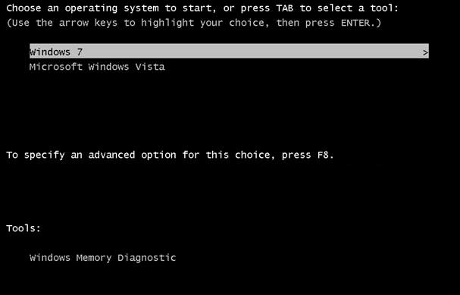
Pat yourself on the back! You've successfully installed Windows 7 alongside your previously existing instance of Windows and you'll be able to check out Microsoft's most recent operating system.

Make sure you shutdown/reboot your PC from within Windows cleanly if you're having issues when attempting to alter your partition with GParted.
Can't boot off the GParted or Windows 7 disc?
Take a look in your BIOS and ensure that your boot sequence is configured properly. You'll want the optical drive to take precedence over your hard drives so you can boot off the CD.
Want to undo your dual boot configuration?
Read our guide for Removing a Windows 7 partition. While aimed at users running beta versions of Windows you can potentially follow the same guidelines as explained in that article to remove your older XP or Vista installations in favor of a new Windows 7 installation as well.
Tips and Tricks
Check our full list of guides and tips & tricks for Windows 7 in our guides section.