Sony Vaio PCG-K13 keyboard problem

Status
Not open for further replies.
I have a sony vaio pcg-k13 that I need to replace a keyboard on. I already have the keyboard, but i'm not sure how the keyboard hood removes. I can't find any screws on the bottom of the unit that I think would be for the hood...does it just pop off? Please help! I don't want to make things worse..

jeepman
 
I too have a Sony K series laptop and wish to get inside in order to get get all the dust out - I assume this is the reason for steadily increasing fan noise over the past year. I've undone all the screws with arrows, and the top plastics come loose however there appears to be soemthing holding it in place in the centre. I expect you have experienced this. I too cannot see any screws for the keyboard hood, and whilst it does feel loose, there are indentations on the keyboard side which
I suspect you are expected to use to prise it off. But is it a question of brute force? I do not want to be the one to find out and risk breaking anything! I have taken a few keys off the keyboard to try and find a screw; however it was in vein, there are no screws where it appears to be held in place.

Do you think unsticking the rubber pads at the four corners of the screen, which I strongly suspect will yeild screws to take the plastics of the screen apart, will help?

Please let me know if you have any progress in this matter.
 
Removing the screws around the screen will not help.
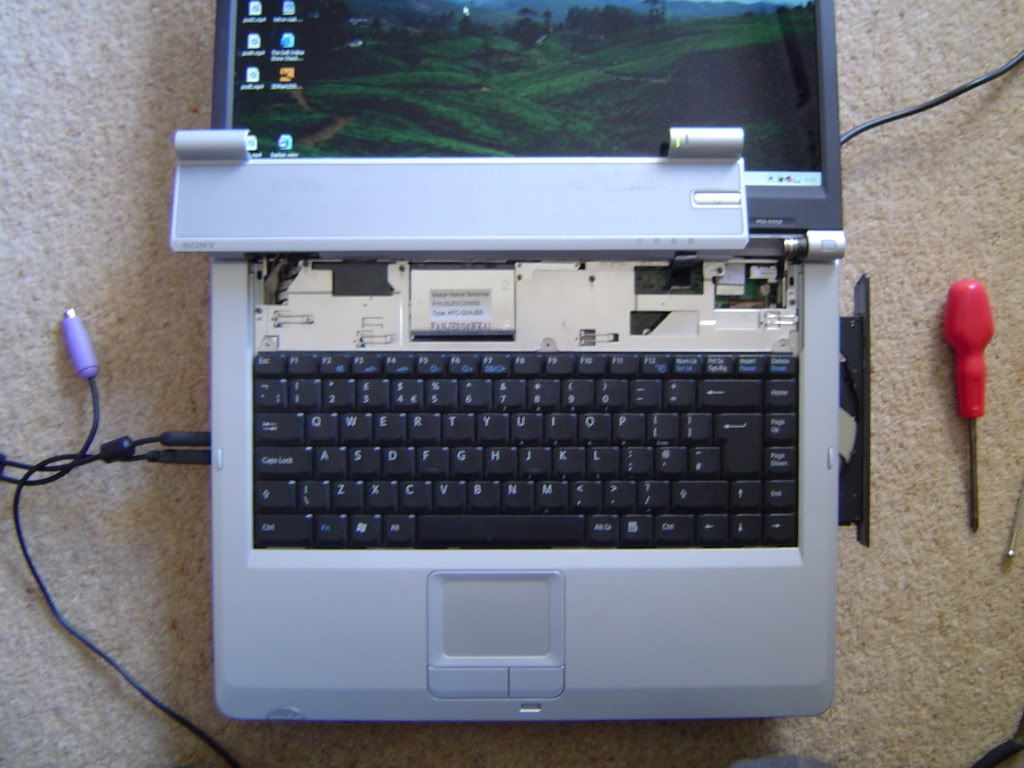
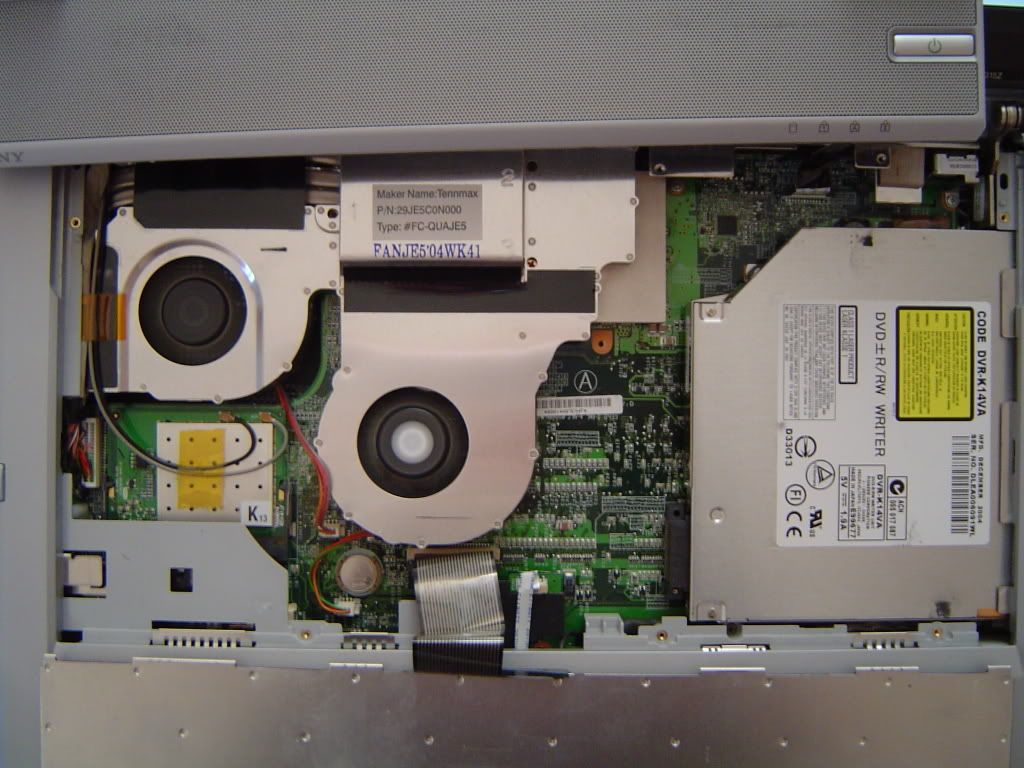
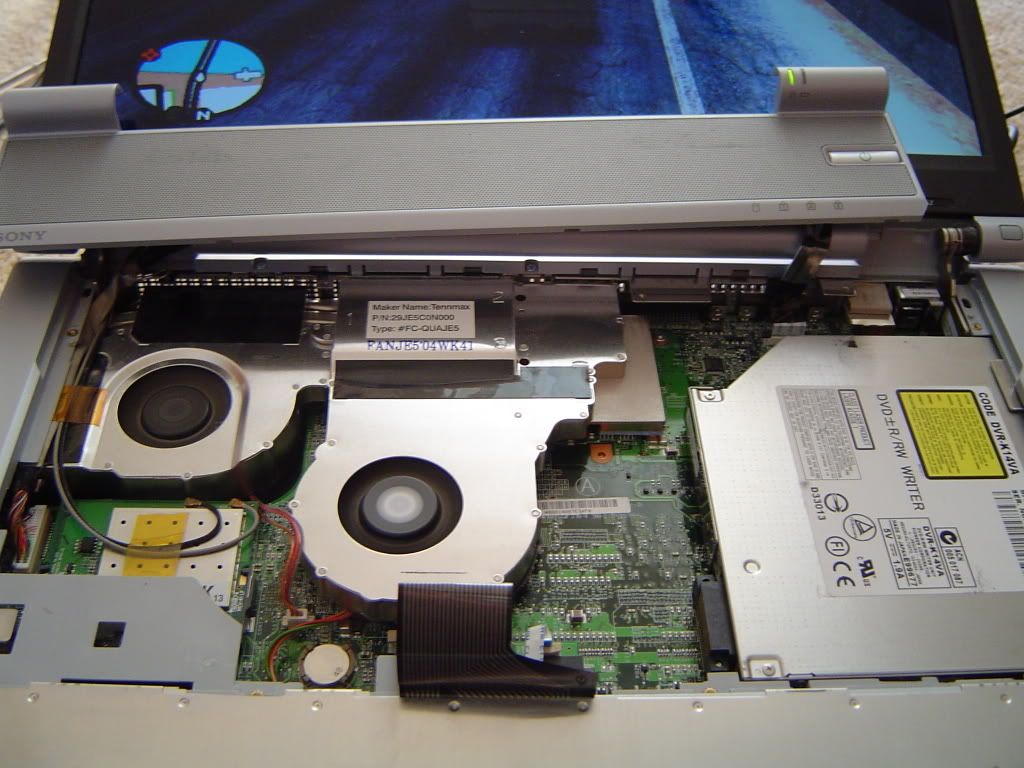
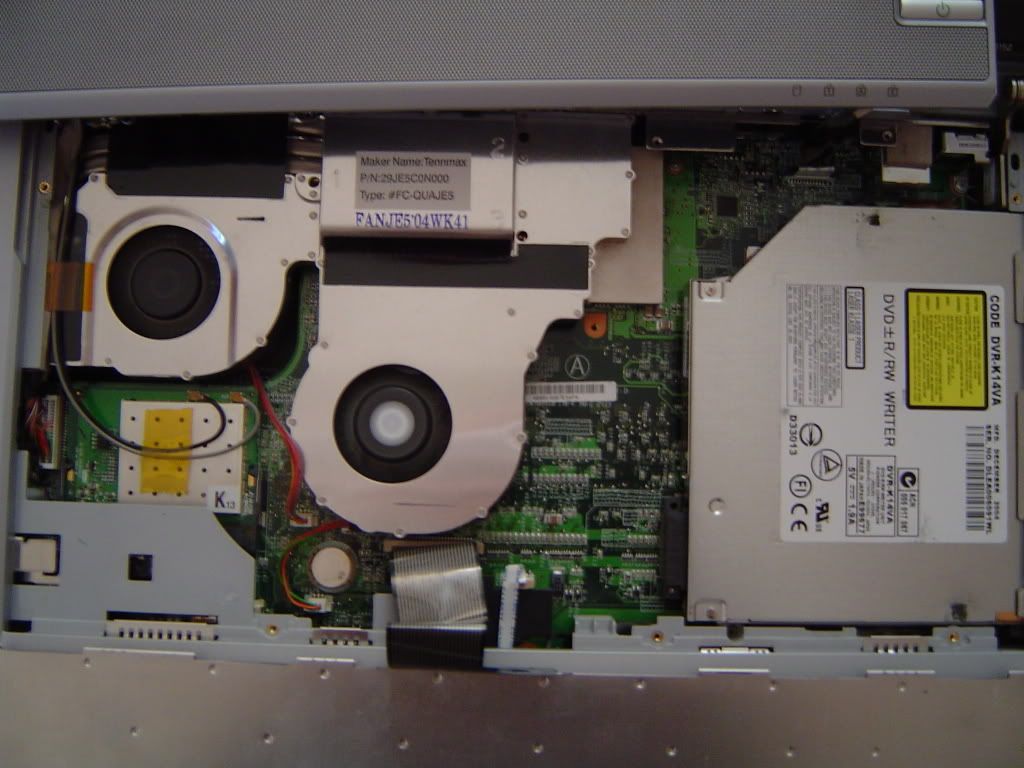
I decided to go ahead and replace the keyboard. It was MUCH easier than I thought it would be, although removing the keyboard hood does pose some risk. I completed the entire job in less than 10 minutes. If not removed very carefully, the hood could break. Disconnect the laptop from power. Remove the battery. Open the laptop so that the display is all the way open, and the computer is as close to flat as possible. CAREFULLY, with a small screwdriver, from the right side start to pry the hood loose. (The hood is the strip of plastic above the keyboard that contains the power switch/speakers.) Slowly work your way from right to left. There will be some resistance, just be very careful. There are no screws on the pcgk13 that hold the keyboard hood or the keyboard in place. The hood just snaps into place. Once the hood is removed, you can carefully place the hood on the display. There will be some wires attached to the power switch and the speakers. The keyboard will then easily tip toward you. There is a ribbon cable attaching the keyboard to the systemboard. The connection requires that you pull up carefully on the outside sleeve of the plug in order to remove the ribbon cable. If you don't do this, trying to remove the ribbon cable will result in a tear and require a new keyboard. Good luck to you if you decide to work on your laptop!

jeepman
 
Sorry! I think there are screws on the keyboard! There are, I believe, 3 tiny screws on this keyboard that are exposed after the hood is removed. I confused this keyboard with a compaq that I just disassembled that had no keyboard screws.. Once the 3 small screws are removed, it is easy to remove the keyboard as described in my earlier post.

jeepman
 
You are a legend for posting this solution on the internet as a dissasembley for the K series Vaio is not detailed anywhere.
Thanks alot jeepman.
 
the 3 screws are located at the top of the keyboard. They will be visible when the keyboard hood is very carefully removed as described in the earlier post. I should have also stated that everything is put back together in the reverse order, slowly pressing the keyboard hood in place from left to right.

jeepman
 
Hey, just thought I'd post these pictures for anybody else who wants to dismantle their Vaio K-series laptop. I managed to shift alot of dust out of mine which reduced fan nosie somewhat. There's a surprising amount of free space inside, and yes that is GTA:SA in one of the pictures; for testing purposes only of course. The second lower fan only seems to spin up when the graphics card is in use.

DSC00584.jpg


DSC00583.jpg


DSC00582.jpg


DSC00581.jpg


DSC00580.jpg
 
Nice one rudder, I have exactly the same model and have vacuumed some dust out of mine to reduce fan noise now! Did you ever remove or open up the cooling unit to get more dust out of there?
 
Cooling Unit

Hey, I did not venture into the cooling unit, but it would have been the next logical step if I'd seen an obvious way into it.
It's a year since I took those photo's now and since have purchased a Dell XPS M170 which was almost entirely clogged with dust untill recently. The fan sits directly behind the heatsync grill, and between these two compnents there was a solid wall of dust. The laptop was overheating and whilst i could hear the fans revving up there was a little air coming from the back of the machine. As a result of overheating the performance of the machine had fallen considerably.
I told Dell it was overheating but the best I could get out of them was a guarantee of a new graphics card. The graphics card of course did not need replacing and the technician showed me the dust problem when he came round to perform the task. I would have removed the dust myself if I was not anxious of voiding the warranty, which brings me to the point that the laptop is less than a year old with only 2000 usage hours. I repeatedly told Dell that dust was probably the issue but instead the technician told me that "computers slow down after a while" in response to me telling him the CPU was clocking itself down as a safety measure as it's temperature was rocketing up to 95 degrees celsius when gaming, causing much lag.

This proves that dust IS a porblem with laptop computers, and manufacturers often fail to recognise it, although I was impressed that Dell sent out an on-site repair technician to perform the (unnecessary) task of changing the graphics card.
 
How do I remove Vaio PCG-K66P keyboard bracket?

Thanks for a great posting folks. Encouraging that it is possible to disassemble a Sony K series laptop. Have bought a tech manual, but it doesn't help much.

I'm having trouble removing the big metal plate (between rudder's photos 2 and 3) called the keyboard bracket. Have removed all screws in sight and a few more besides.

The metal plate seems to be locked into the palmrest on the LHS and perhaps somewhere in the middle. The RHS (near DVD burner, which I want to replace) seems to be coming apart reasonably well.

Any insights welcome from secret laptop repair knowledge.
 
hi, new here with first post.
i just did the above mentioned things to clean out the dust in our pcg-k13, but after i put it back together the screen stays dark.
the laptop starts and i think it boots, the lights and the fan come on, but nothing happens with the screen.
any ideas what that could be?

thanks
 
Sorry to hear about your problem with your display. I hope you have found a resolution by now. The only suggestion I have is that you carefully look inside again and be certain that you did not accidentally unplug something on the system board. On a compaq laptop i have worked with, the video connections are on the right side of the board (as facing the laptop.) If you are able to determine what happened, please post your resolution for others to see.

jeepman
 
Status
Not open for further replies.
Back