It Didn't Even Leak Once!
For our build we ditched the hardware we typically use for testing computer cases as it wouldn't have worked in the Core P5. Moreover, testing the Core P5 is a little pointless as the case comes with zero cooling out of the box, plus it's an open-air chassis. Therefore, cooling performance and operating volume are going to be entirely dictated by your hardware choices.
It would be an injustice to test a case so heavily focused on liquid-cooling without such a setup and Thermaltake agreed, thus supplying its RL140 D5 liquid cooling kit, which was subsidized with the RL420 radiator and three 140mm blue LED 'Riing' fans.
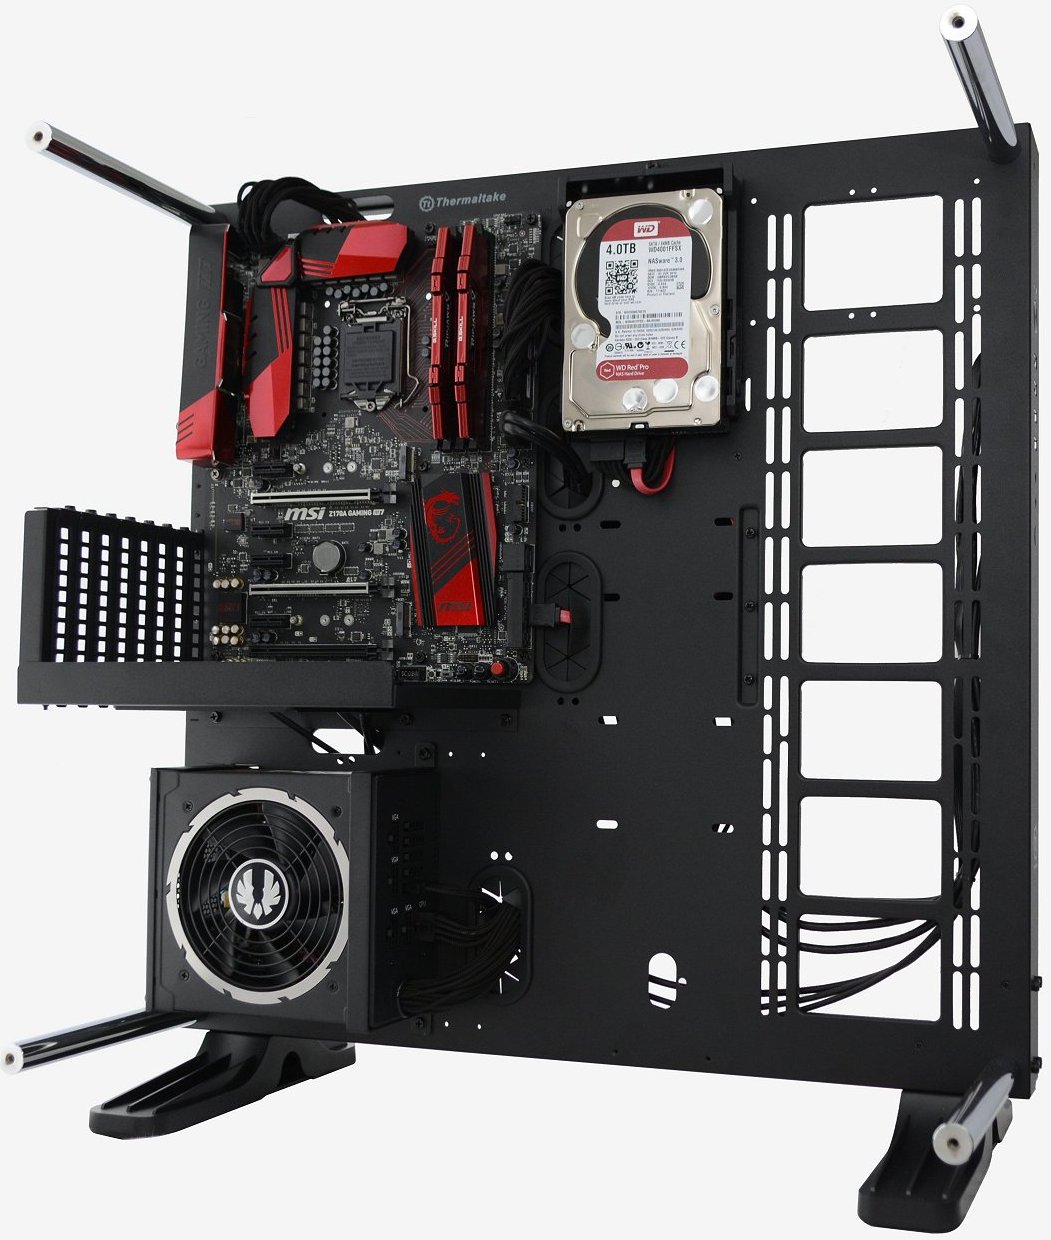
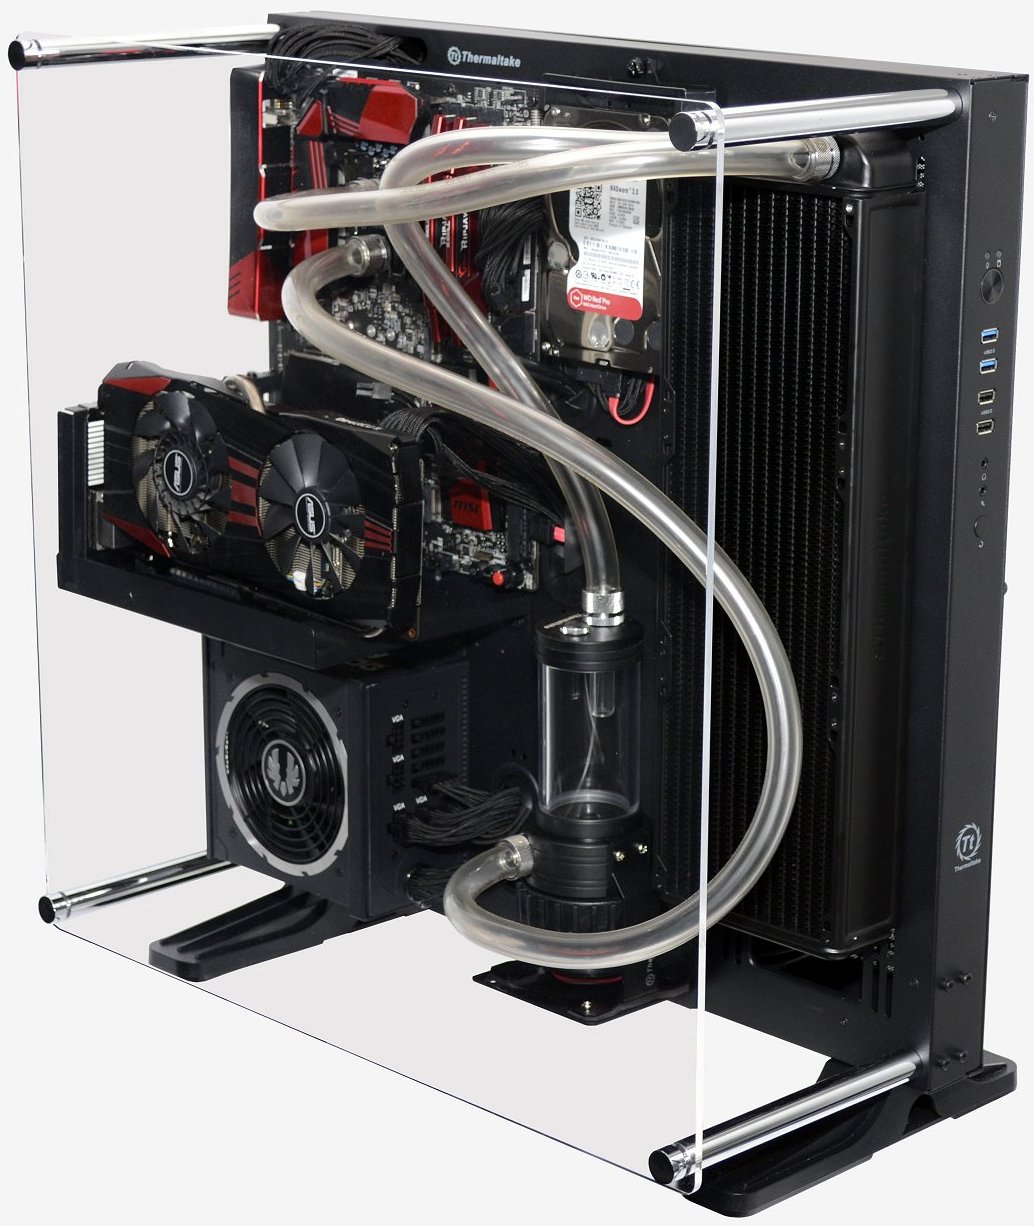
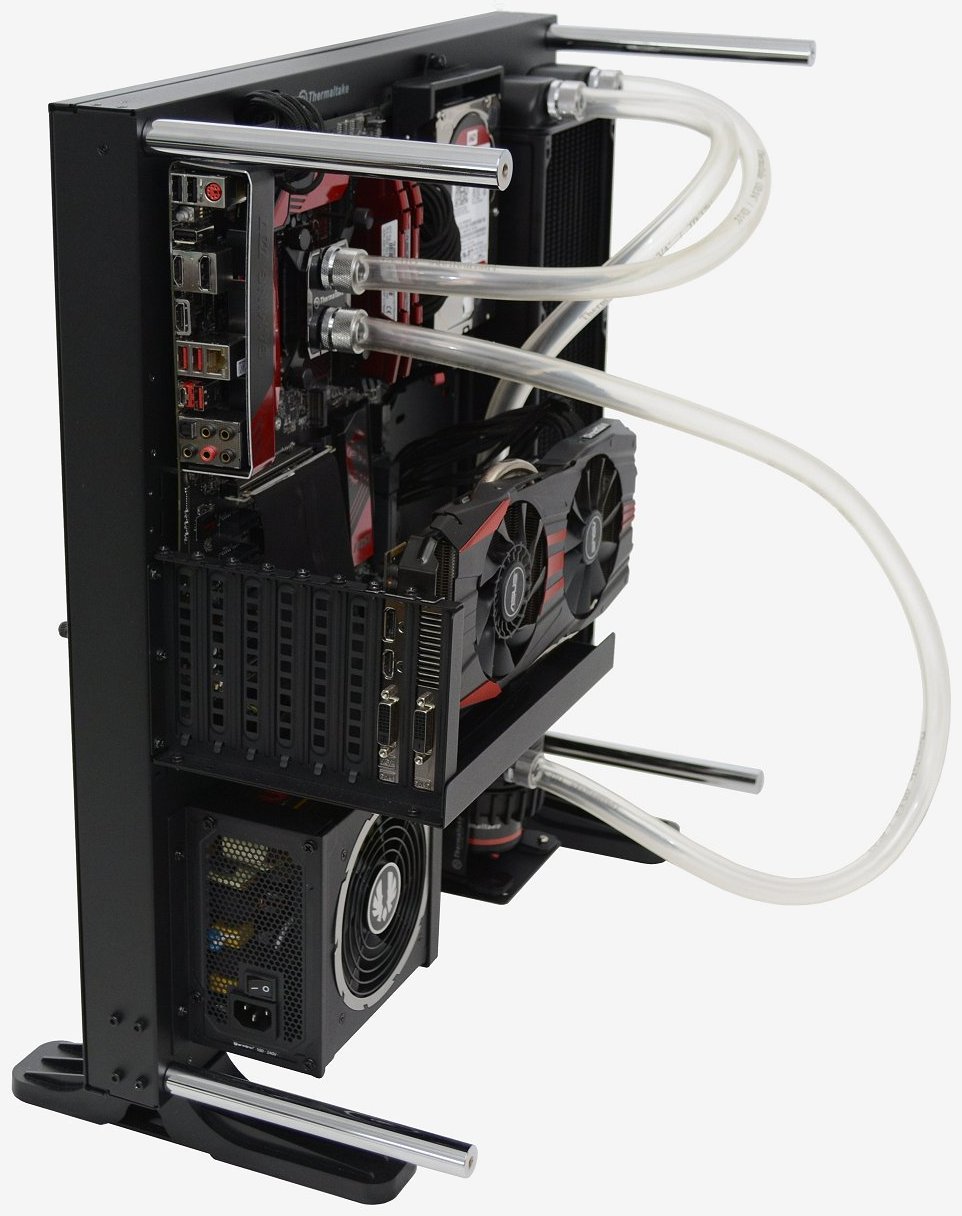
For the sake of the photos we started with a black/red themed build by installing the MSI Z170A Gaming M7 motherboard alongside the Core i7-6700K, 32GBs of G.Skill's Ripjaws V DDR4-3000 memory, and the Asus Radeon R9 290X DirectCU II. Also installed was the WD Red Pro 4TB hard drive and then the Thermaltake liquid-cooling system of course.
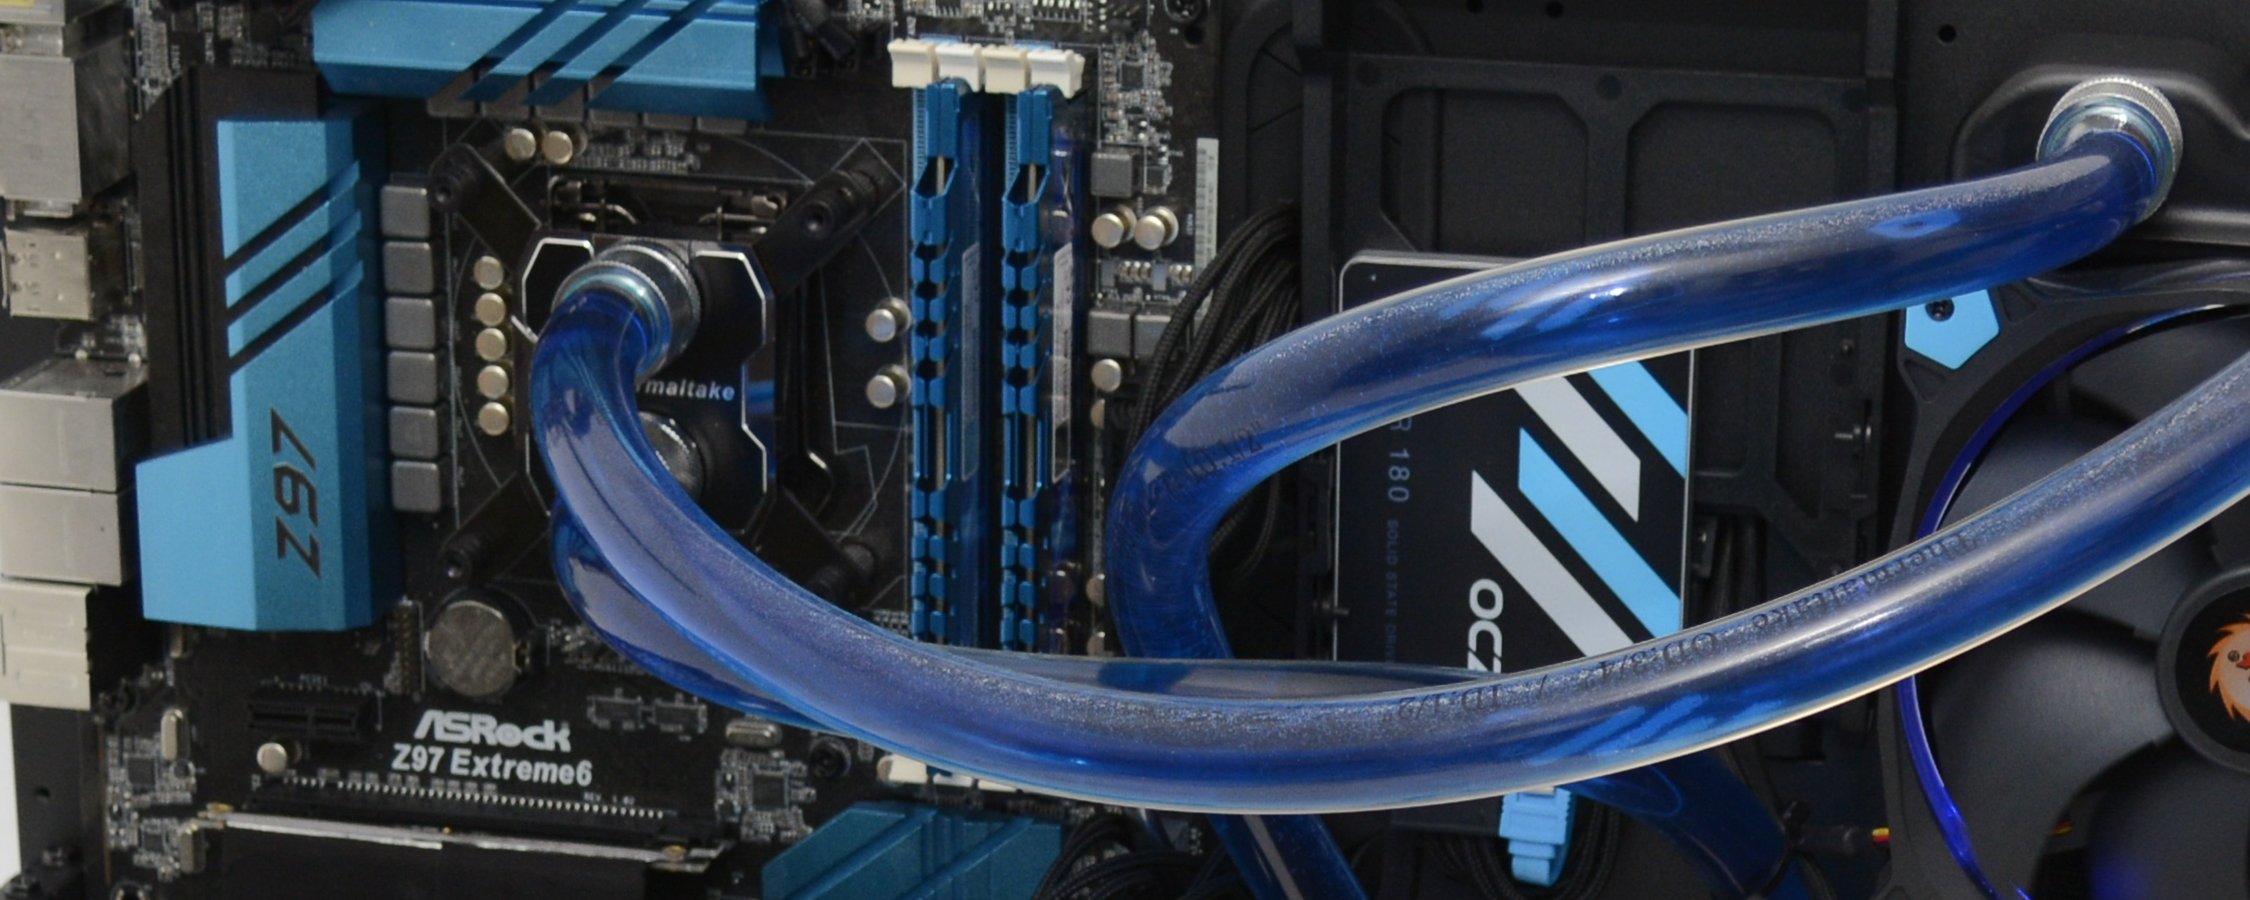
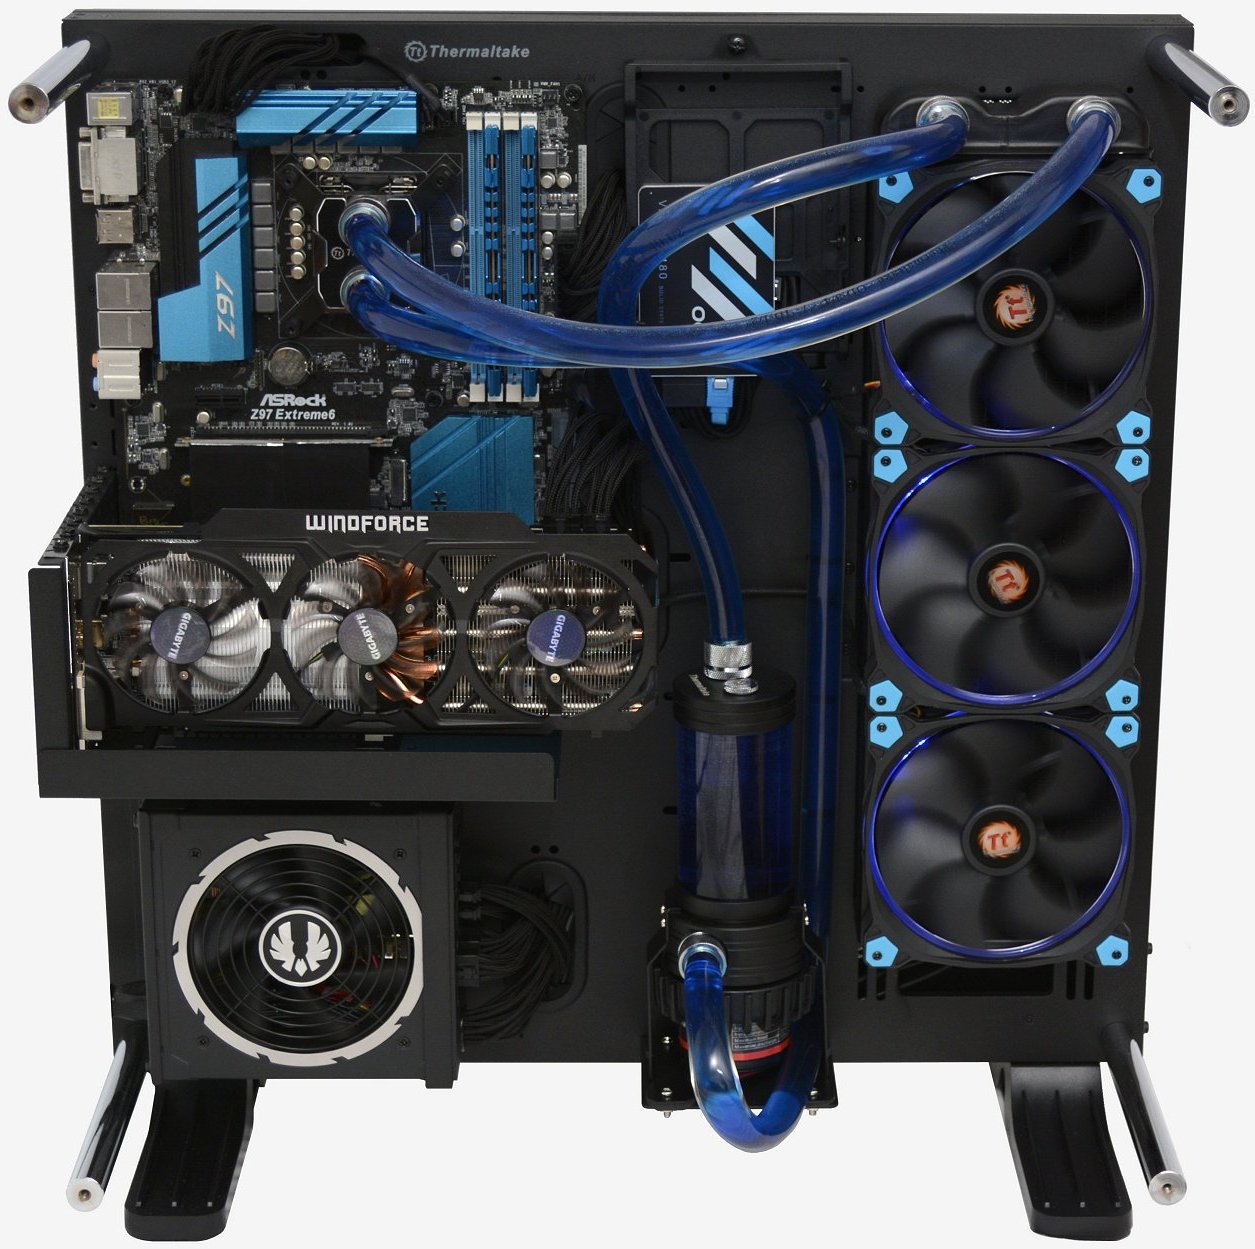
With the red/black build done we moved on for a blue/black theme using the three 140mm blue LED Riing fans.
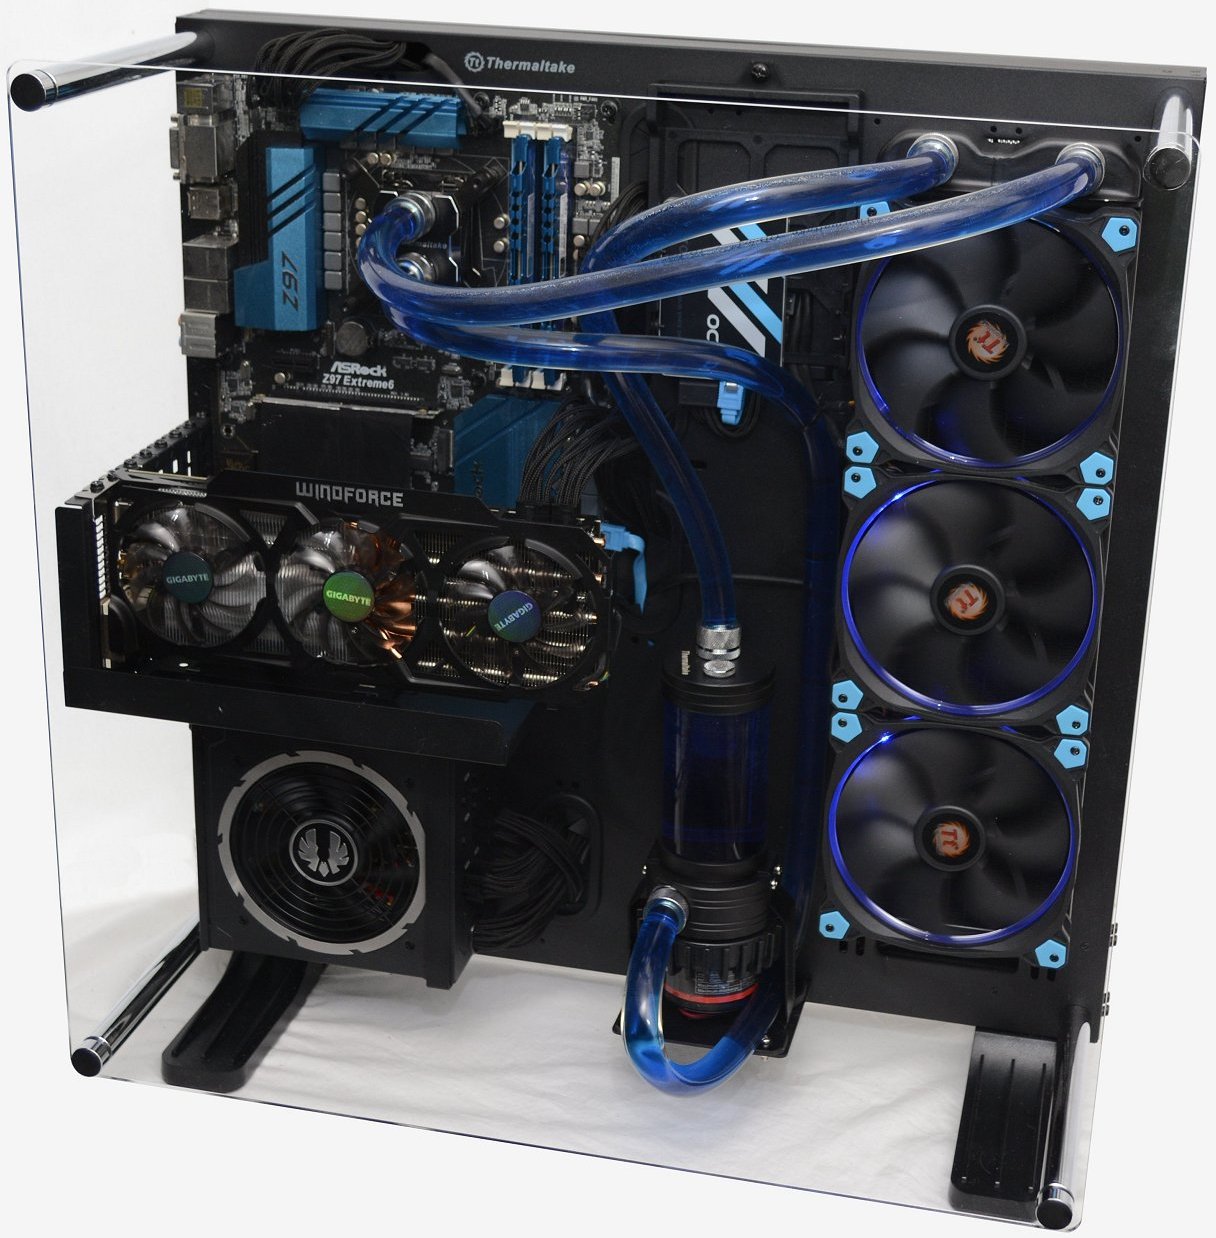
This time we installed the Asrock Z97 Extreme6 motherboard with the Core i7-4790K, 16GBs of G.Skill Ripjaws X DDR3-2400 memory, the Gigabyte WindForce R9 290X and the BitFenix Fury 750 watt power supply, which measures just 160mm long.
Installing the liquid-cooling system proved how the Core P5 has been designed with this type of cooling in mind. There's a great little stand for the pump, though the pump can also be clipped on to the Core P5 using arms that hold the reservoir. Behind the pump is a small hole that lets you neatly run the power cable through so it can't be seen.
The installation process went well with the only hiccup being the fact that the three rear-mounted drive cages need to be removed along with the support bracket to access the rear side of the motherboard properly and much of the cable management. This was made more annoying by the fact that the 3.5" drive cage on the front side also needed to be removed to unscrew the panel on the opposite side.
The acrylic window looks nice enough, though we did often find it hard to remove. The thumbscrews can't be tightened using screwdrivers and frankly don't need to be. However, we found multiple times that despite doing them up without tools, getting them undone again was extremely difficult. This is due to the fact that the chrome stand-offs don't perfectly line up and have to be ever so slightly forced into place, this added friction makes unscrewing the stand-off caps extremely difficult.
