Installation
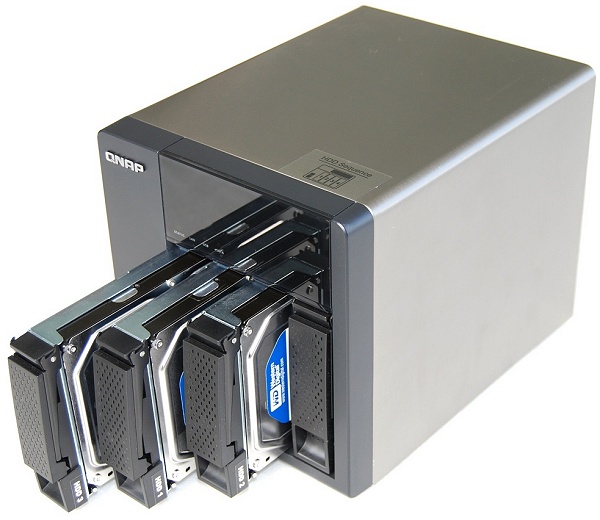
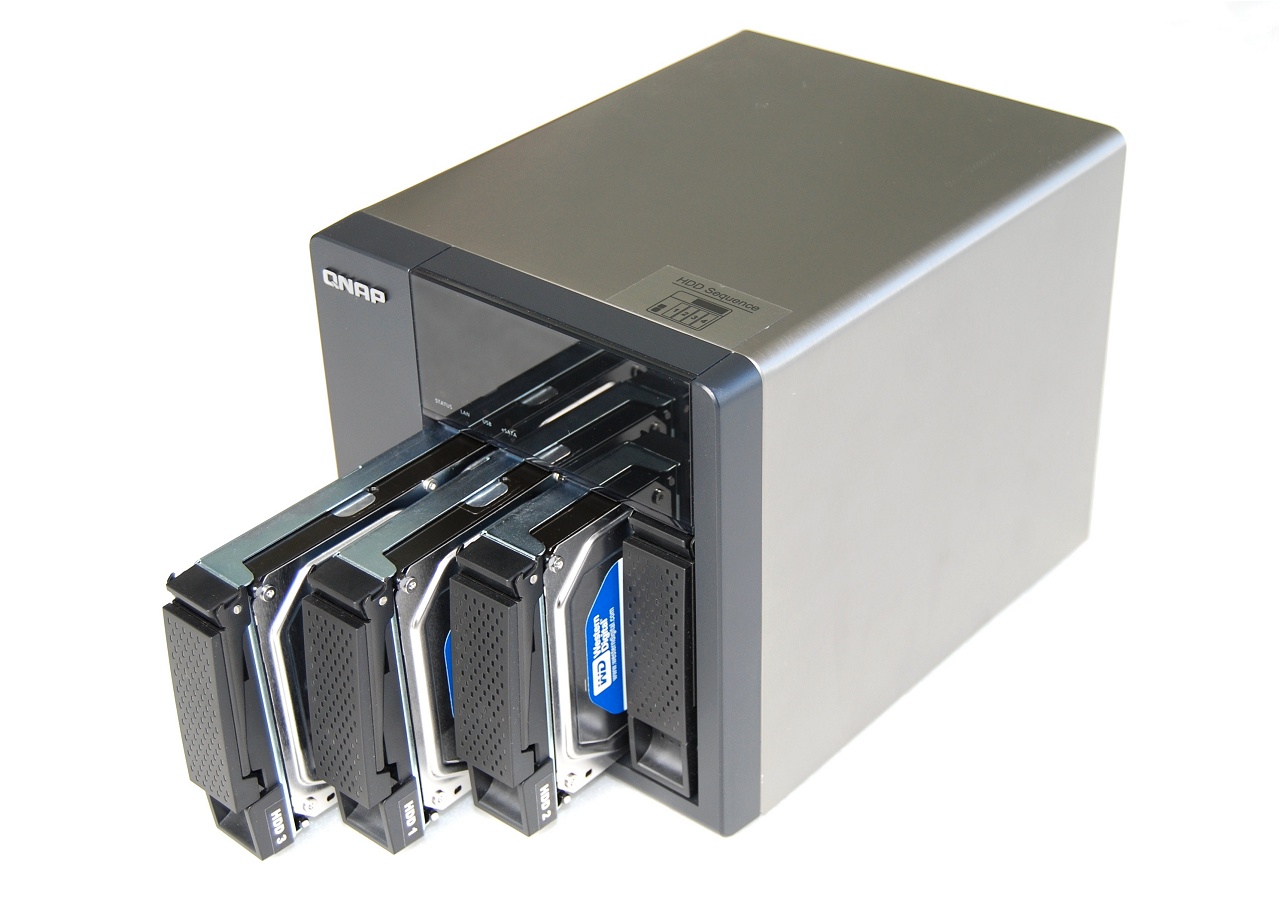
Because QNAP opted for hot-swappable bays, installing the hard drives is very quick and easy: simply remove each tray, secure the hard drive with four screws and slip the drive inside its new home.


With your storage in place, you'll want to run the Quick Setup Wizard to install the firmware (supplied on a CD or downloaded from QNAP's site), followed by a six-step setup process.


The first step requires you to assign the TS-412 a server name – we went with QNAP. Next, you must create an administrator password using any combination of characters (there are no restraints on how complex the password must be). Step three requests the date, time and zone of the server, then you'll have to select DHCP or manually configure the IP settings for the network.


The fifth step allows you to manually select what services you want to use. Here you'll find a number of FTP, Multimedia and Web Server features that can be enabled or disabled depending on preference. Features such as Apple networking, for example, can be disabled if you have no intention of using it.

The last step lets you choose the disk configuration – we had single disk, JBOD, RAID 0, RAID 5 and RAID 6 as possible options. At the end of the process, you'll get an overview of your chosen settings.

We installed four Western Digital Caviar Blue 500GB hard drives into the TS-412, providing us with 2TB of high performance storage. At roughly $45 each, the hard drive bill totaled $180, but after spending $460 on a 4-bay system, we suspect many of you will want to install at least 4TB of storage.

Although the configuration process began quite fast, enabling the network services and initializing the four hard drives took some time, we estimate close to 20 minutes. Once all that is done, you need to connect to the TS-412 using a web browser, gaining access to the Administration area.
