Internal Design, Installation Impressions
Getting inside the Silverstone MM01 is as easy as removing thumb screws as you would on virtually any other case, after which the panels slide off.
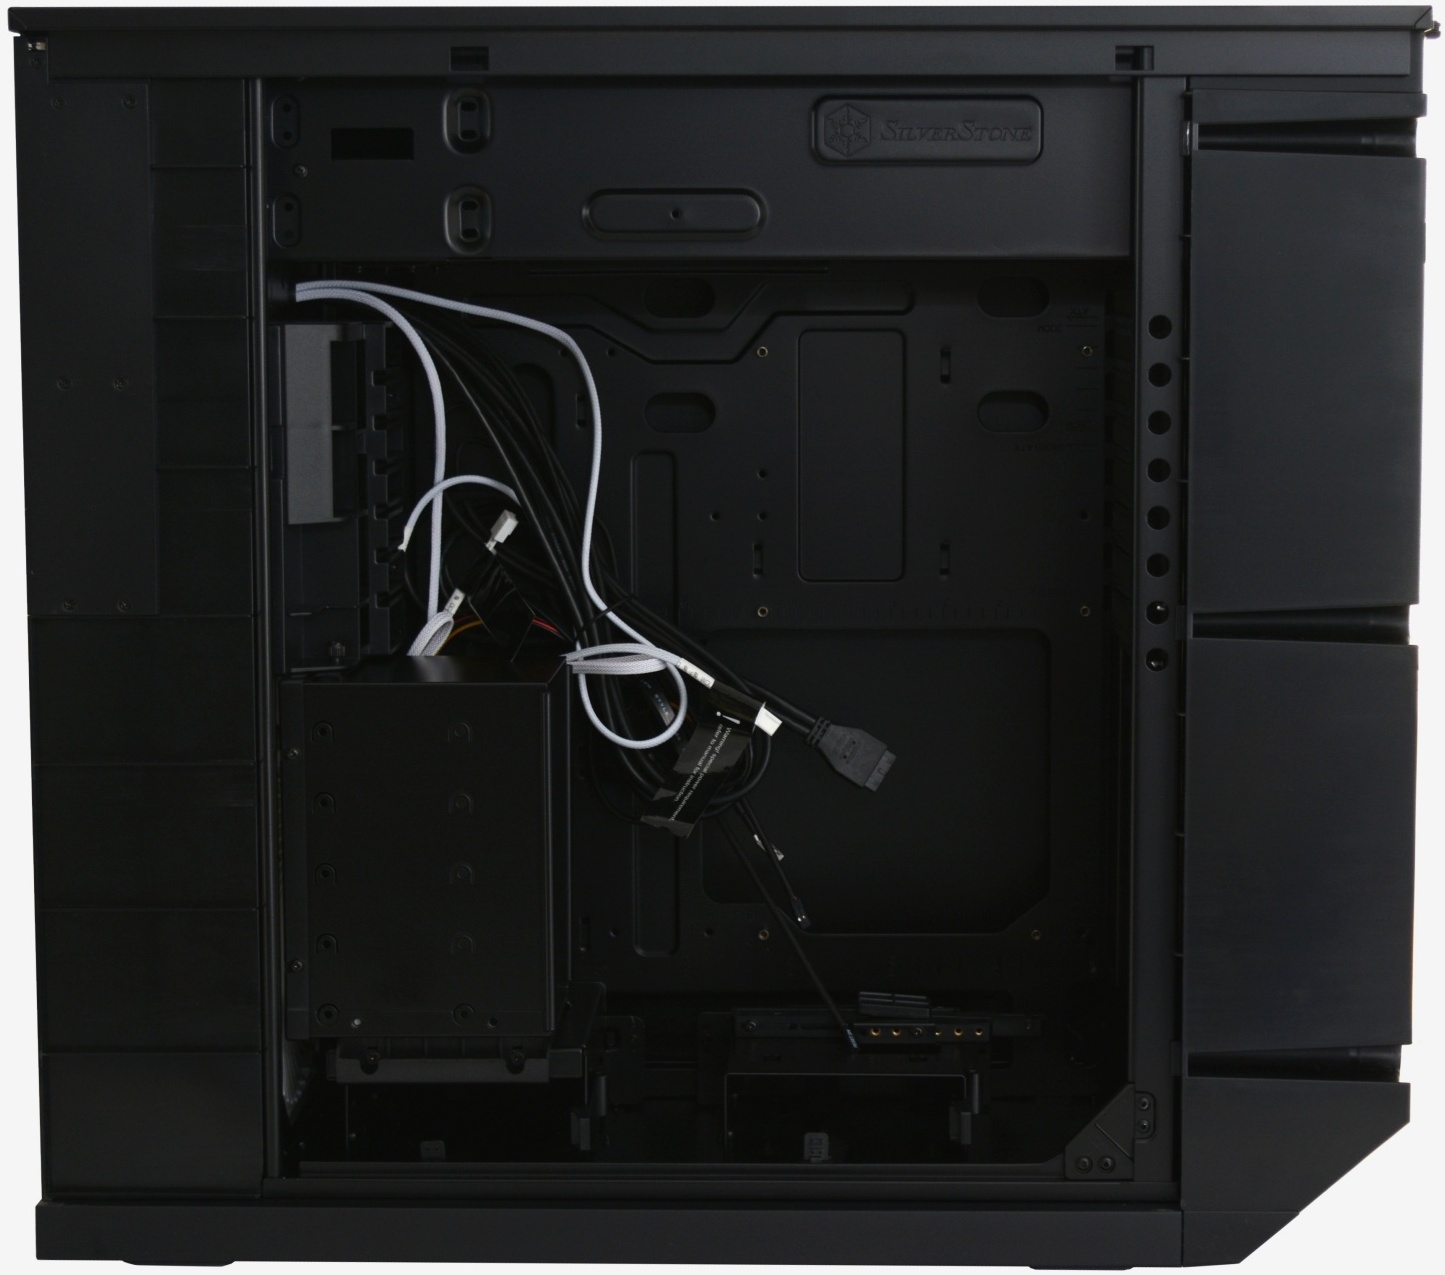
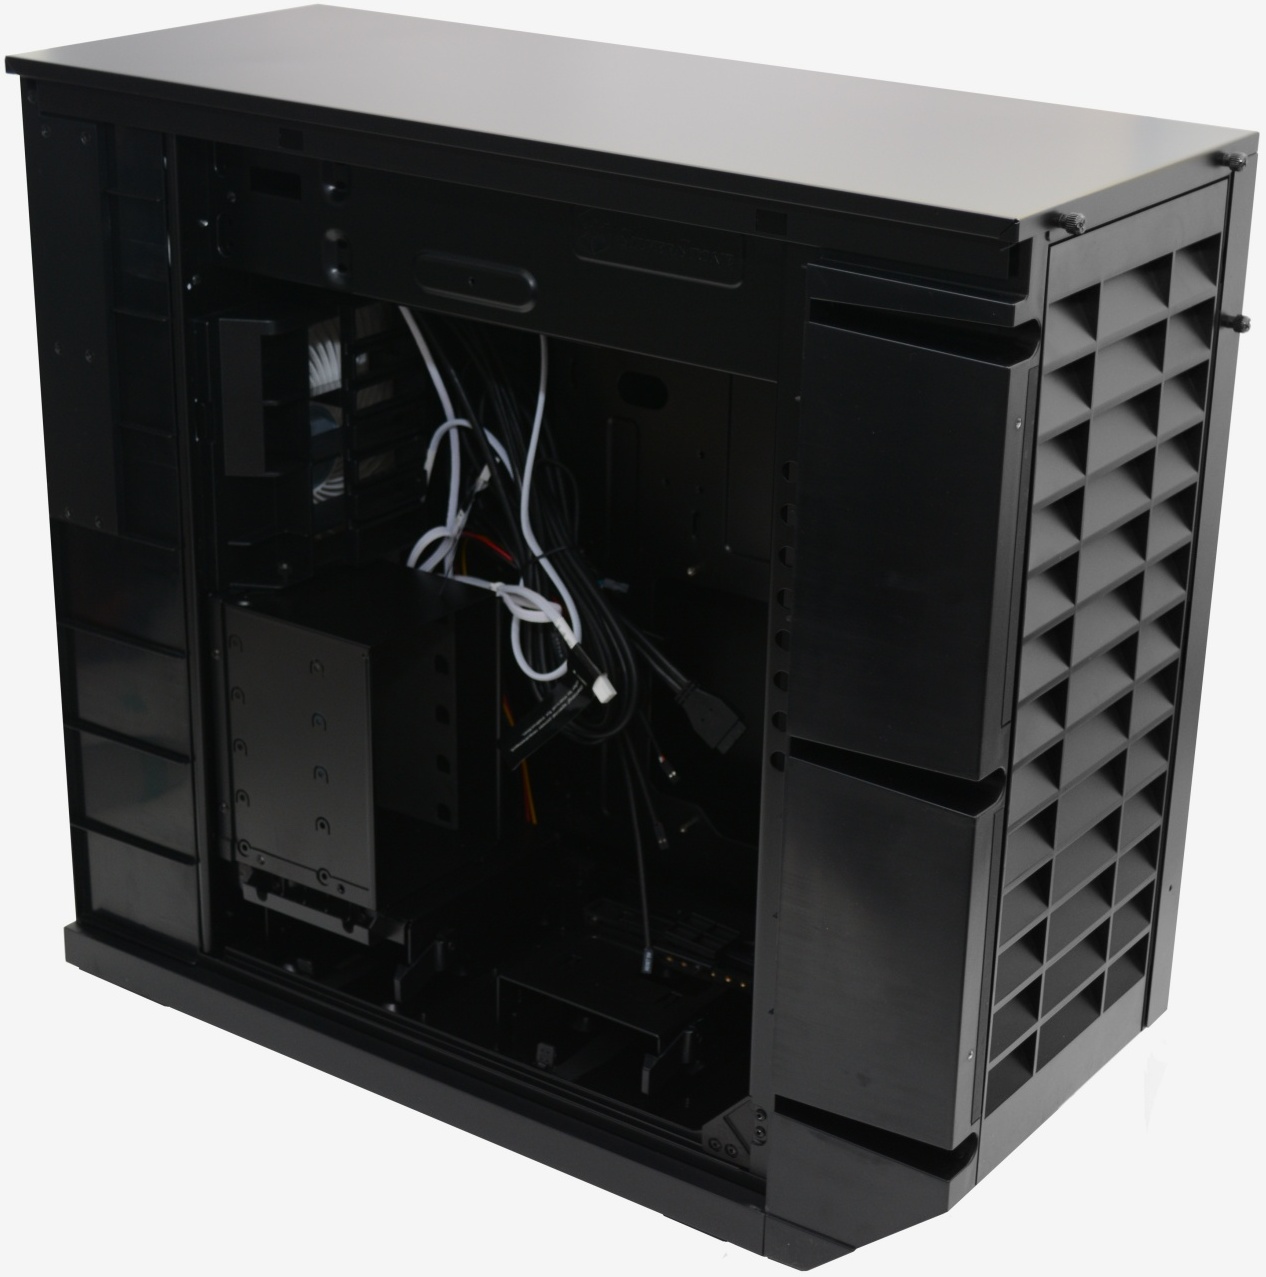
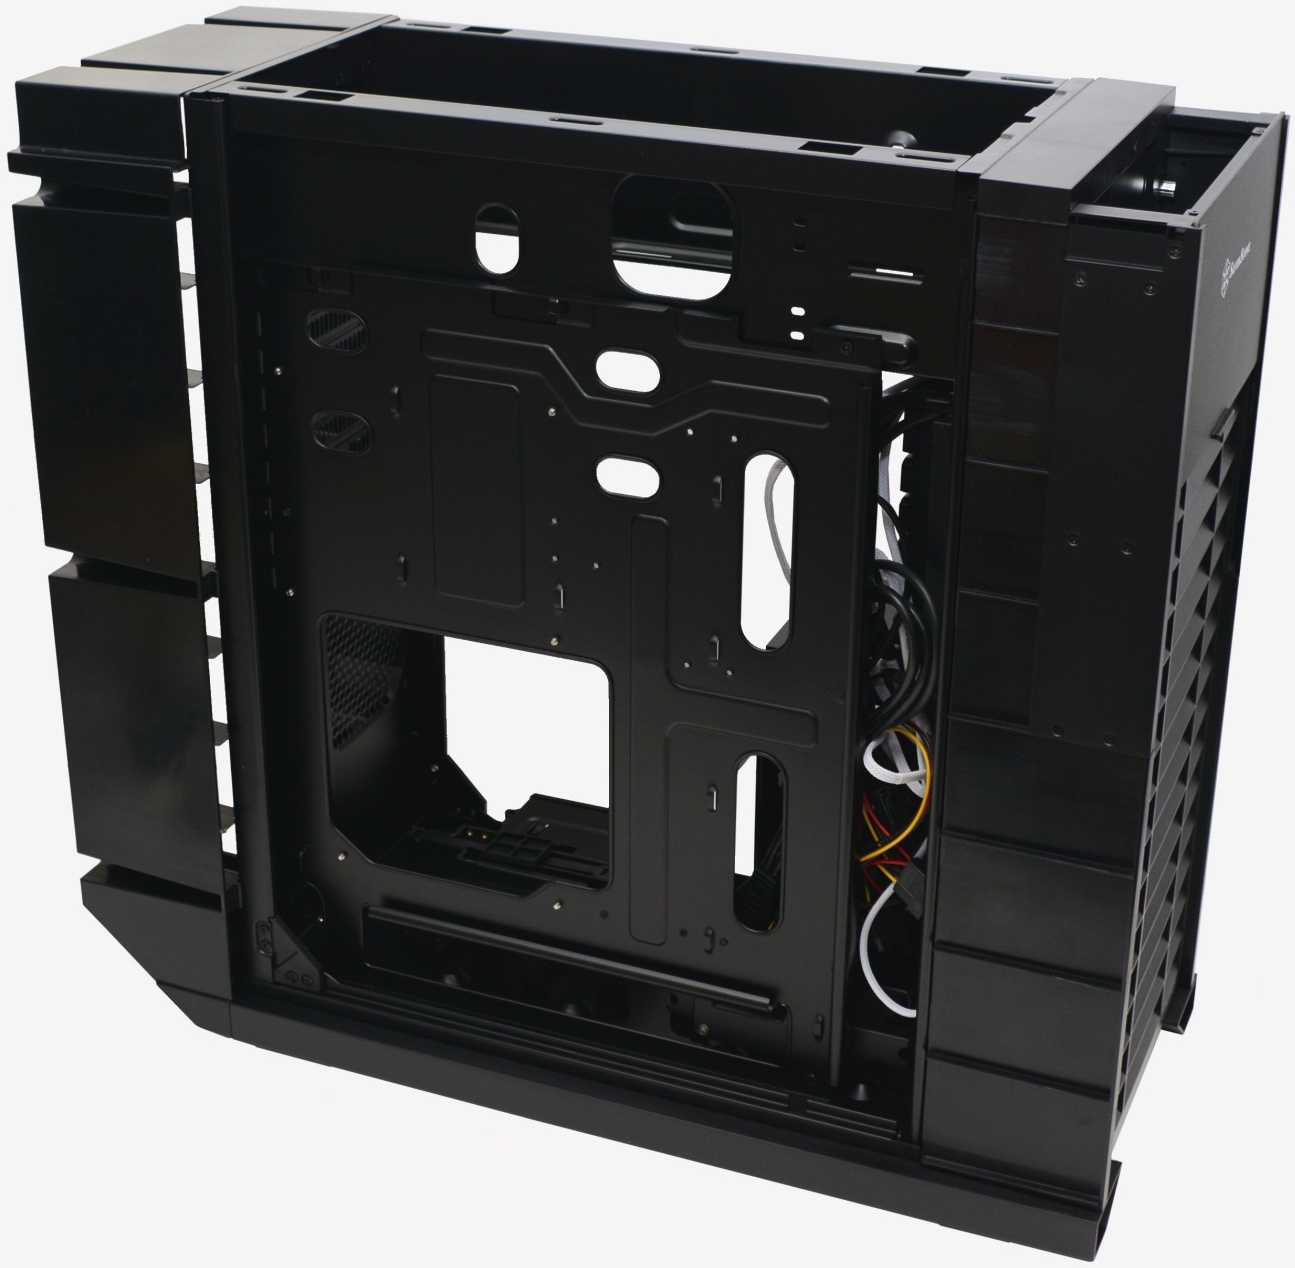
Once inside you'll discover a mess of cables and might be shocked by how small the MM01 is inside. Due to the fact that the anti-splash panels need to be so deep, this leaves very little room inside the case.
Of the 597mm that the case spans, just 66% of that space can be used by the internal hardware. That's still enough room to comfortably house an Extended ATX or massive SSI-EEB (305 × 330mm) motherboard.
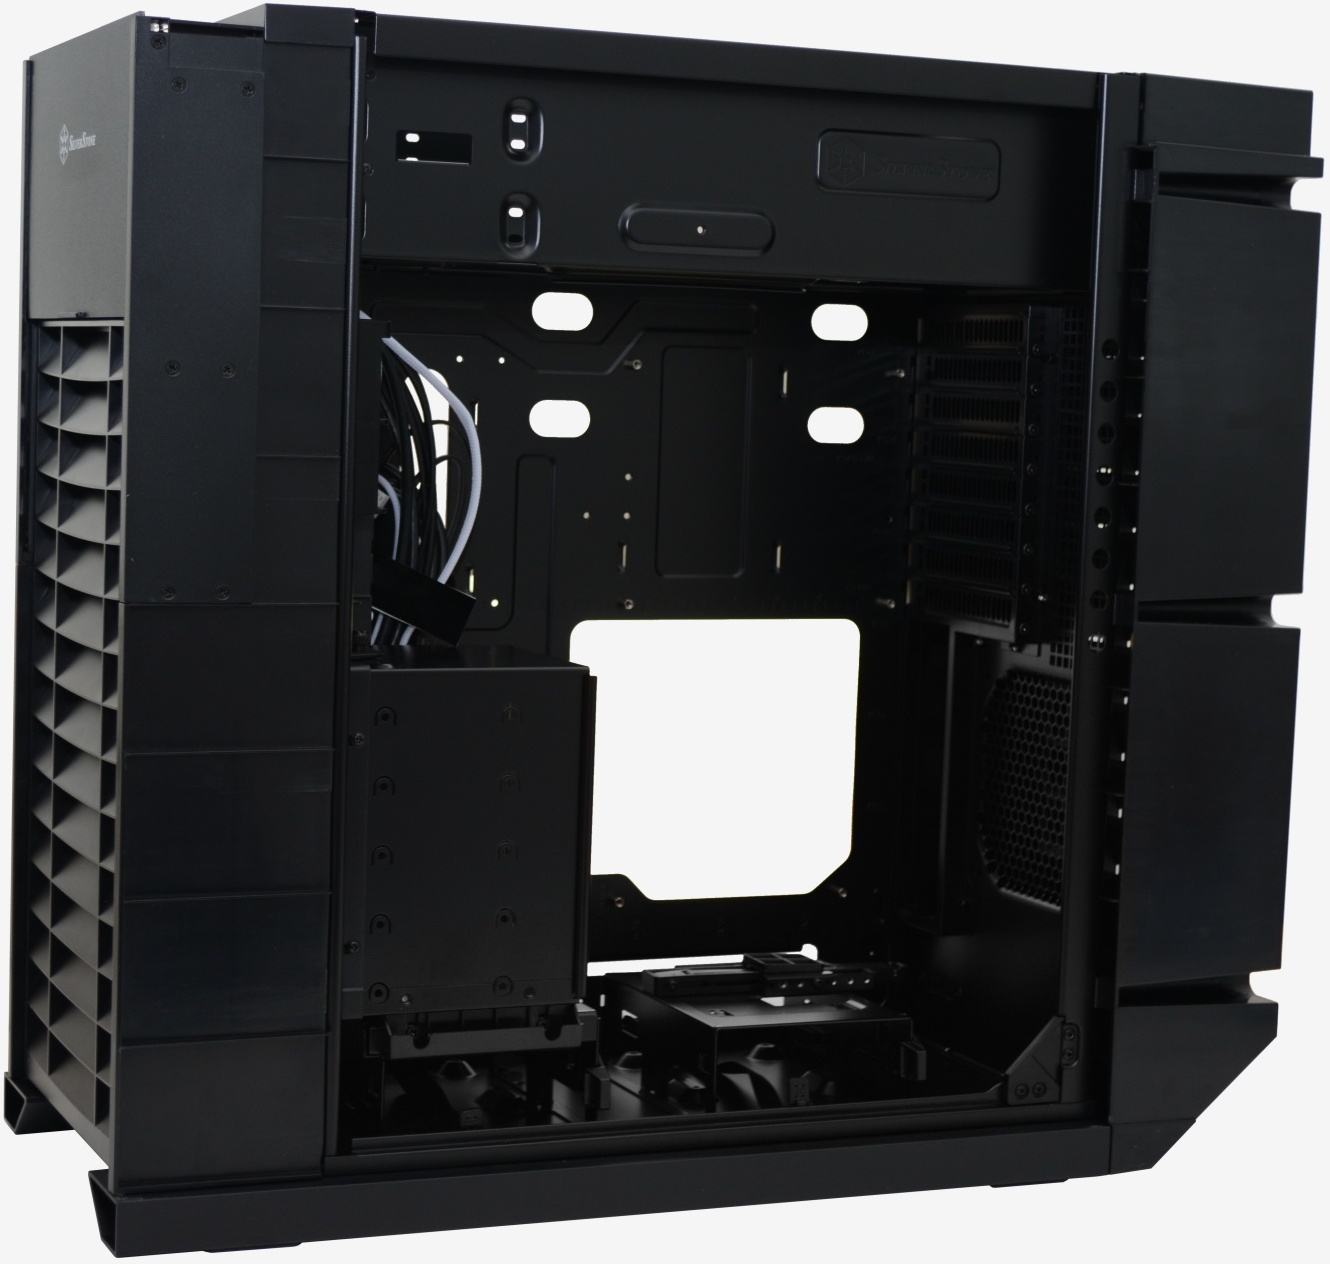
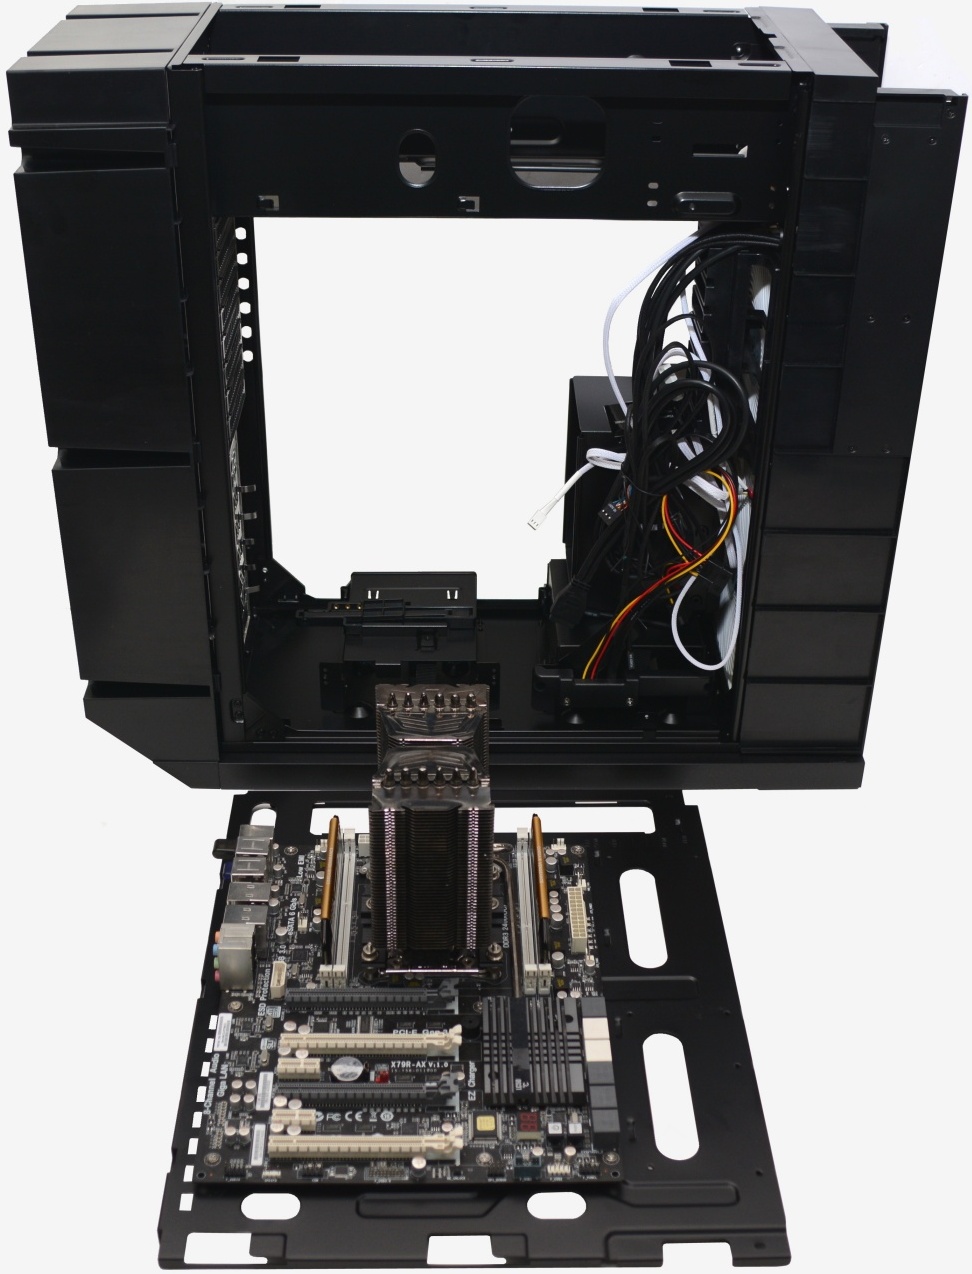
That said, getting a SSI-EEB board into the MM01 would be a squeeze if it weren't for the fact that Silverstone has included a removable motherboard tray that slides in and out of place.
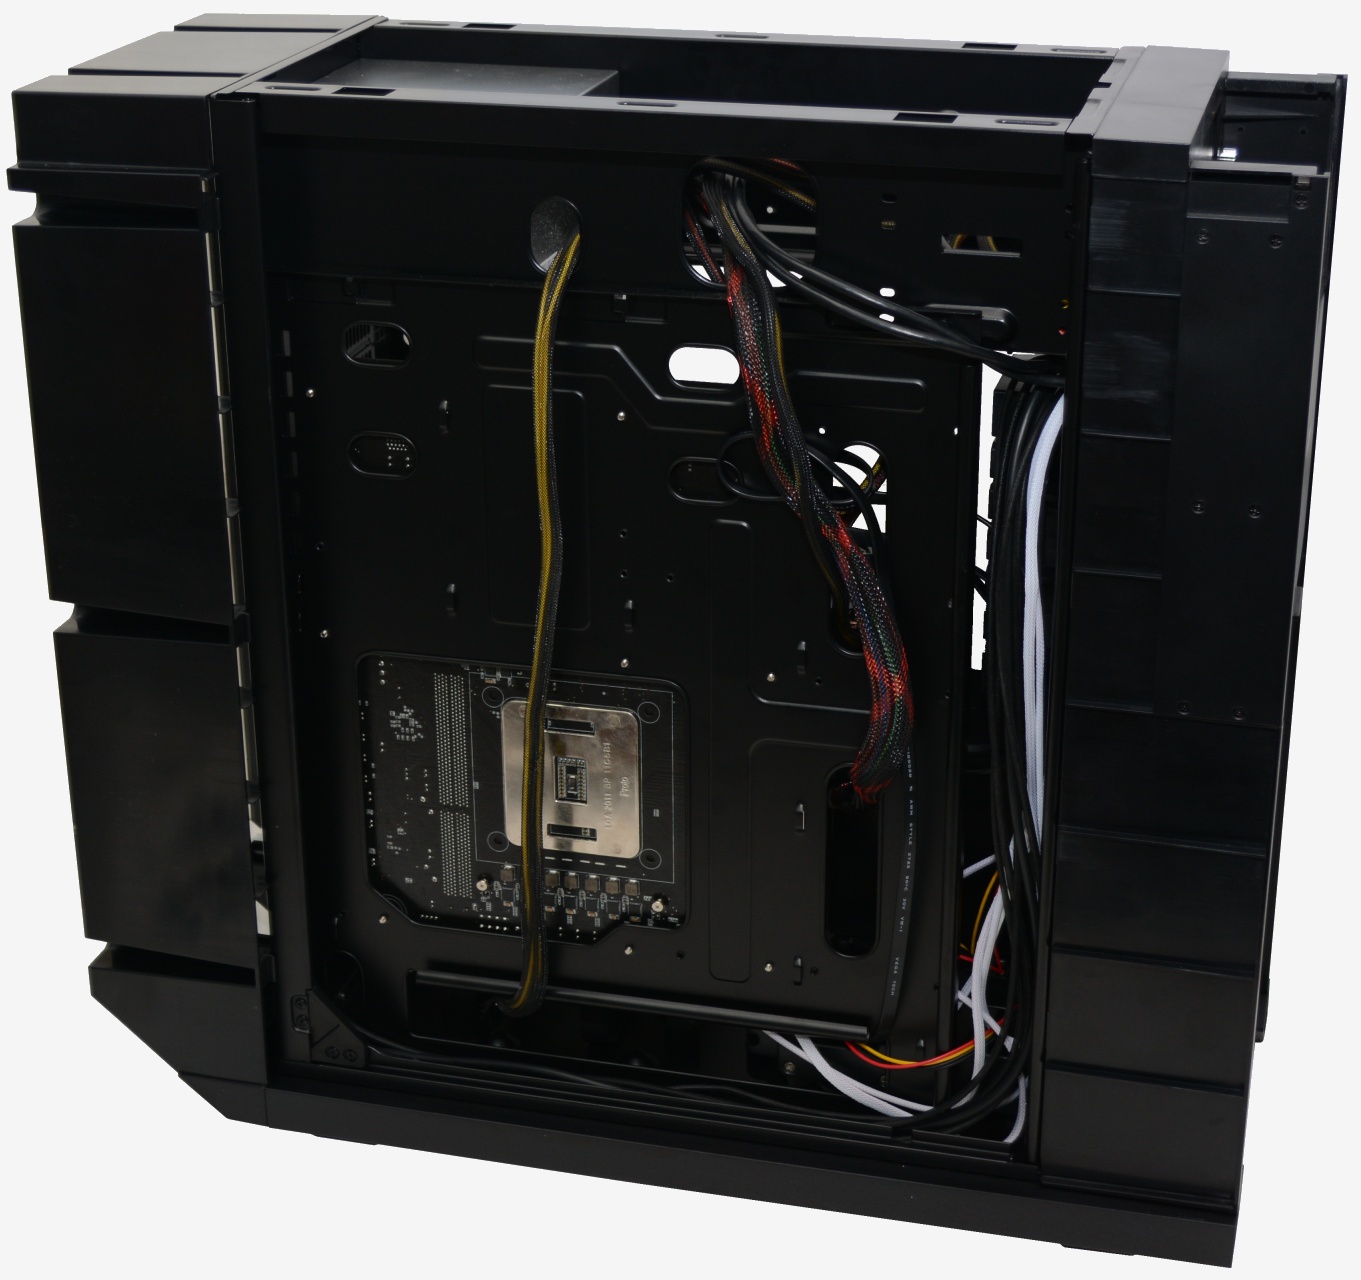
The motherboard tray features a number of holes for cable management as well as a massive cutout behind the motherboard's CPU socket for the installation/removal of third party coolers without first having to remove the motherboard.
The MM01 has room for two external 5.25" devices, seven 3.5" drives and four 2.5" drives. There is a five-bay 3.5" drive cage that is removable so drives are easy to install and the cage is lined with rubber to absorb vibration and reduce noise.
There are an additional two 3.5" drive bays in the bottom of the case and the one found under the large five-bay cage is hot-swappable which is nice.
Under the two bottom mounted 3.5” drive locations is room for four 2.5” drives which must be secured from under the case. Since the system is generally built laying on its side for the most part this shouldn’t be an issue.
The second of the two bottom-mounted 3.5" drive locations features an adjustable holder arm for supporting large CPU coolers that could be prone to motherboard damage when transporting the system.
Apart from the two 180mm AP182 fans in the front of the case there is only room for one additional 120mm fan in the rear. We imagine installing a fan here will help improve cooling performance quite a bit and certainly help move air over the CPU area.
The top of the case (where the 5.25" bays and power supply are located) is almost partitioned off from the rest of the enclosure which creates a nice spot for excess cables. Because the top panel isn't ventilated, the power supply will need to be mounted facing into the case.
For high-quality power supplies this shouldn't be an issue, but it is worth noting that the power supply can't draw in its own cool air from outside the case.
Installing hardware into the MM01 is straightforward -- there's nothing tricky here. The process is made easier by the fact that the motherboard tray is removable, though for eATX boards or smaller we wouldn't even bother taking the tray out.
We removed the tray for our photos so you guys can get a good look at it. With the motherboard, CPU, cooler and memory installed we slid the tray back into the MM01. The case can handle CPU coolers as tall as 183mm, so technically there is no limitations here as there are no coolers that are this tall.
With the motherboard tray back in the case we connected the front panel gear to the board such as the USB 3.0 ports, audio jacks and power/reset buttons.
The next step involved sliding the five-bay 3.5" hard drive cage out and installing some drives. With the cage out of the system, installing the drive is quick and easy. Once done, simply slide the cage back into the case and secure it.
Included in the package is a graphics card support arm that can handle up to four cards. This is a nice feature that ensures the cards don't bend under their own weight.
With the hard drives installed we slotted in a Radeon R9 290X graphics card from Gigabyte. There is room for up to three more graphics cards in the MM01 at a length of up to 338mm (13.3").
Finally we dropped in the power supply and connected everything up. There is no limitation on PSU length with the MM01 so even the most extreme units will fit with room to spare.
Although the MM01 isn't designed to be a show piece, its cable management is great and helps make installation easier while improving airflow and therefore cooling performance.
For such a unique case, working with the MM01 is surprisingly rudimentary. There was nothing difficult about the installation process and nothing that we would change.
