
If you want to neatly share PDF pages on social media without relying on ugly screenshots, you should convert them to JPEG images, a.k.a. JPG. That's just one of multiple reasons why you'd want to extract pages out of a PDF to use in a different application as an image. The question is, how to do it in the most effortless manner? Here you go.
How to do it in Windows
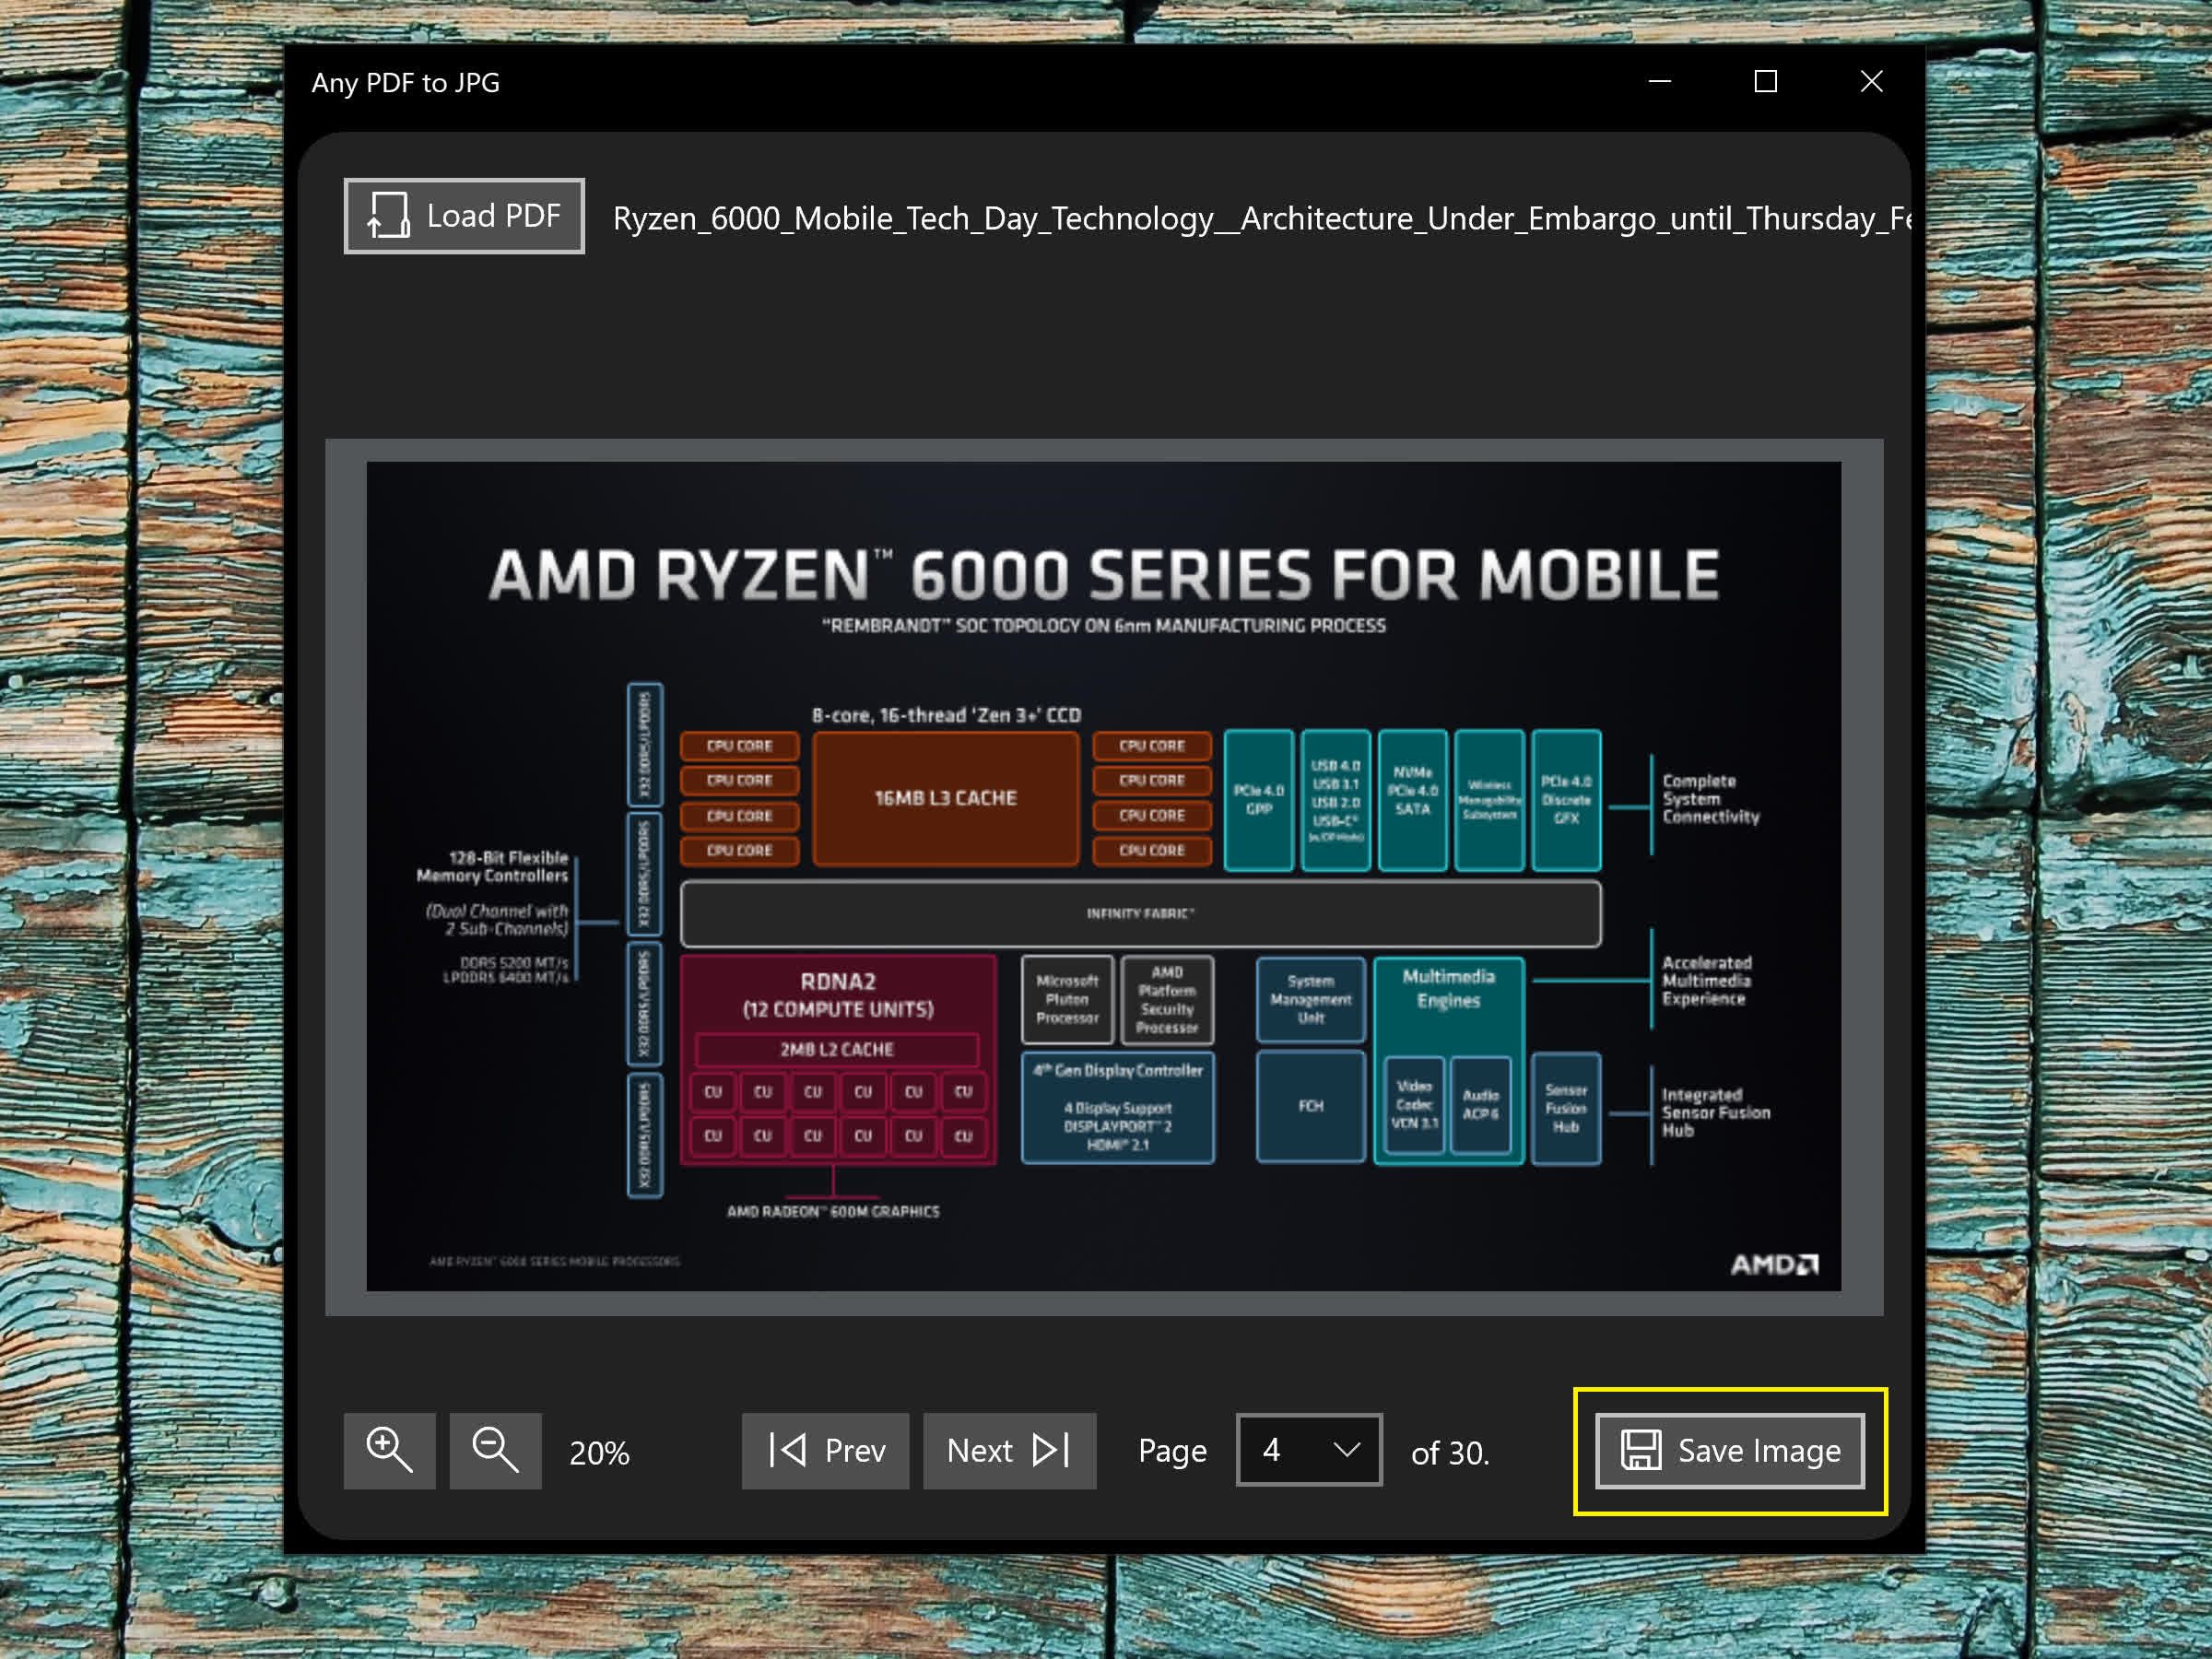
If you're a Windows user, the easiest way to do it is with a free app called Any PDF to JPG (available from the Microsoft Store). Once you've launched the app, click "Load PDF" and choose a file.

In the main screen, you'll be able to zoom in and out, or choose a page.
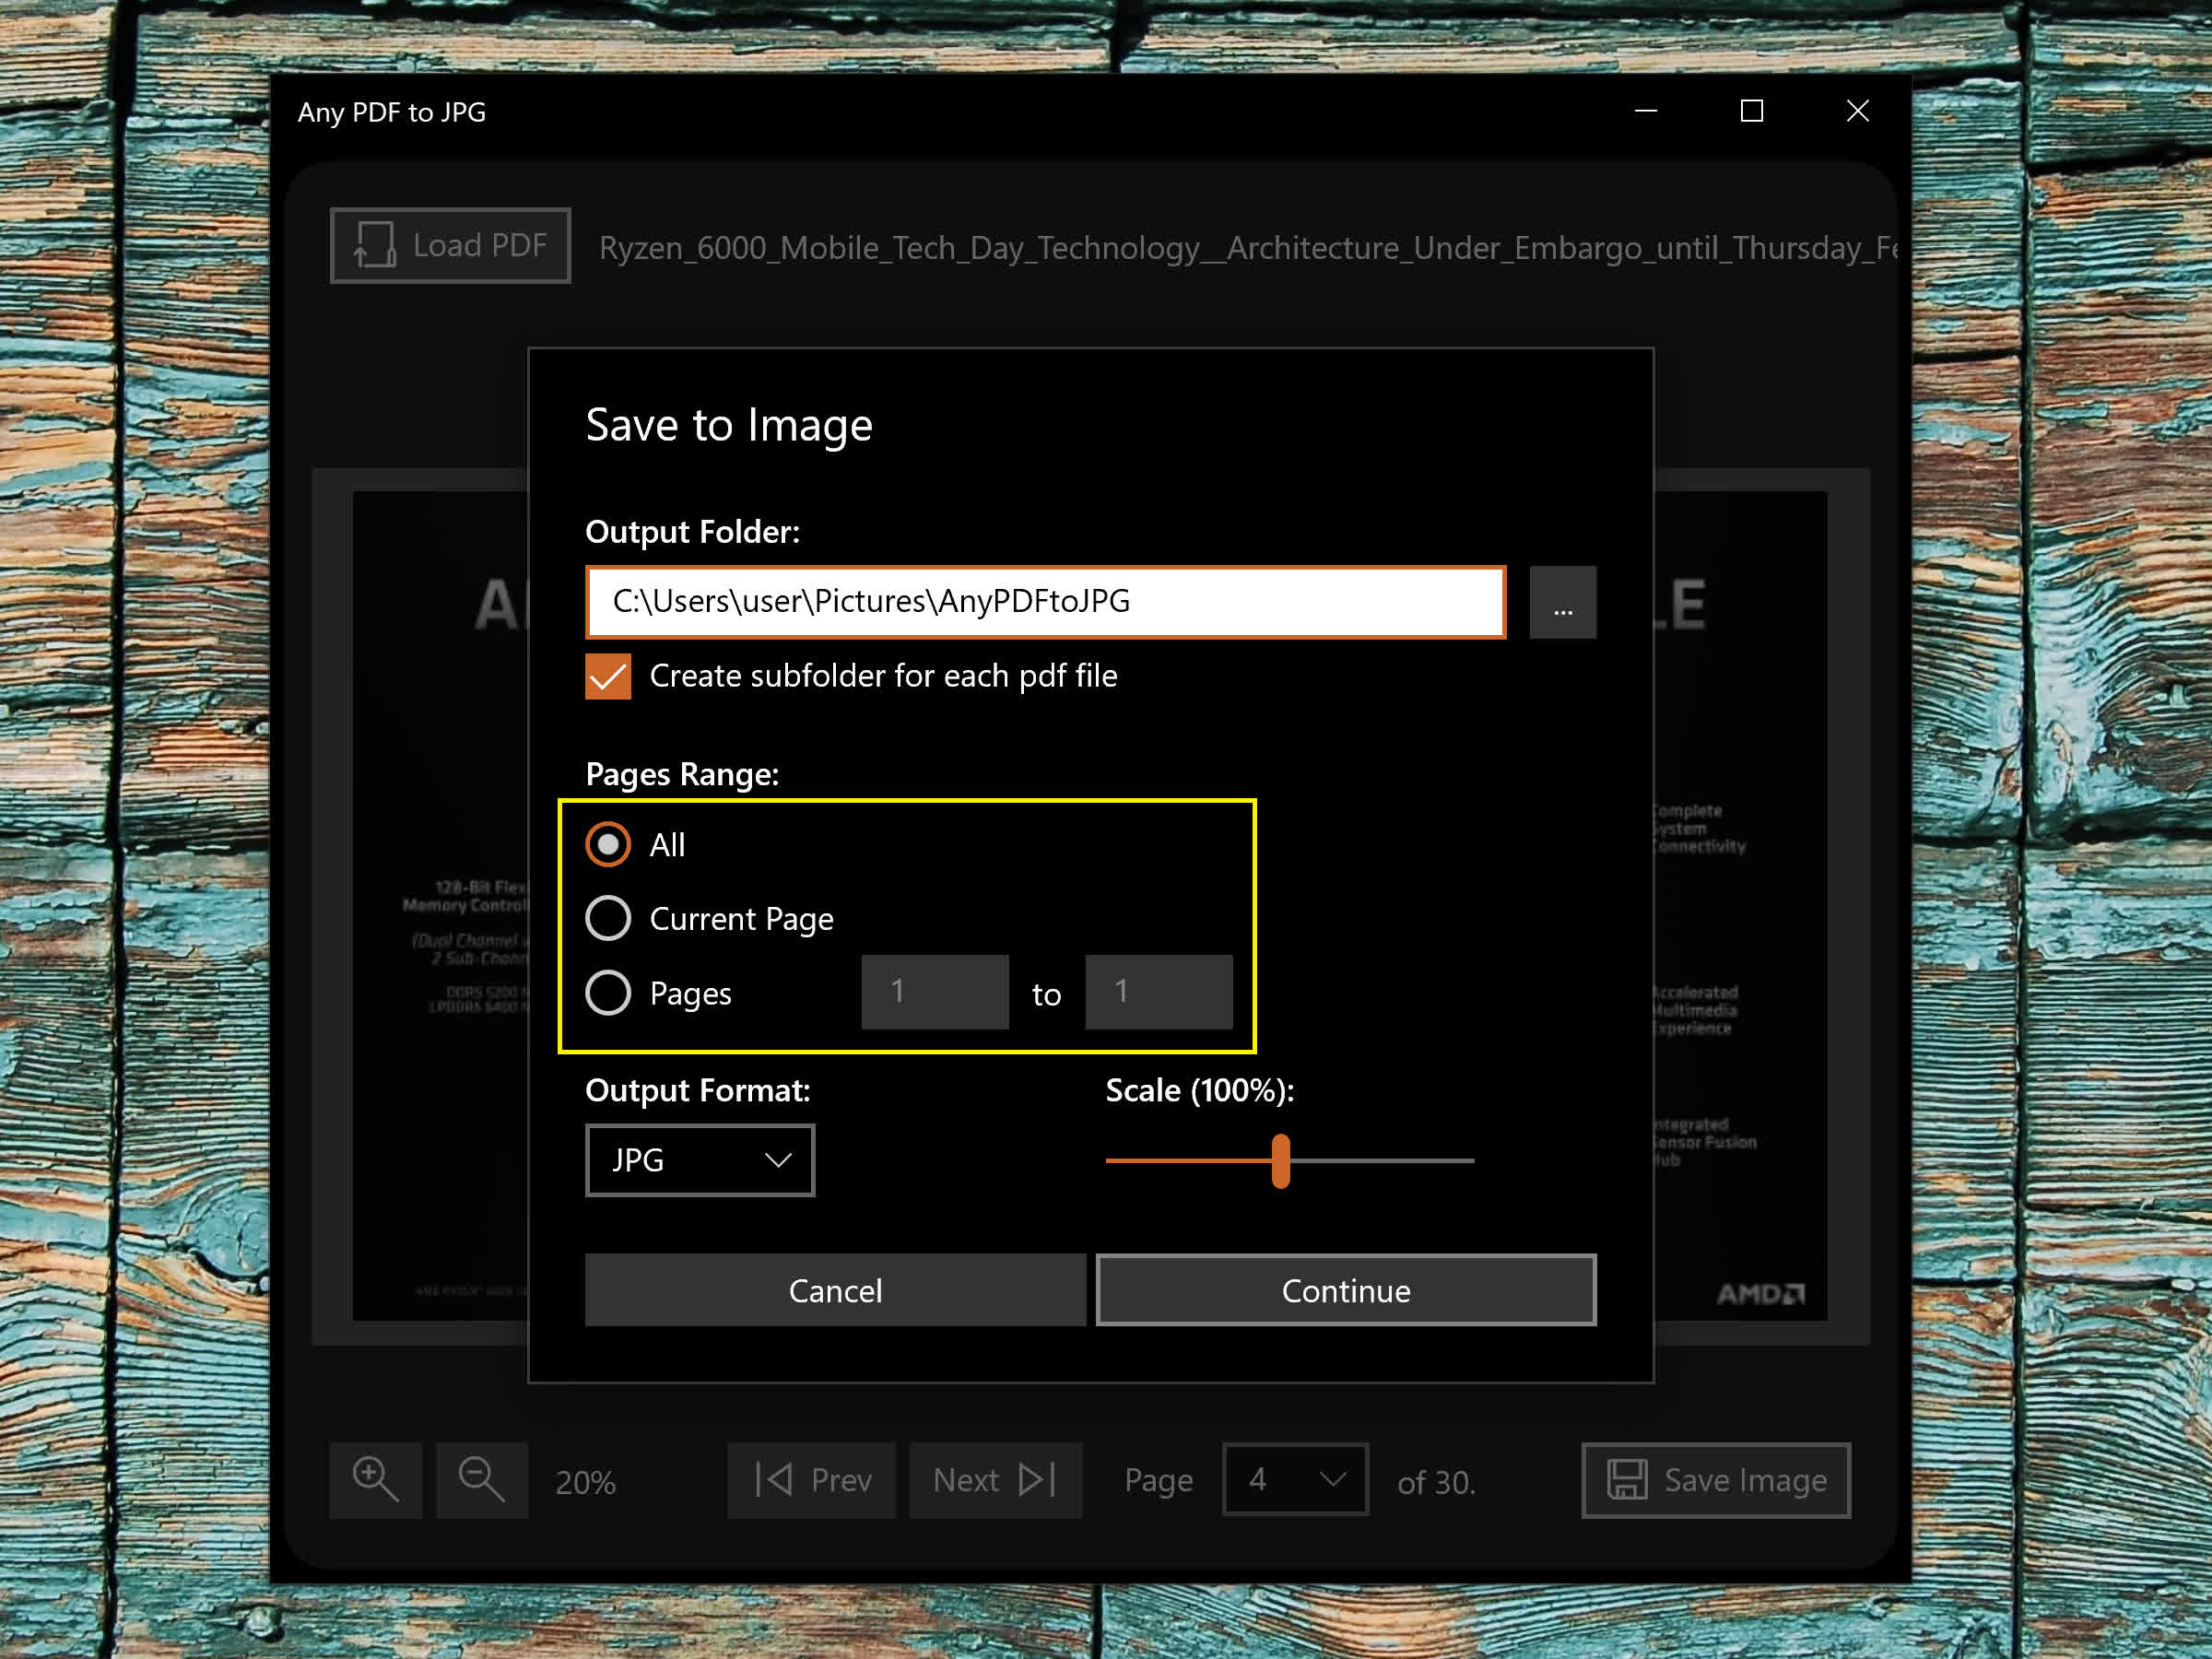
To continue, click "Save Image."
In the next screen, you'll be able to choose whether to save the page you viewed, all of the file's pages or a certain range of pages.
Because PDFs usually contain vector elements (meaning they can scale without pixelation), use the "Scale" option to choose how many pixels the image will have compared to the preview in the main screen. You can also save the image in other file formats.
If you want to edit the image later, you should choose the PNG format.
To save the file, click "Continue."
macOS: No third-party app needed
If you have a Mac, you don't need to download any apps to extract and save a single or multiple PDF pages as a JPEG image.
To save a single PDF page as a JPEG image, right-click on the file, and under "Open With," select "Preview."
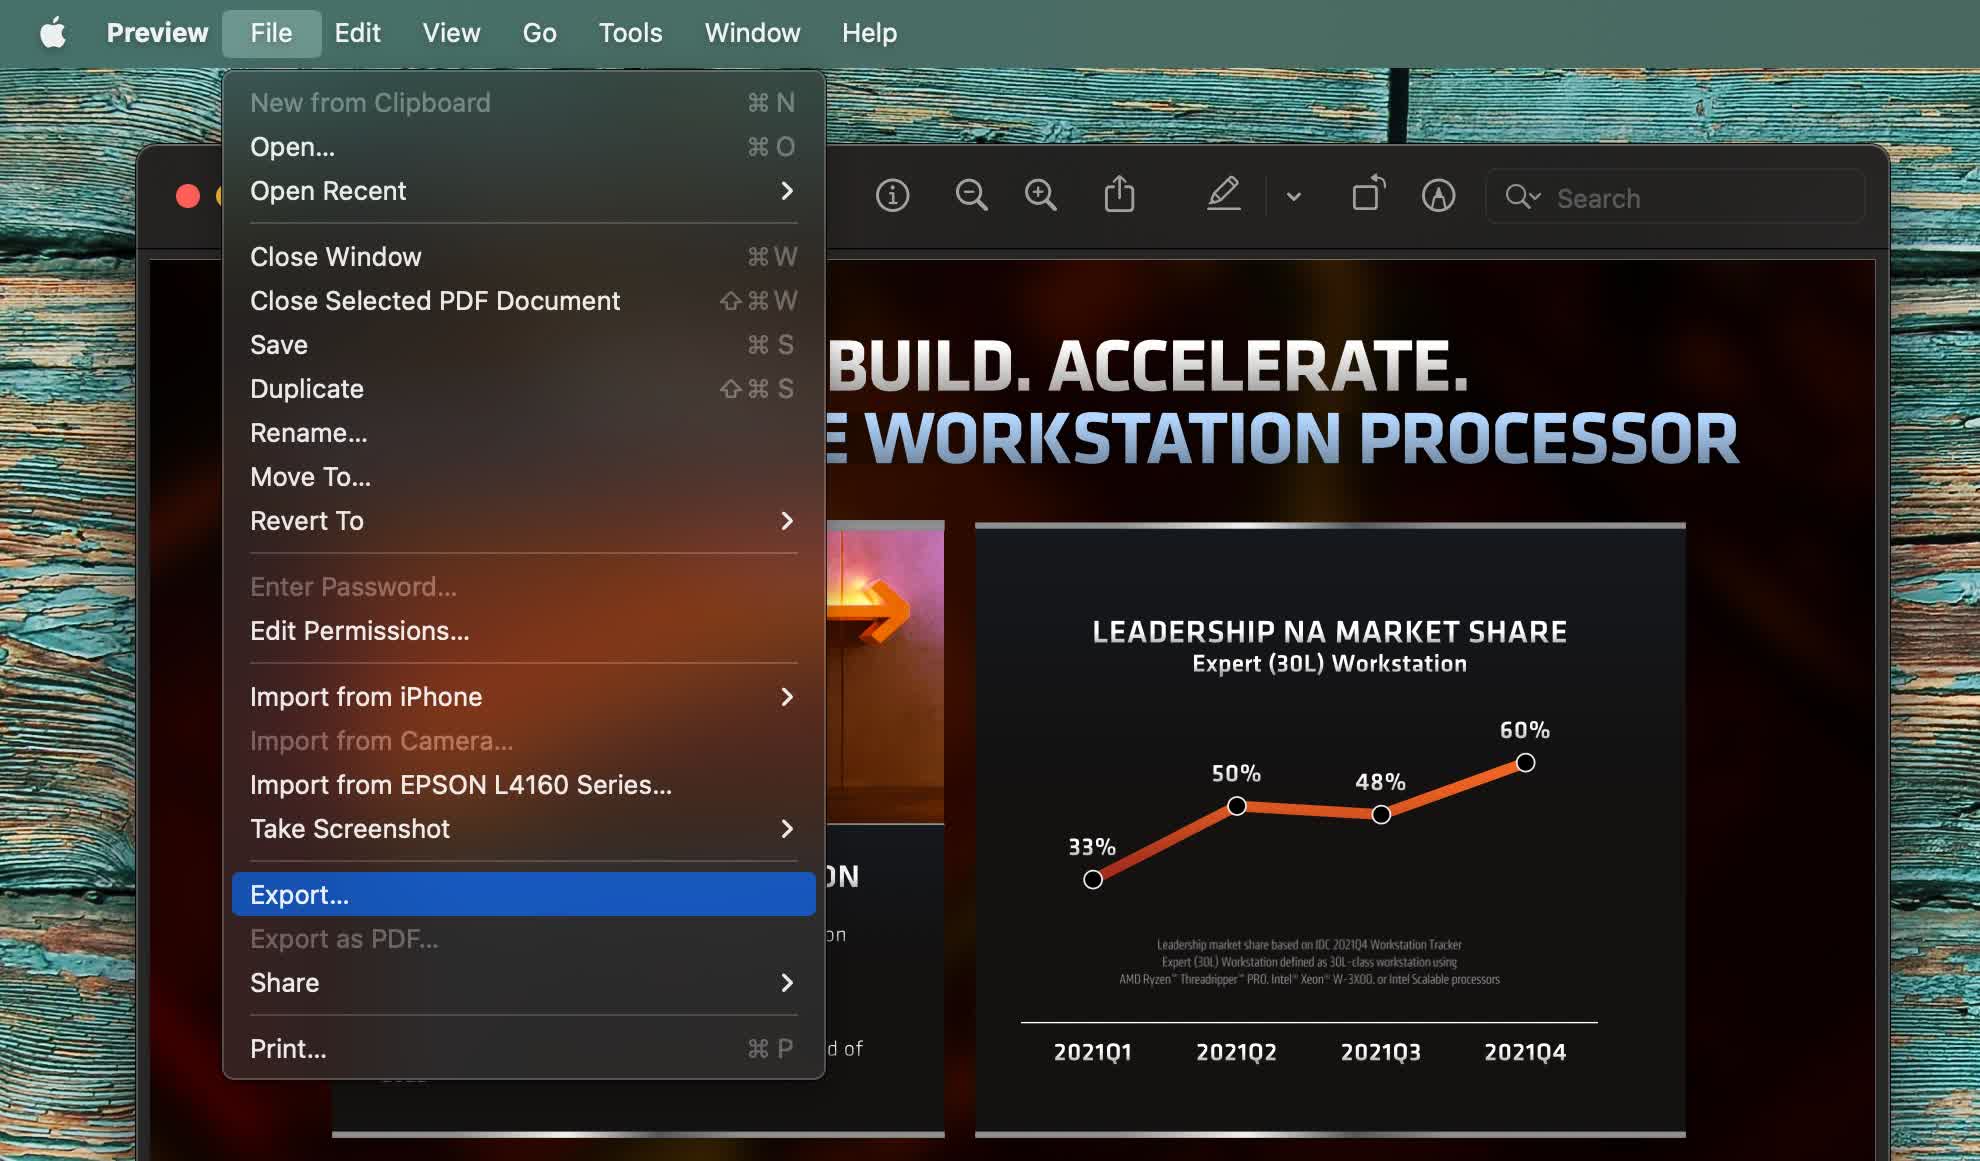
In the Preview app, scroll to the page you want to save. Then, click "File" in the top-left corner, and in the drop-down menu, click "Export..."
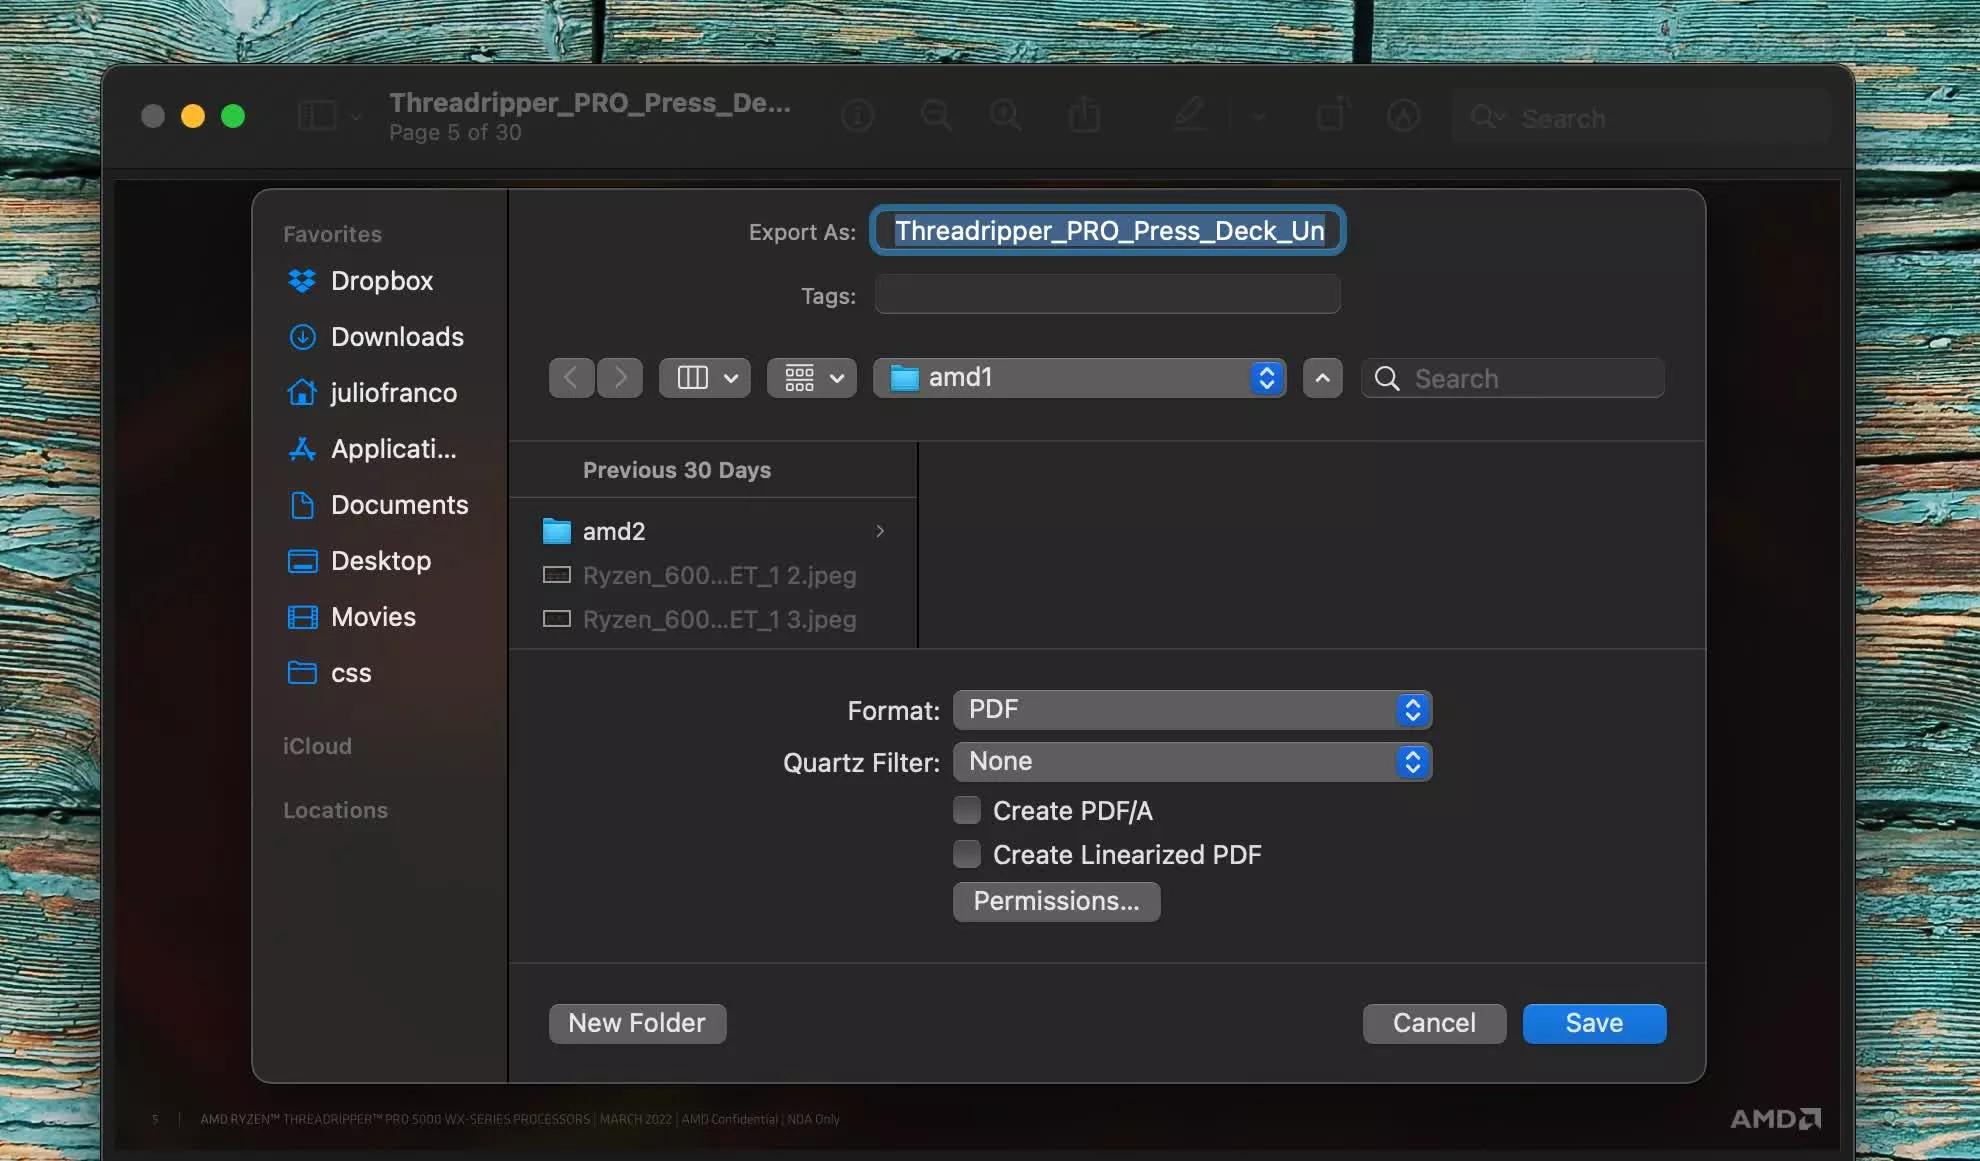
In the new window, make sure to choose the JPEG format (unless you want to edit later). Underneath, you'll be able to choose the file's resolution and level of compression. Once you've chosen your settings, click "Save."
Convert all PDF pages with Automator
If you want to quickly convert entire PDF files as individual JPEG images, you should use the built-in Automator tool, which you can find with the Spotlight search (Command + Spacebar).
When you open Automator, a dialog will appear. Click "New Document." In the new window, click "Quick Action," and then "Choose."
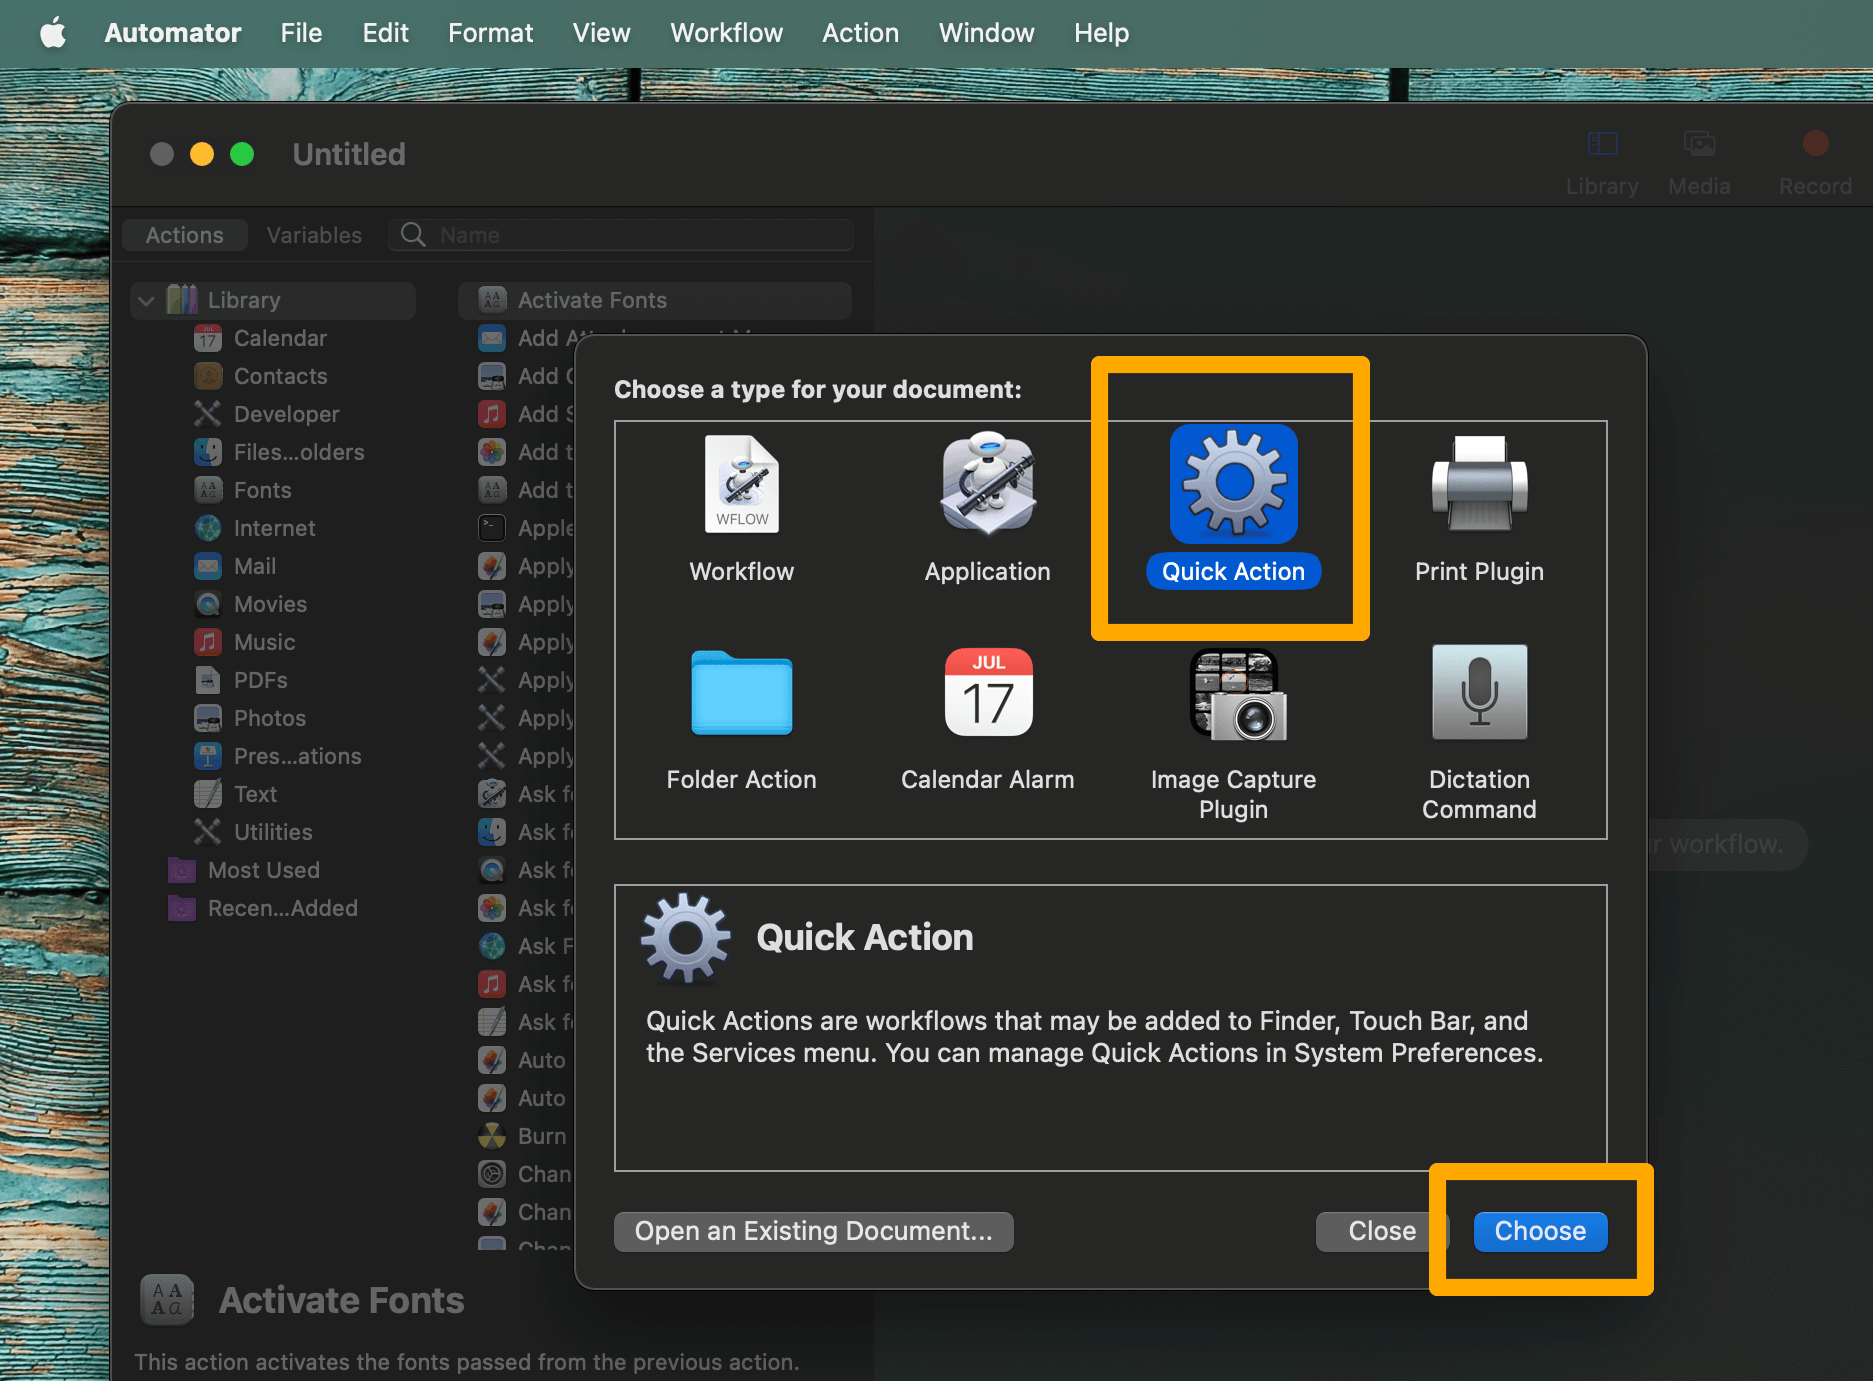
Then, in the search field next to "Variables," type "Render PDF Pages as Images." Drag the search result to the right side of the window.
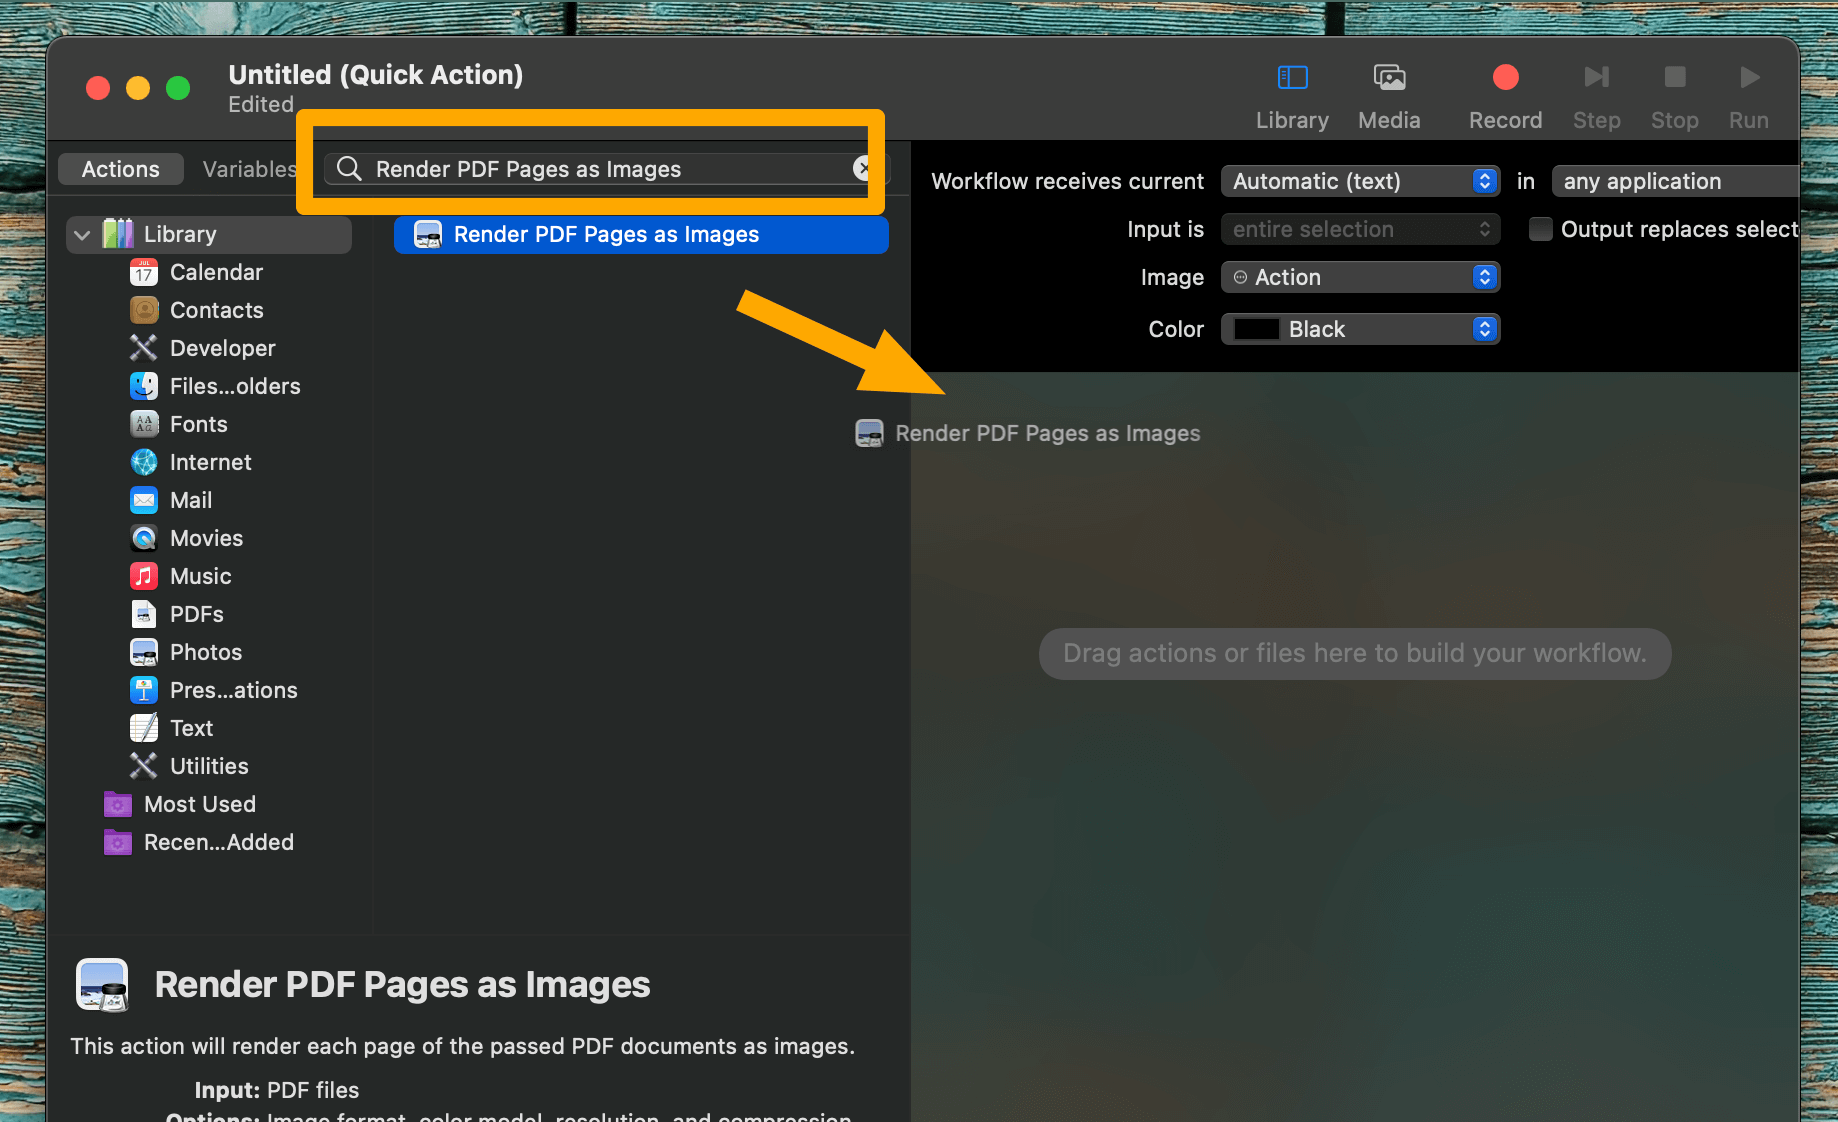
In the new bracket, next to "Format," choose "JPEG image." Here you can also choose a resolution and the compression quality. The Automator tool will also let you save the image files in different formats like PNG or HEIF, if you wish to do that.
To choose where the images will be saved, click again on the "Variables" search field. This time type "Move Finder Items" and drag the result to the right, under the existing bracket, and select a folder.

To save this action, on the main menu click "File" and then "Save," or press Command + S.
In the pop-up window, choose a name for the action (such as "Save PDF as JPEG") and click "Save."
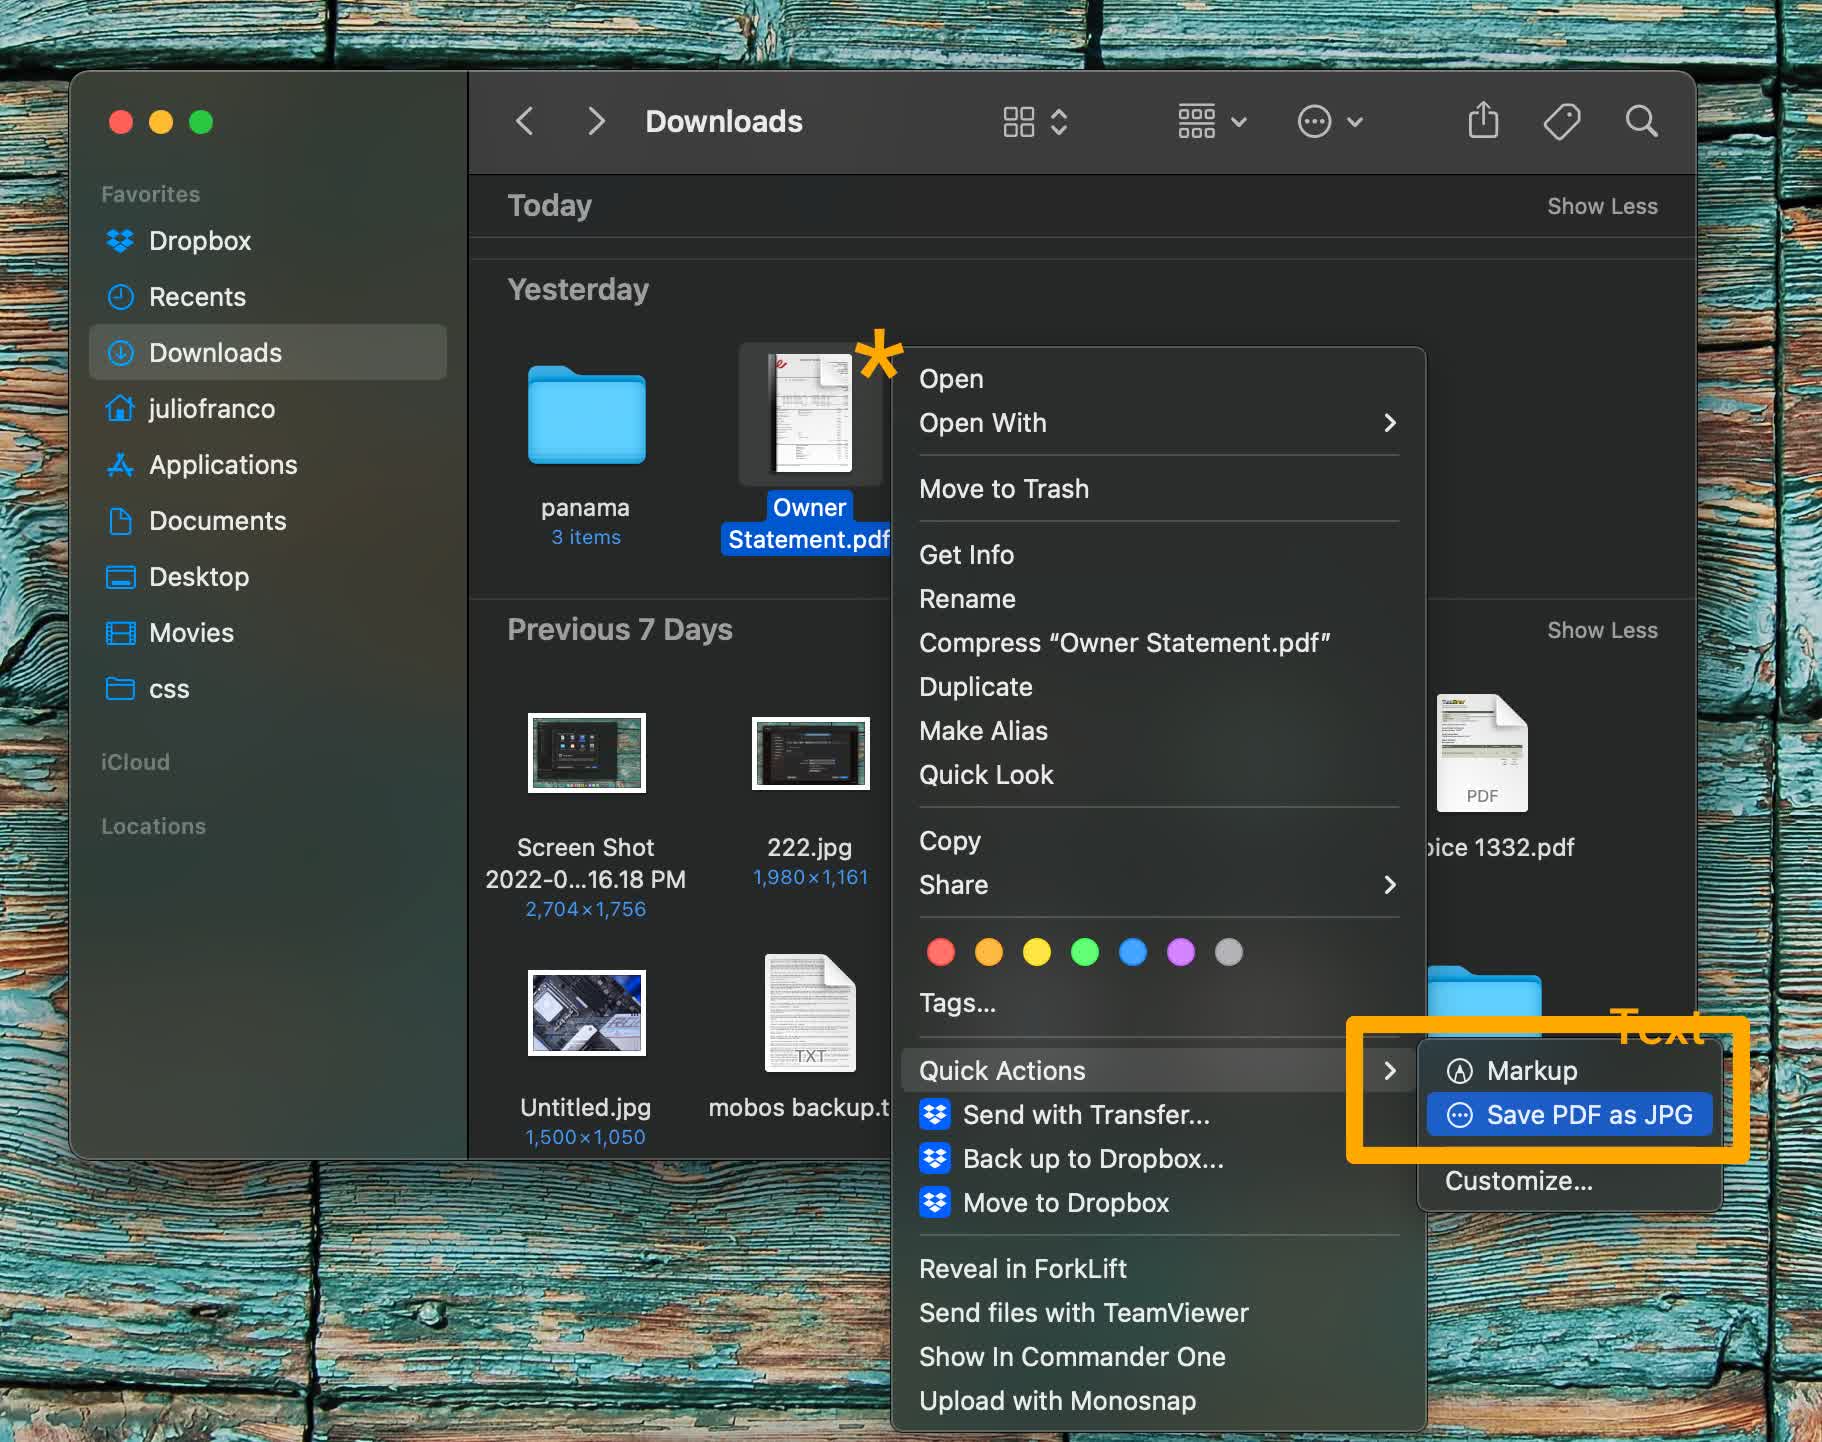
Now, whenever you right-click on a PDF file in Finder, you'll be able to turn it into JPEG images by clicking the name of the action you've created under "Quick Actions."
Did you know?
JPEG images are space-efficient thanks to not saving each and every pixel, but saving each block of 8 x 8 pixels as a combination of up to 64 patterns. Depending on the compression quality, the more complex of the 64 patterns may get ignored, greatly reducing the file size but resulting in artifacts, possibly in the form of large, single-color squares.