Internal Design
On the inside, the Cosmos II looks like a work of art, perhaps only rivaled by Corsair's 800D in terms of size and thoughtfulness. The front panel cables and fan connectors somewhat clutter things up but that's just for now until we install all the components.
Starting at the bottom we have a bracket with two 120mm fans that cool the six hard drive bays in this area. The fan bracket is removable for hard drive installation or you can leave it out completely if you don't plan to have any drives installed here. The drive doors pop out and allow you to slide each tray out for easy installation.

In the photo above we have a good look at the toolless 5.25" drive bays as well as the two 3.5" hotswappable drive bays. Remember, these are the ones that lock on the outside. The toolless bays push in and out to lock drives in place - very easy and effective. Below the external 3.5" bays are five additional internal 3.5" bays, the same as the six in the floor of the case. You can also see the 200mm intake fan that sits between the drive bays and the front bezel.

Above: the roof of the case with a 120mm fan pre-installed. The Cosmos II has provisions for three 120mm fans, a 200mm fan or two 140mm fans up top. If you want to go the water cooling route, you can fit a 240mm radiator comfortably instead. Or, you can fit the same in the bottom of the case.

This picture shows the inside of the rear I/O panel and the 140mm exhaust fan. Notice the large hole in the motherboard tray and the reusable vented rear I/O shield covers. This shot also gives a good look at the hinge Cooler Master uses for each side panel. The hinges are solid and should hold up to the test of time without incident. Finally, take note of the padding used on the power supply stand. This will prevent scratching of your PSU during installation - an issue I've unfortunately encountered on other cases in the past. Nice attention to detail, Cooler Master.

Here we can see behind the motherboard tray. Cooler Master affords a ton of space behind the board for cable management. They have also taken the extra step to Zip-tie the front panel and fan controller cables into a nice bundle. The pass-throughs on the tray offer plenty of options to route cables from behind although I do wish they had included a horizontal bank along the bottom of the board to connect USB headers and front I/O cables.
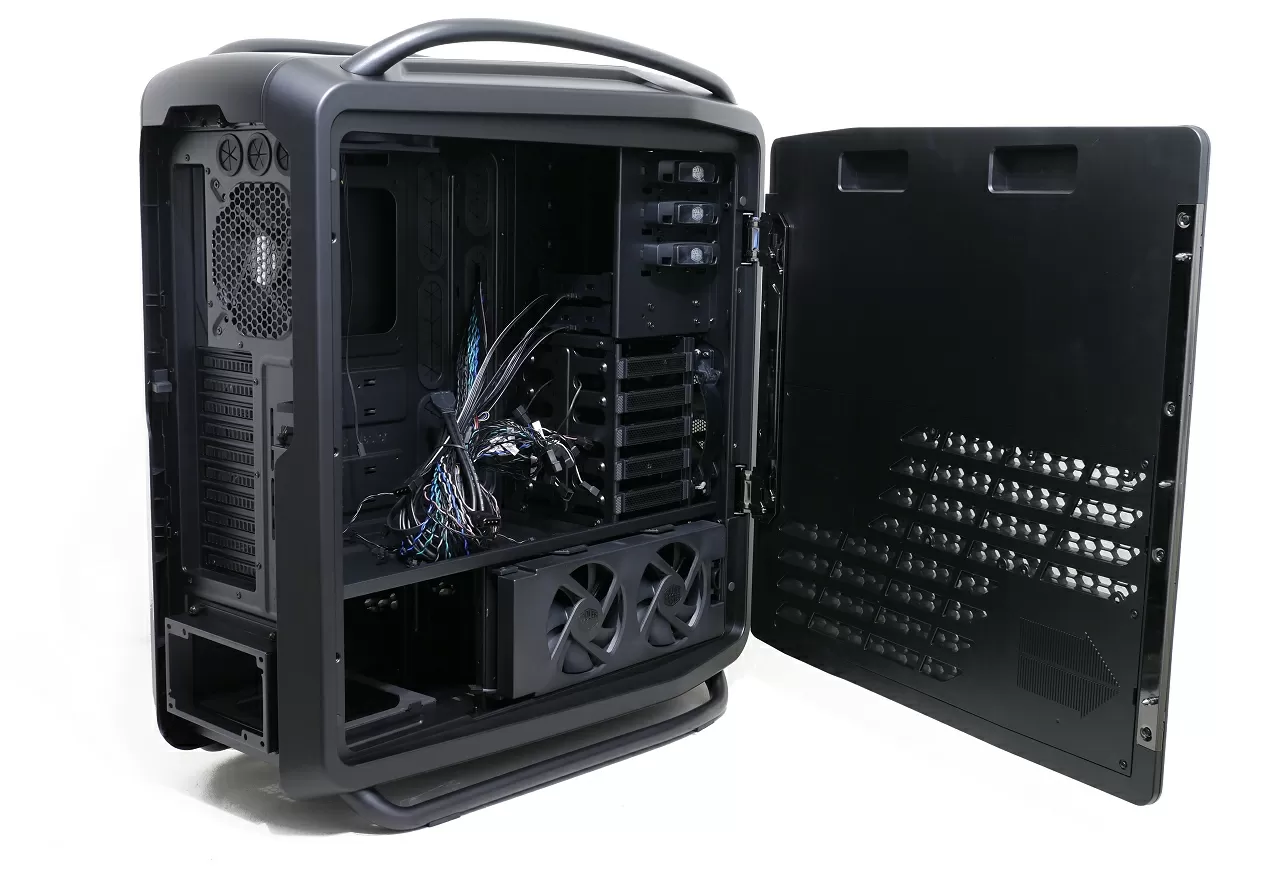
The right side panel opens in the same fashion as the left. Release the latch at the back of the case and swing the door open.