Duo Camera and Camera Features
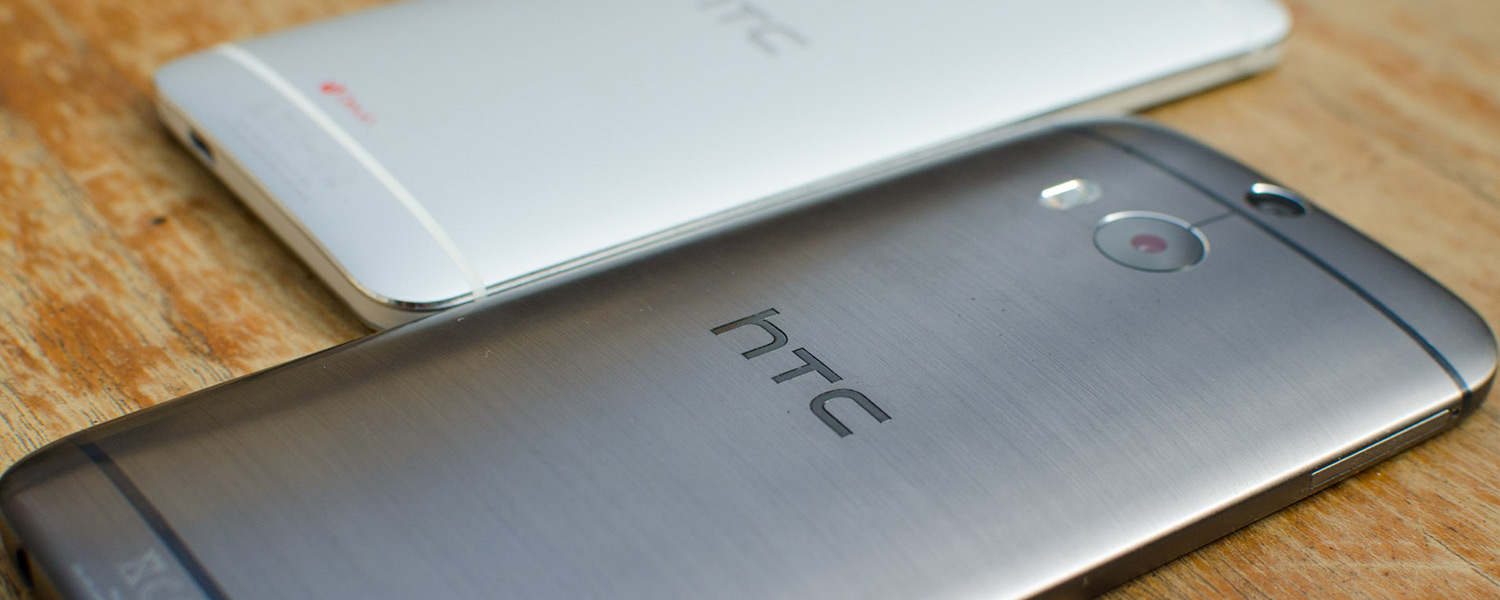
Perhaps the biggest upgrade that can be found on the HTC One M8 is the Duo Camera. The 'Ultrapixel' camera from the HTC One M7 can still be seen on the rear of the M8, but it's now accompanied by a dedicated depth sensor which you can see above it. The sensor itself is nothing more than a 1080p, 2-megapixel OV2722 unit from OmniVision, which provides extra data that the device's software uses for a selection of effects.
The information from the depth sensor is stored in each photo's EXIF data, so every shot that's taken by the HTC One M8 is in JPG form, but contains everything necessary to apply cool effects. The data appears to take up an extra 500 kB of space, and there is no way to disable the depth sensor in automatic shooting mode.
That said, there are some situations where the depth data is not stored. If you take a macro photo, a photo in low light, or a photo with the flash on, the depth camera is not used and you can't apply the effects. Similarly, if you apply filters or use a shooting mode other than auto, depth effects aren't available.
The premier effect available on the HTC One M8 is called Ufocus. When you select to Edit the photo and click Ufocus, the depth data is used to keep some areas in focus while others are defocused using simulated bokeh. It's possible to select the area on the photo that's kept in focus, which provides a Lytro-like focus-after-shooting effect.
Standard photo without affects applied
However Ufocus doesn't work by capturing photos at multiple focus points, instead the depth of field effect is entirely simulated using edge detection and the depth sensor's data. This means that if you take a photo where you've missed focus, or you take a photo where the area behind a subject is unfocused, it's not possible to bring these areas into focus.
Despite these limitations, Ufocus is still a great feature when used in the right conditions. If you take a photo of a person, you can use Ufocus to highlight this person by applying bokeh to the background. Capture a photo of a flower, and you can make the shot look more DSLR-like with Ufocus. Or you can take a relatively plain photo and make it look more artistic by applying the effect to a certain subject or area of a shot.
Ufocus effect applied with simulated background bokeh
While I got some fantastic results by using Ufocus, its reliance on edge detection means that it doesn't always work. If you are trying to focus in on a specific object with a complex or unclear edge, Ufocus often struggles. In photos where an object takes up the majority of the frame, Ufocus also struggles to properly simulate depth-of-field if you attempt to focus on a particular area, giving an awkward sharp line where the defocused area starts.
You'll have a lot of fun playing around with Ufocus, but it's not the only feature available on the One M8. The Foregrounder effect uses depth data to apply other effects to the area that would otherwise be defocused if you were using Ufocus. You can make the background of an image look like a pencil sketch, for example, while the subject appears natural. There's only four filters to use in this mode, but HTC assures me that more will be included in a future update.

Seasons applies a 3D-like falling leaves/snow/petals effect, drawing on depth data to adjust the size of the rendered items. You can save the effect as a MP4 video, but it's not one I'd use on a regular basis. Ideally I'd like to see the rendered leaves fall behind items through the use of edge detection and depth data, but this isn't something that's currently possible.
A 3D effect can be applied to 2D photos through the Dimension Plus effect, allowing you to tilt the device and see the photo at a different, although simulated angle. The effect is cool and seems to work well in ideal conditions - photos with close up subjects can look very distorted, for example - but I'm not sure why you would bother saving images that show a different, simulated perspective of sorts.

The final three effects revolve around people. Stickers is self-explanatory: you can add in silly hats and glasses to the image you've taken. Touch Up gives you the ability to touch up the faces of any person in a shot, by contouring faces and smoothing the skin (among other things). But the best of the three is Copy & Paste, which uses edge detection and depth data to add a person from one photo into another.
Imaging you're enjoying a weekend away with some mates, but Jimmy couldn't make it. You take a group photo but you don't want to leave him out, so you select Copy & Paste, find a photo with Jimmy in it, select him and the One M8 automatically cuts him out. When you're back in the group photo, you can add Jimmy in, and even layer him behind other people so it really looks like he was there. The feature works surprisingly quickly and delivers good results.
There are other minor features as part of the photo editor, including filters, photo frames and basic tools such as cropping, drawing and rotating.

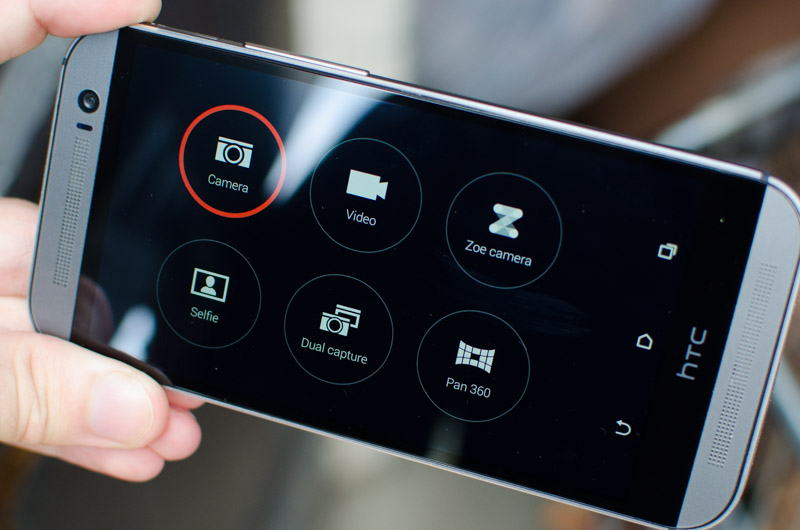
Diving back into the camera app, and there are several shooting modes to talk about. Dual Capture takes a photo using the front and rear cameras simultaneously, while Pan 360 essentially takes a Photo Sphere as introduced in Android 4.2.
Zoe mode returns in the HTC One M8, but it's slightly different to the implementation in the M7. The camera no longer automatically captures images and video before and after the shutter is pressed; instead you now can either press the shutter to capture a standard image, or press and hold to record a video. To differentiate Zoe mode from the Video mode, when you press and hold the shutter, full-resolution burst-shot images are captured alongside the video and combined into the one file in the Gallery app.

It's an interesting shooting mode and might be useful for photographing fast action in particular, but it takes a back seat to the standard photo mode with its capturing of depth data.
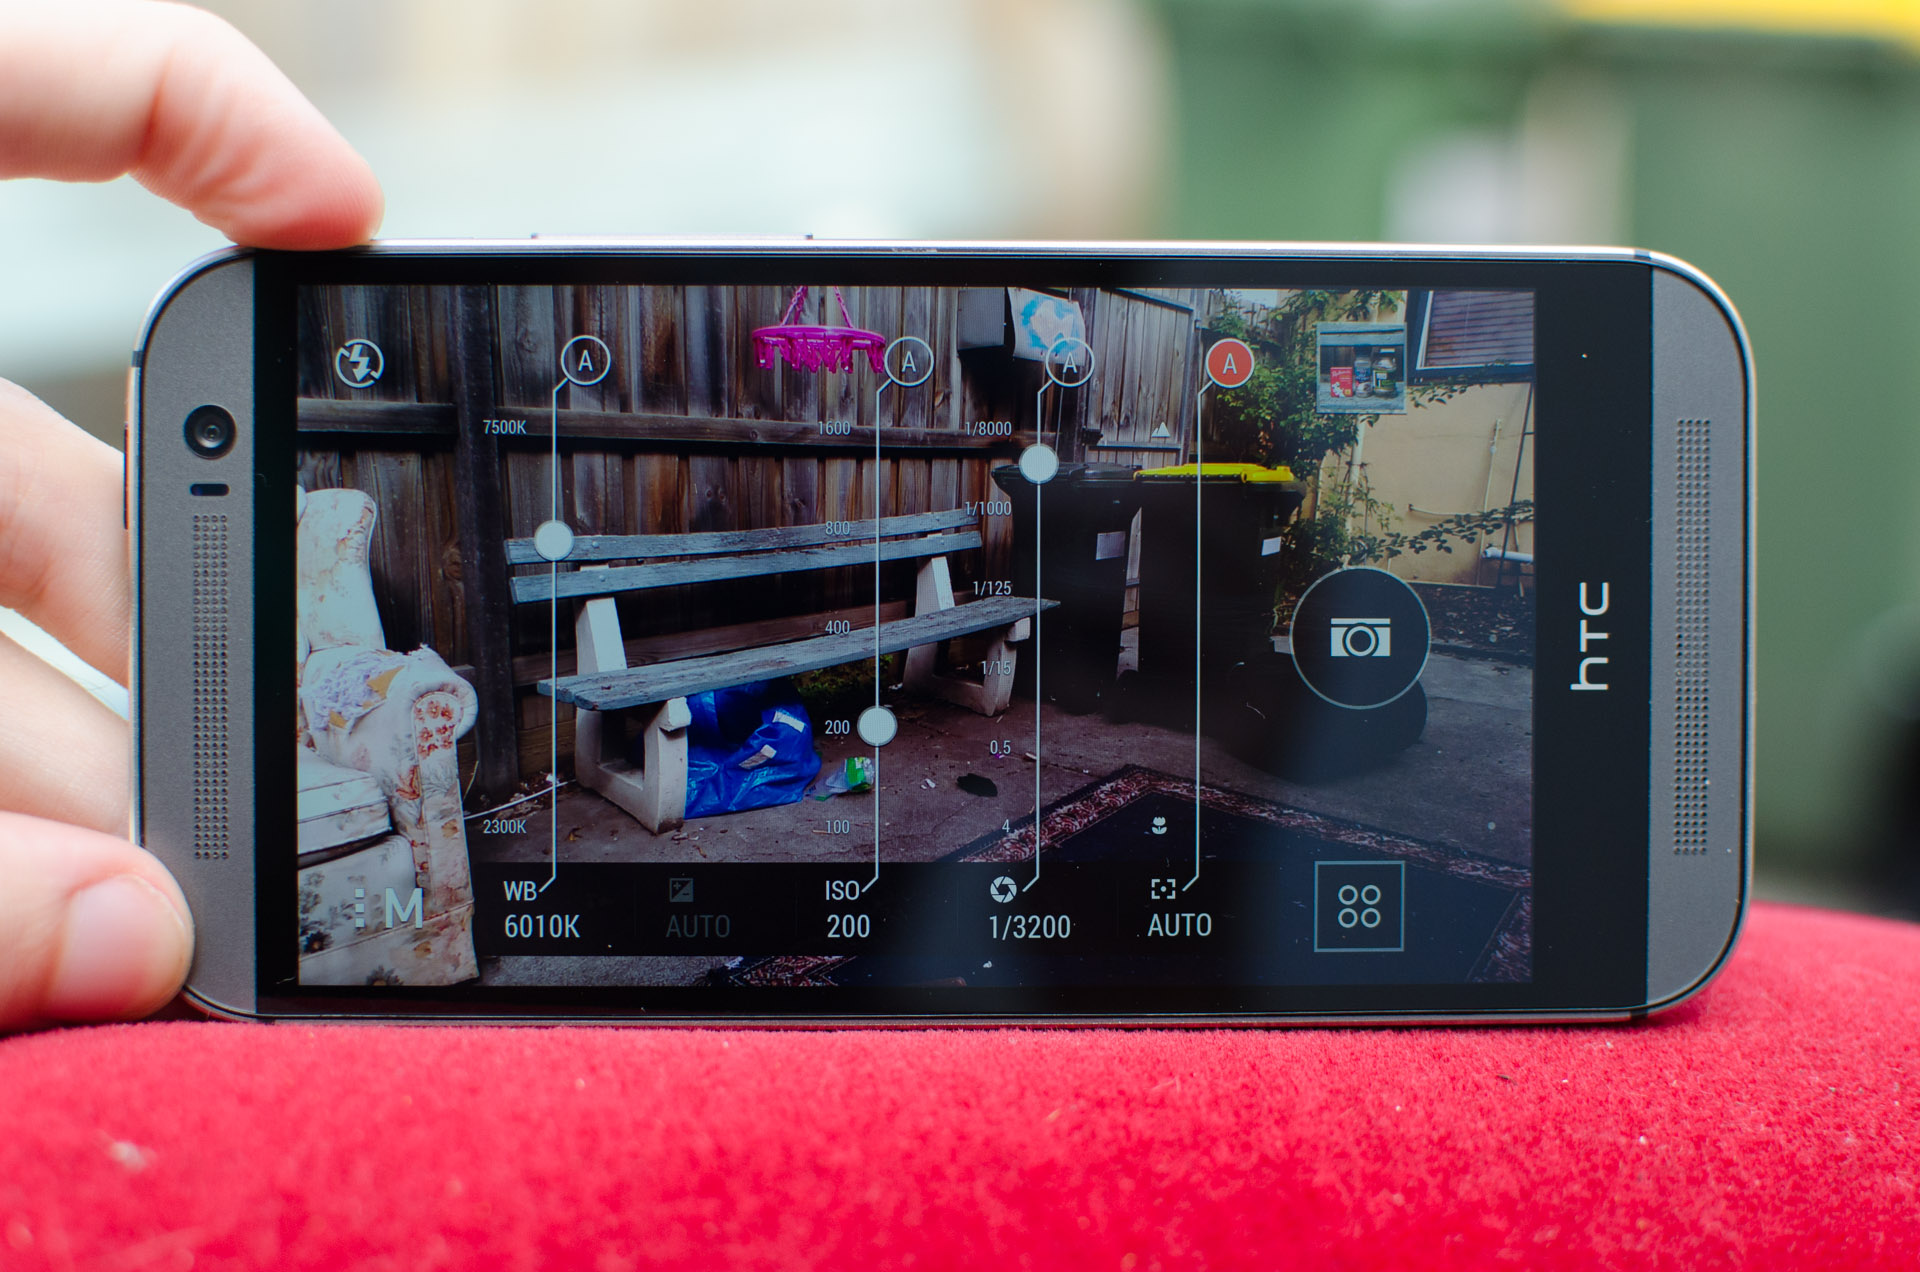
The standard photo mode comes with a number of extra shooting modes including HDR, sweep panorama and a dedicated text capturing mode, to name a few. But the best of the lot is actually the manual mode, which like on Nokia Lumia handsets, gives you easy sliders to control white balance, ISO, shutter speed, exposure and focus. When selecting settings in this mode it adjusts the live preview in real time, which makes it very easy to see exactly what the camera is going to capture.
I'll talk more about just how useful the manual mode is when discussing the quality of the photos themselves in the next section.
In the video mode you also get a range of extra capture modes, including slow motion video at 720p, HDR video at 1080p, and a 1080p60 fast motion mode. Like with the photo mode, you can apply filters in real time to video, showing off the processing power of the Snapdragon 801.


