Cooling computers has evolved in the last ten years to the point where there are more options to satisfy all kinds of needs. All in One (AIO) water cooling kits in particular have gained popularity among users who want push frequencies higher while keeping their CPUs cooler. They're very easy to get started with as they are mostly plug and play. While things have gotten easier in the water cooling game, there are still many things that need to be taken into consideration before jumping in to ensure you can get the most performance from your own system.
Water cooling systems – whether they are a custom loop or an AIO – all follow the same basic principles. You have the reservoir, the pump, the radiator, the fans, some tubing, a block (for either the CPU, GPU, or both), and the water itself. Generally on different versions of AIOs or custom loops you may see some of these features as barely noticeable, for example, many AIOs have very small reservoirs that are not nearly as prominent as with other custom loops, but they are usually all there.
After years of working with water cooling kits, here are some important tips to help you get the most out of your system.
Mounting the Block
When mounting the block you want to have the best contact between the block itself and the component you're trying to cool. This does not mean that it needs to be extremely tight so it's near impossible to lossen the screw, instead you just want to make sure it has the right amount of tightness so the system's heat is transferred properly to the radiator for cooling.

Do: Tighten the block down starting first at opposite ends of the block and then add the other two. Tighten the screws down until they get a little snug.
Don't: Force the screws to tighten to the point they will no longer move. Overtightening the cooler can cause the paste to leak out the sides causing poor contact between the block and CPU and it can also cause problems with the CPU and motherboard contact.
Mounting the Radiator into the Case
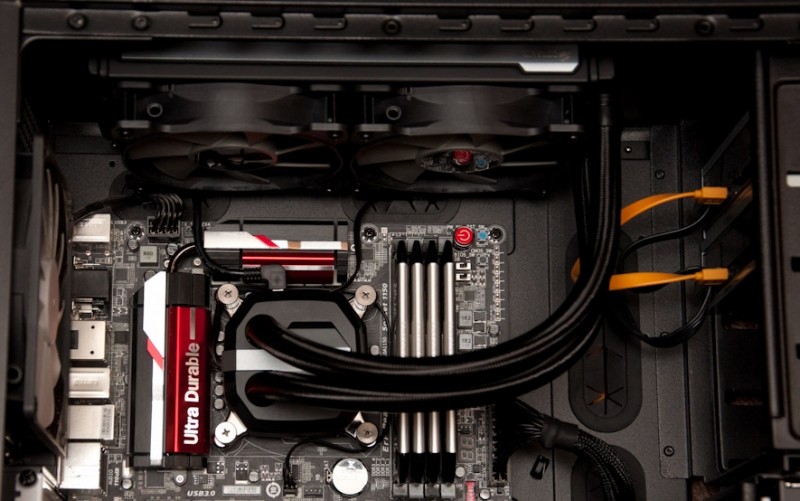
When choosing where to mount the radiator there are many options available, however there are some locations that will allow the system to work bettter for both the water cooled components and the rest of the system as well. Some users choose to mount the radiator to pull in fresh air from the outside; others choose to have it push air out of the case. Which method works best will come down to your own system as you want to make sure you don't end up impeding other components from cooling properly.

Image courtesy: Legit Reviews
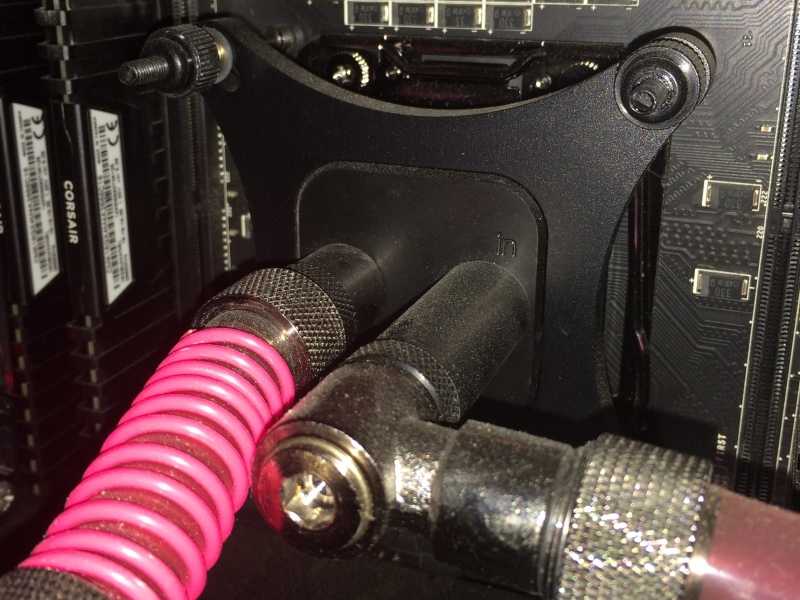
Do: Pick a place for the radiator that allows as little bending as possible on the lines. You can normally adjust the lines to where they can sit comfortably in the system especially on AIOs. You just want the lines to keep their shape while bending so as to not impede water flow.
Do: Mount the radiator so its airflow is not impeded by other devices in the machine. One of the best spots on a machine is the top of the case.
Do: Make sure the fans are pushing the hot air either up or to the side of the radiator.
Do: Tighten the mounting screws snugly enough so the radiator cannot move to alleviate potential vibrating/noise.
Don't: Bend the tubes much. The harder the bend, the more likely it is to kink. Even with "Kink Resistant" tubing, it's still possible that bent tubes will reduce water flow. If you are worried about this, you can always use anti kink coils which can help keep tubing from kinking.
Don't: Mount the radiator too close to other devices. If you mount the radiator and its fans too close to a device pushing air in the opposite direction it can cause a stalemate with the air and in turn give you higher temperatures. The radiator needs to be put in a way it is not impeded by any device in the system to ensure you get the most performance out of the cooling system.
Don't: Have the radiator push its air down. This goes against the laws of physics and can cause the radiator to stalemate air. Hot air likes to rise so if the radiator is dissipating heat that air is going to travel up at some point. You want the radiator and fans to have as little trouble as possible when moving hot air out, which will improve temps and keep the system quieter.
Don't: Overtighten the screws when mounting it. Generally the screws that are sent with the radiators are designed to fit within the specifications of the kit it comes with. Overtightening the screws can have adverse effects like bending the radiator, puncturing the radiator, or causing warping on the radiator and its fans which can lead to damage.
Placement of the Fans
When it comes to fans the first concern is the configuration they should be in. Some people prefer to have the fans pushing air through the radiator, others choose to have the air pulled through the radiator, and the rest choose to have both.
In practice the results are almost the same using any of these methods. If you want to use a push and pull system on your radiator, this will give you a more consistent speed of air moving through the radiator and makes it less likely for air to escape from the sides of the radiator. More and more fans today are designed to provide better air pressure whether they are going on a radiator or computer heatsink. So while your results will vary depending on the fans, using a push and pull setup on your radiator is not necessary in most cases but can give a little boost to get the best possible performance out of your cooling system.

Do: Mount the fans pushing in a direction where hot air can travel freely (Straight up or to the side). The fans should be impeded as little as possible when pushing or pulling air through the radiator to give the most performance for the whole system.
Don't: Mount the fans pushing air down. This can cause air to stalemate in a case as the air will attempt to travel back up in the case and can clash against other components (like graphics cards with coolers that push air to the sides of the card in the case), which can result in higher temps of not just the liquid cooling loop but the other components as well.
Testing/Finalizing your System
After you complete your first water cooling setup it is important to test out its functionality regardless if it was an AIO or a full custom loop. While reliability has improved significantly over the years, there is still the chance of a dead component that could hinder your system.
There is also the chance that a part is mounted improperly or that a component conflicts with your positioning of the radiator and fans, which can cause lower than normal cooling performance. Watching the device power up for the first time and begin moving water can immediately let you see if there are any issues (leaks, weird noises) that need addressing.
After that, look at the idle temperatures from the hardware you are cooling as that can immediately show if there's a problem. Your machine should be running at a lower temp than before installing the water cooling system, usually below 50C depending on the device. You can check around what others have achieved with similar setups to get a general idea.

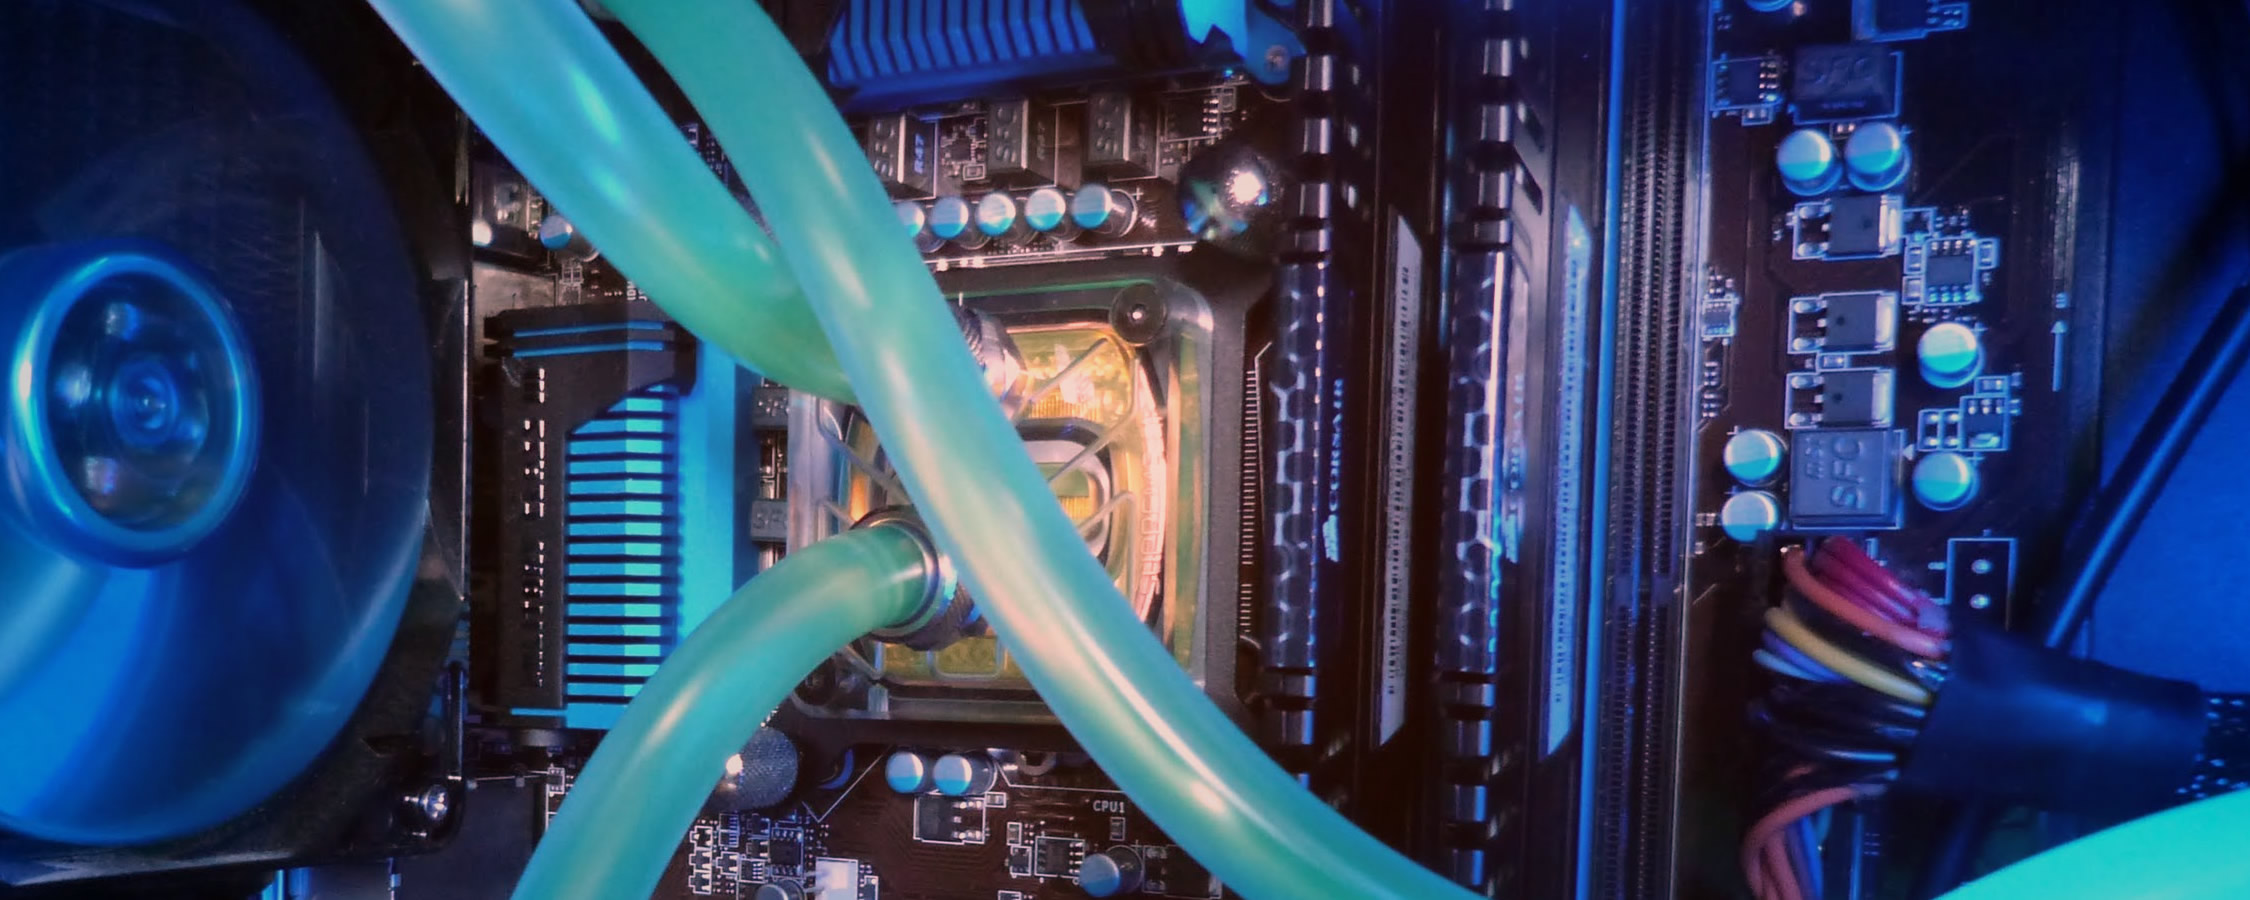
Image courtesy: Bit-tech
Do: Test your setup before proceeding to your normal computer routine. You should check your idle and load temps to make sure they are staying within the manufacturer's safe range and that the system runs in the expected range for the cooling you have bought/made.
Don't: Immediately return to your normal computing routine or overclock without first confirming functionality. While modern day processors and graphics cards are equipped well to keep their temps down in the event of an issue with cooling, running devices near their temp limits can cause damage and eventually ruin the component.
Nowadays there's an abundance of water cooling solutions to fit most people's needs and a range of form factors. Whether you're after a silent system, serious overclocking, or simply some geek cred and sleek looks, if you're just exploring this world, going with an AIO package is probably the safest bet, but you can get as involved as you want all the way to cutting tubing and building your own loop to cool your CPU, GPU, motherboard, and more.
