Putting It All Together
As is often the case with small builds, traditional convention is thrown out the window. With all our hardware in hand, it is time to put our small form factor gaming build together.
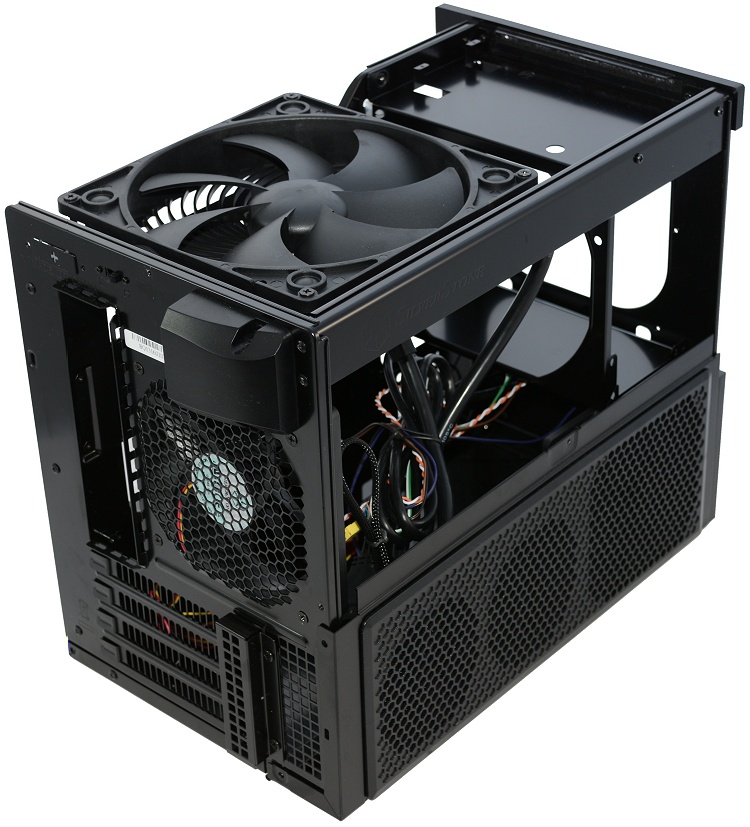
The Silverstone Sugo SG10 has its own unique way of doing just about everything, from how the power supply is mounted to how the doors come off.
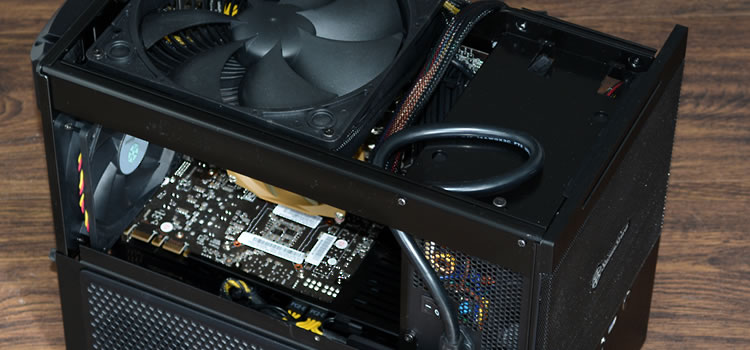
This however isn't necessarily bad, as the SG10 makes working with a tiny 23L computer case very easy, easier than some larger mid-sized cases in fact. With the doors/lid removed as well as part of the bottom the SG10 is incredibly open, making it easy to fit components inside.
For the first step we slotted in the Z87M Extreme4 motherboard which was pretty straightforward to do. The four main motherboard stand-offs are pre-installed as they are fixed to the case, these are the four used by all motherboards including Mini-ITX models. This meant we had just two that needed to be screwed in which sped this process up considerably.
Next we set about connecting the front panel cables to the appropriate headers, plugged in the fans and locked the CPU and RAM into place.
Now comes the Thermalright AXP-100, and while typically we would do this with the motherboard out of the case for a first time build, we wanted to see how easy it was to install with the motherboard already fitted in the SG10.
The SG10 features a large cut out in the motherboard tray designed to allow rear access to the motherboard's CPU socket. The installation went off without a hitch, though we did find screwing down the mounting plate to be a little fiddly given the limited space.
With the AXP-100 installed we moved onto the power supply. For this build we went with the affordable Corsair VS450 as it's a quiet power supply that will deliver enough power for this gaming system. Given that it is mounted horizontally within the case you would expect the installation procedure to be a little tricky but it's not.
Simply slide the power supply into place from right to left, screw it into place and connect the internal 3-pin extension power cord and you are virtually done. Because all the cables are facing the right side of the case, half the cable management is already done.
Installing the hard drives is again very orthodox as you won't find any hard drive cages within the SG10. Rather they are mounted on the rear side of the motherboard tray. The case supports two 3.5" drives and four 2.5" drives.
The 3.5" drives are mounted directly over the rectangular hole in the motherboard tray using a custom designed bracket. The installation process is rather simple, you first remove the bracket and screw the drives in from the other side. Once that is done screw the bracket back into the original position and connect up the drives.
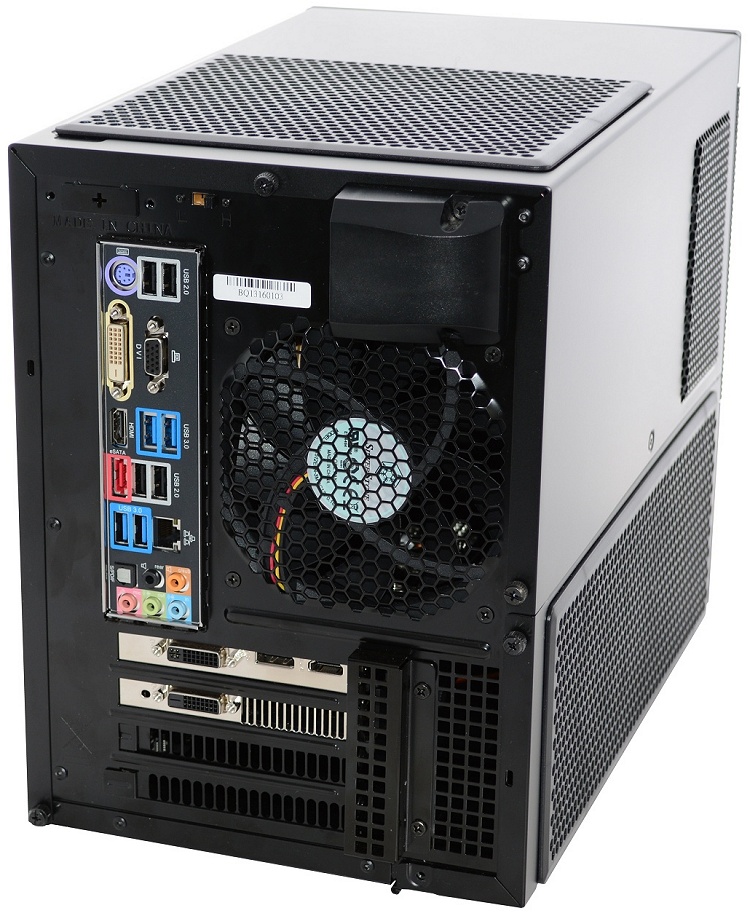
Now that we have the motherboard, CPU, RAM and heatsink along with the power supply and hard drives in the case, the last thing left to do is pop in a graphics card. The installation procedure here is pretty basic, there is a slot cover at the rear of the case which must be removed. Once that is done you can remove the slot brackets and install the graphics card.
For this build we went with the GeForce GTX 760 because it represents excellent value at $250 and provides ample performance for most gamers. It is also a fairly compact graphics card which makes it ideal for SFF builds, though this really isn't a requirement for the SG10 as it can support two dual-slot full length graphics cards.


