Why it matters: With Windows 11, Microsoft wants all consumer PCs to have the same enterprise-grade security as corporate machines. If you've just bought a machine or did a fresh install of the new operating system, chances are you have this new functionality enabled by default, and performance will suffer a bit as a result. However, you can always turn it off and end up with the same level of security you've had on Windows 10, but also better performance.
Windows 11 is anything but perfect, and reviewers have mixed feelings about Microsoft's new operating system. If you've already upgraded or are planning to do so, it's worth noting that Windows 11 comes with enhanced security features that come at the cost of performance, even on relatively new hardware.
The culprit is a feature called Virtualization-based Security (VBS), which was first introduced in Windows 10 as an optional layer of security for corporate PCs. What VBS does is allows Windows 11 to make use of hardware virtualization features present in modern CPUs to isolate a secure region of memory and host security features such as Hypervisor-Enforced Code Integrity (HVCI).

VBS and HVCI can prevent hackers from running malicious code on your system alongside trusted applications and drivers because it would fail code integrity checks. All this sounds good on paper, but early testing has shown it can impact performance in certain scenarios, most notably gaming, by as much as 28 percent.
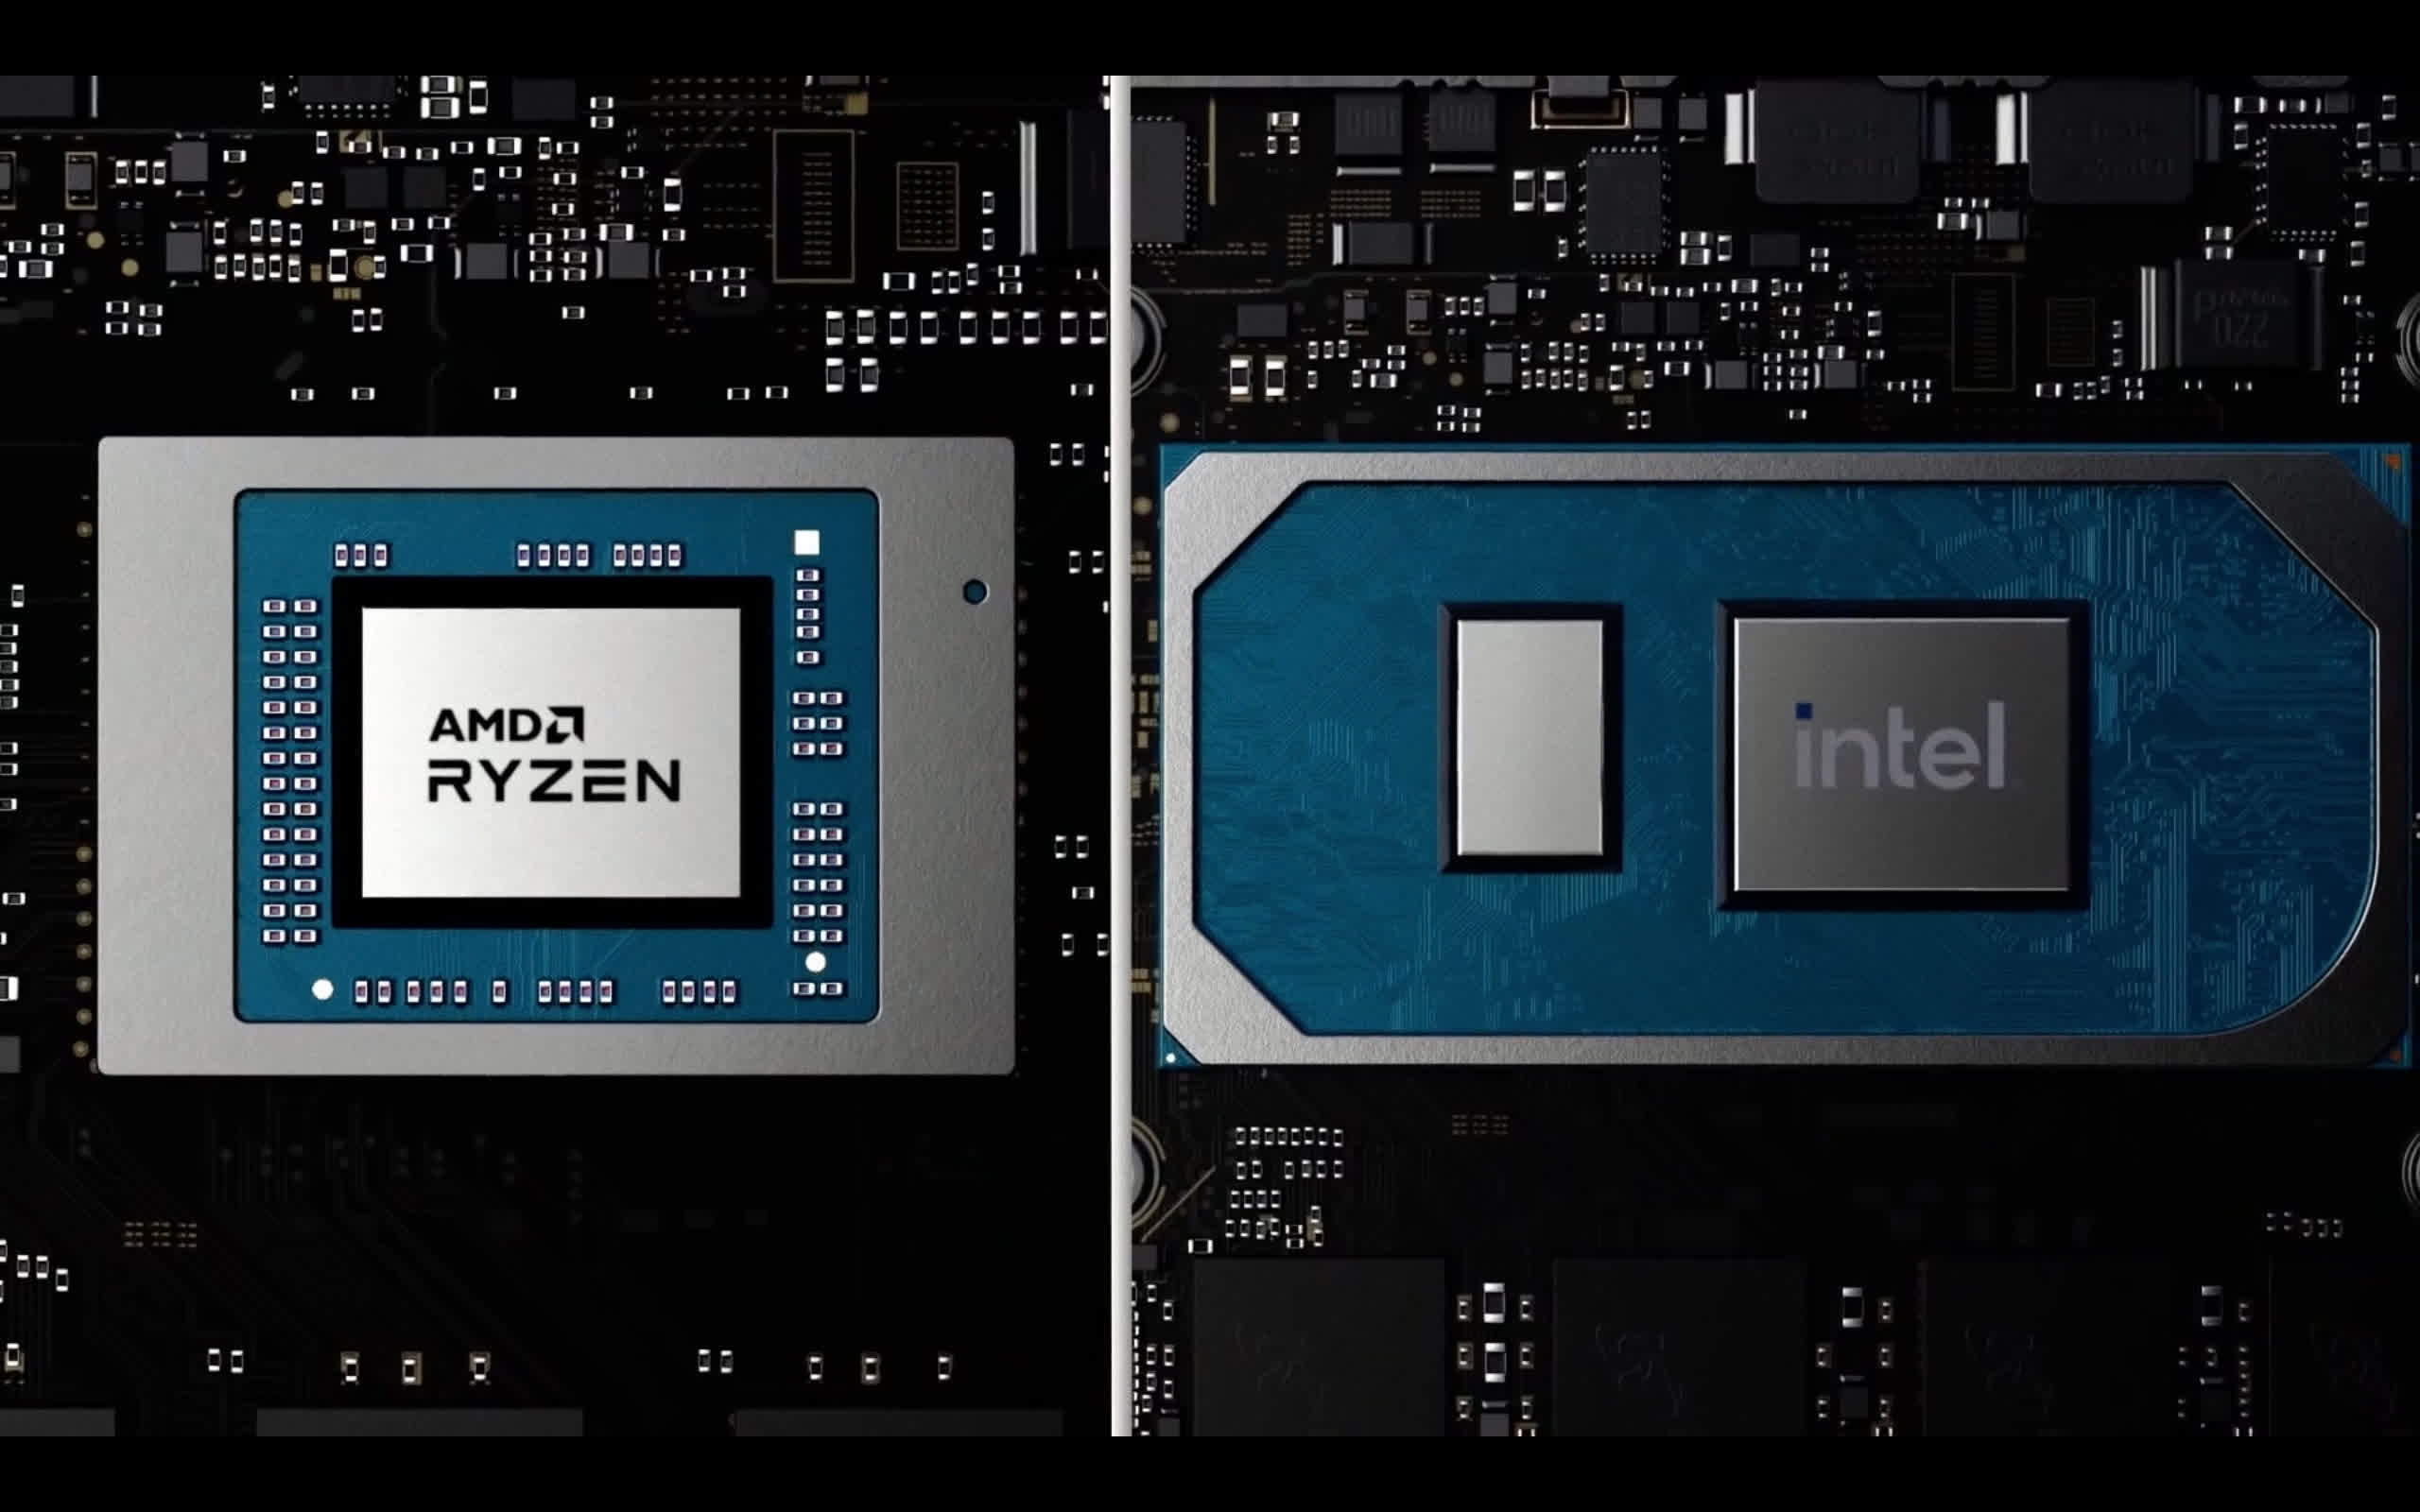
This sort of performance regression will mostly be experienced by users with 1st generation Ryzen CPUs or 10th generation Intel CPUs and older. For people with newer hardware, the performance impact is closer to five percent. Microsoft recommends OEMs enable VBS and HVCI by default on new PCs, but they're allowed to ship gaming PCs with the two features disabled.
If you've upgraded to Windows 11 from Windows 10, VBS will be off unless it was enabled before you started the upgrade process. However, it will be enabled on a new PC or after a fresh install on your existing device, so it's worth exploring how to check if it's on and how to disable it to gain that extra bit of performance.

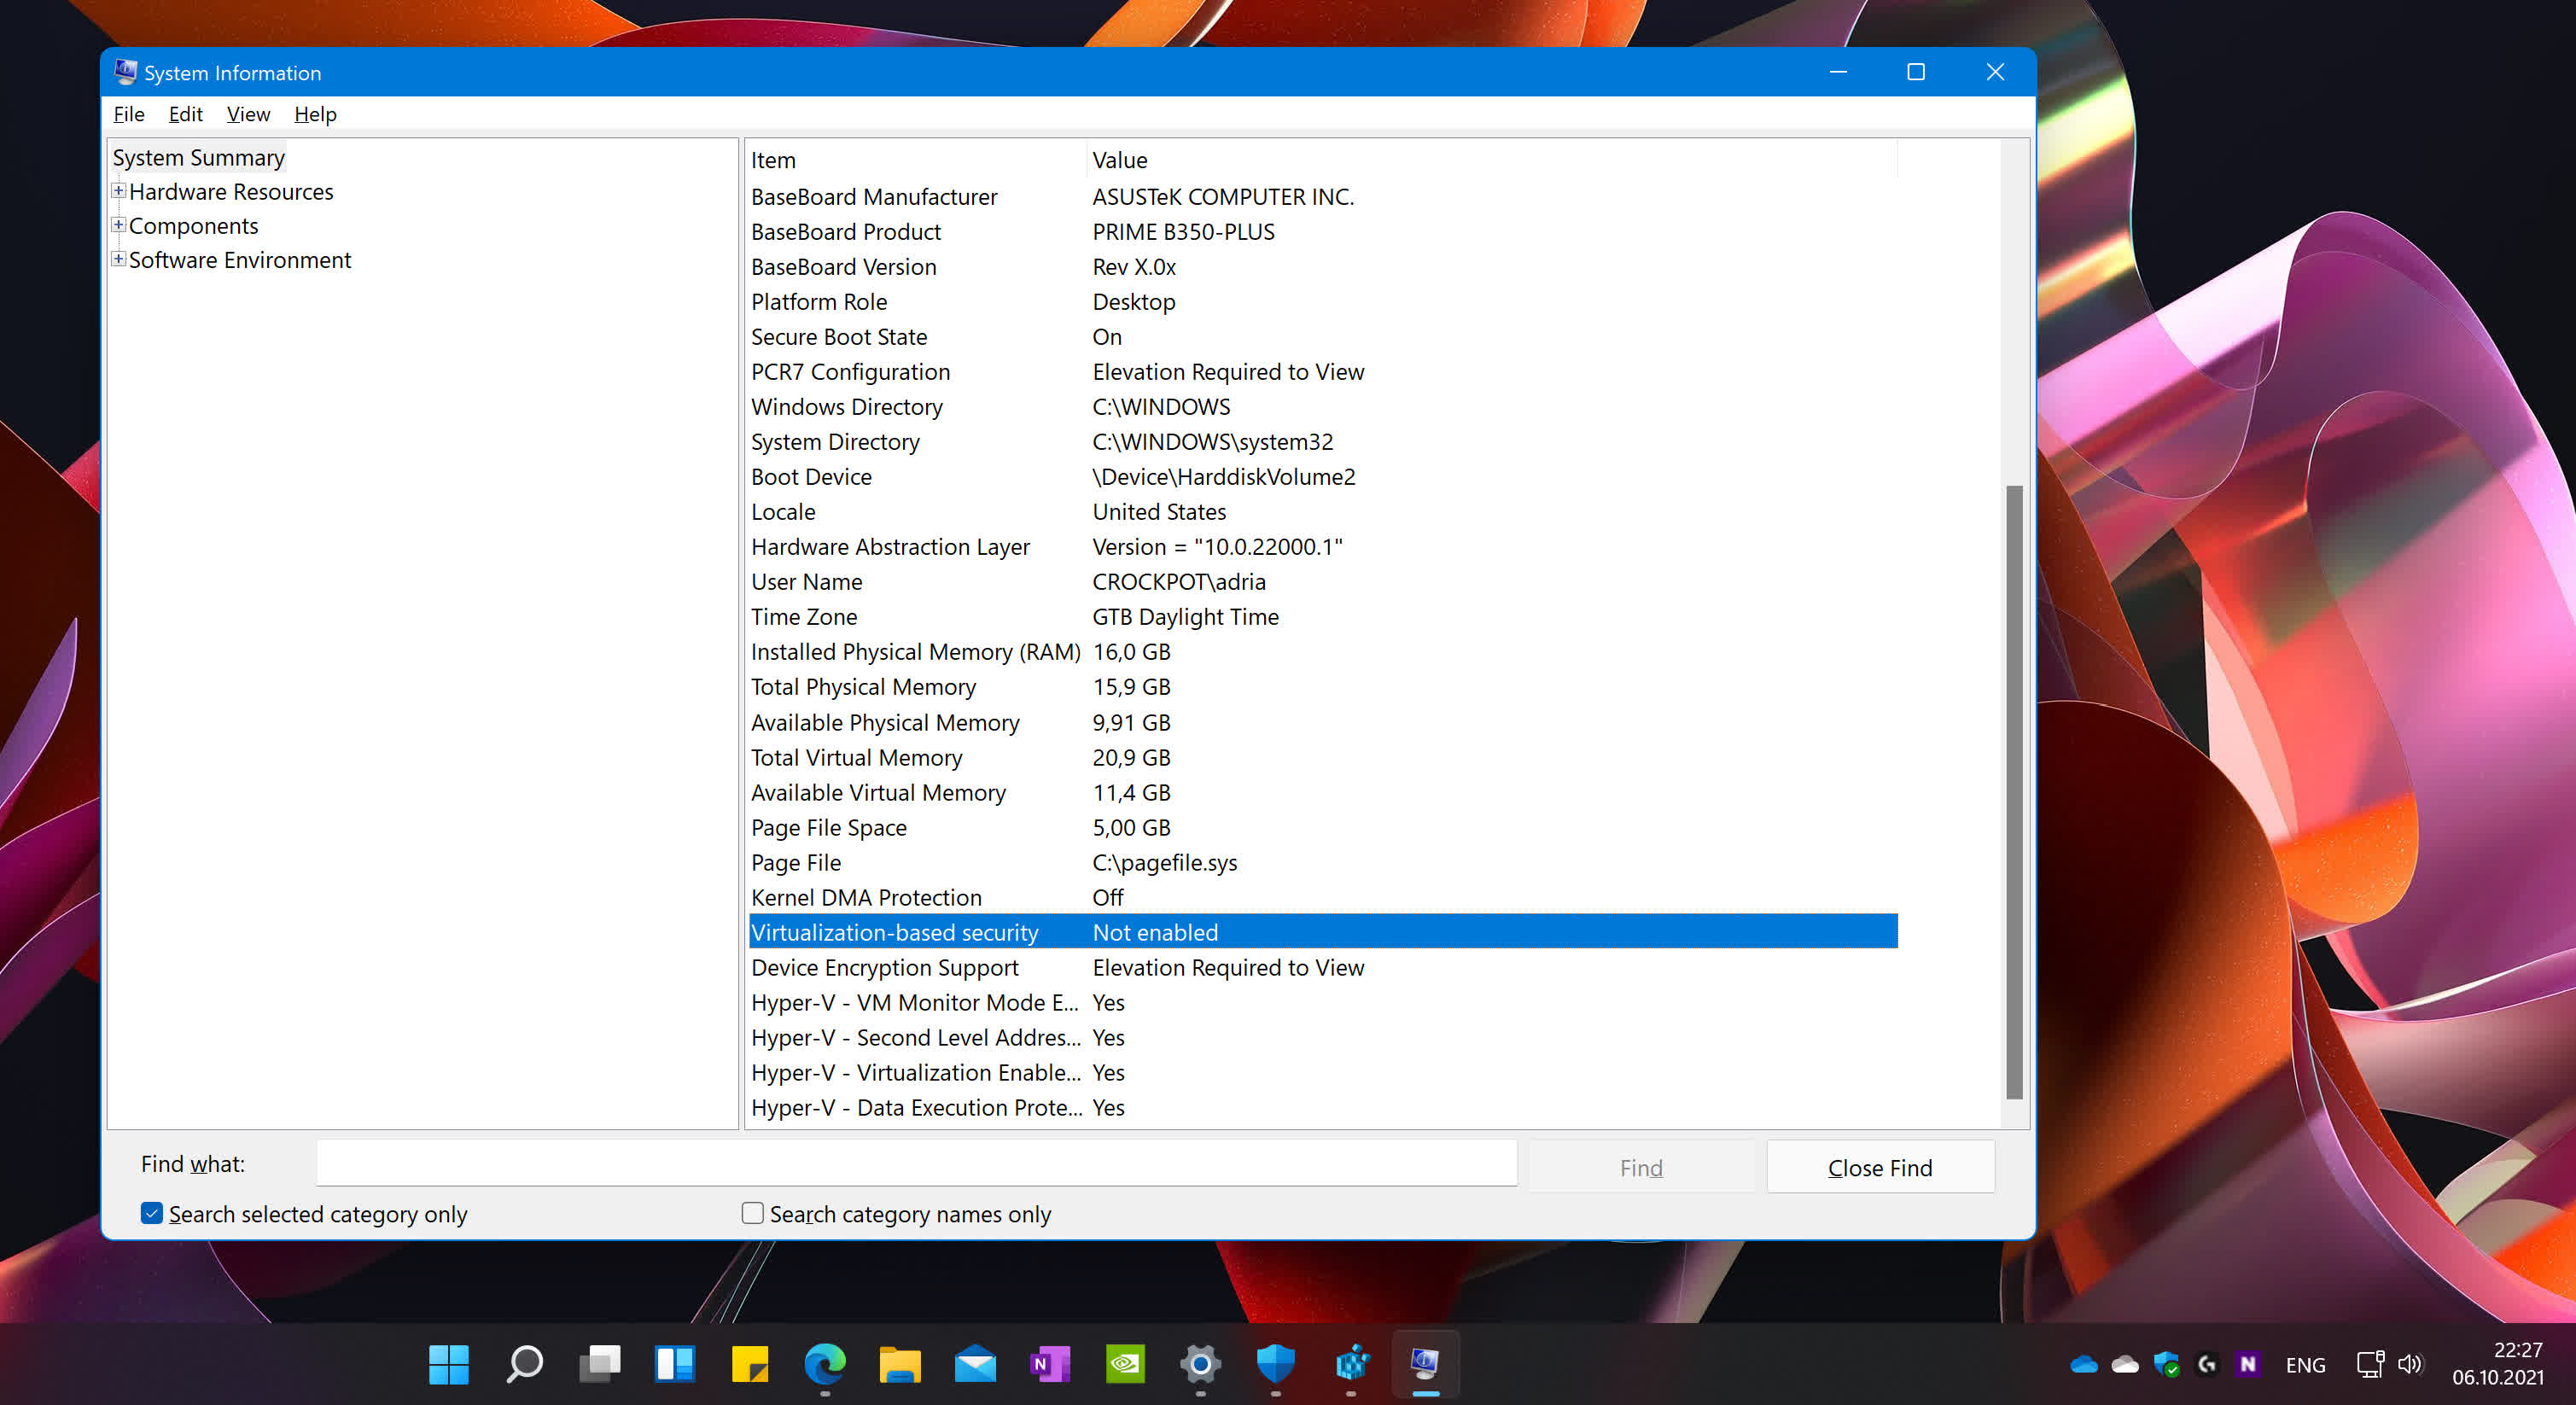
First you need to open System Information. Under System Summary, check for a row that says "Virtualization-based security." If it says "Not Enabled," you don't need to do anything else. If it says "Running," read on.
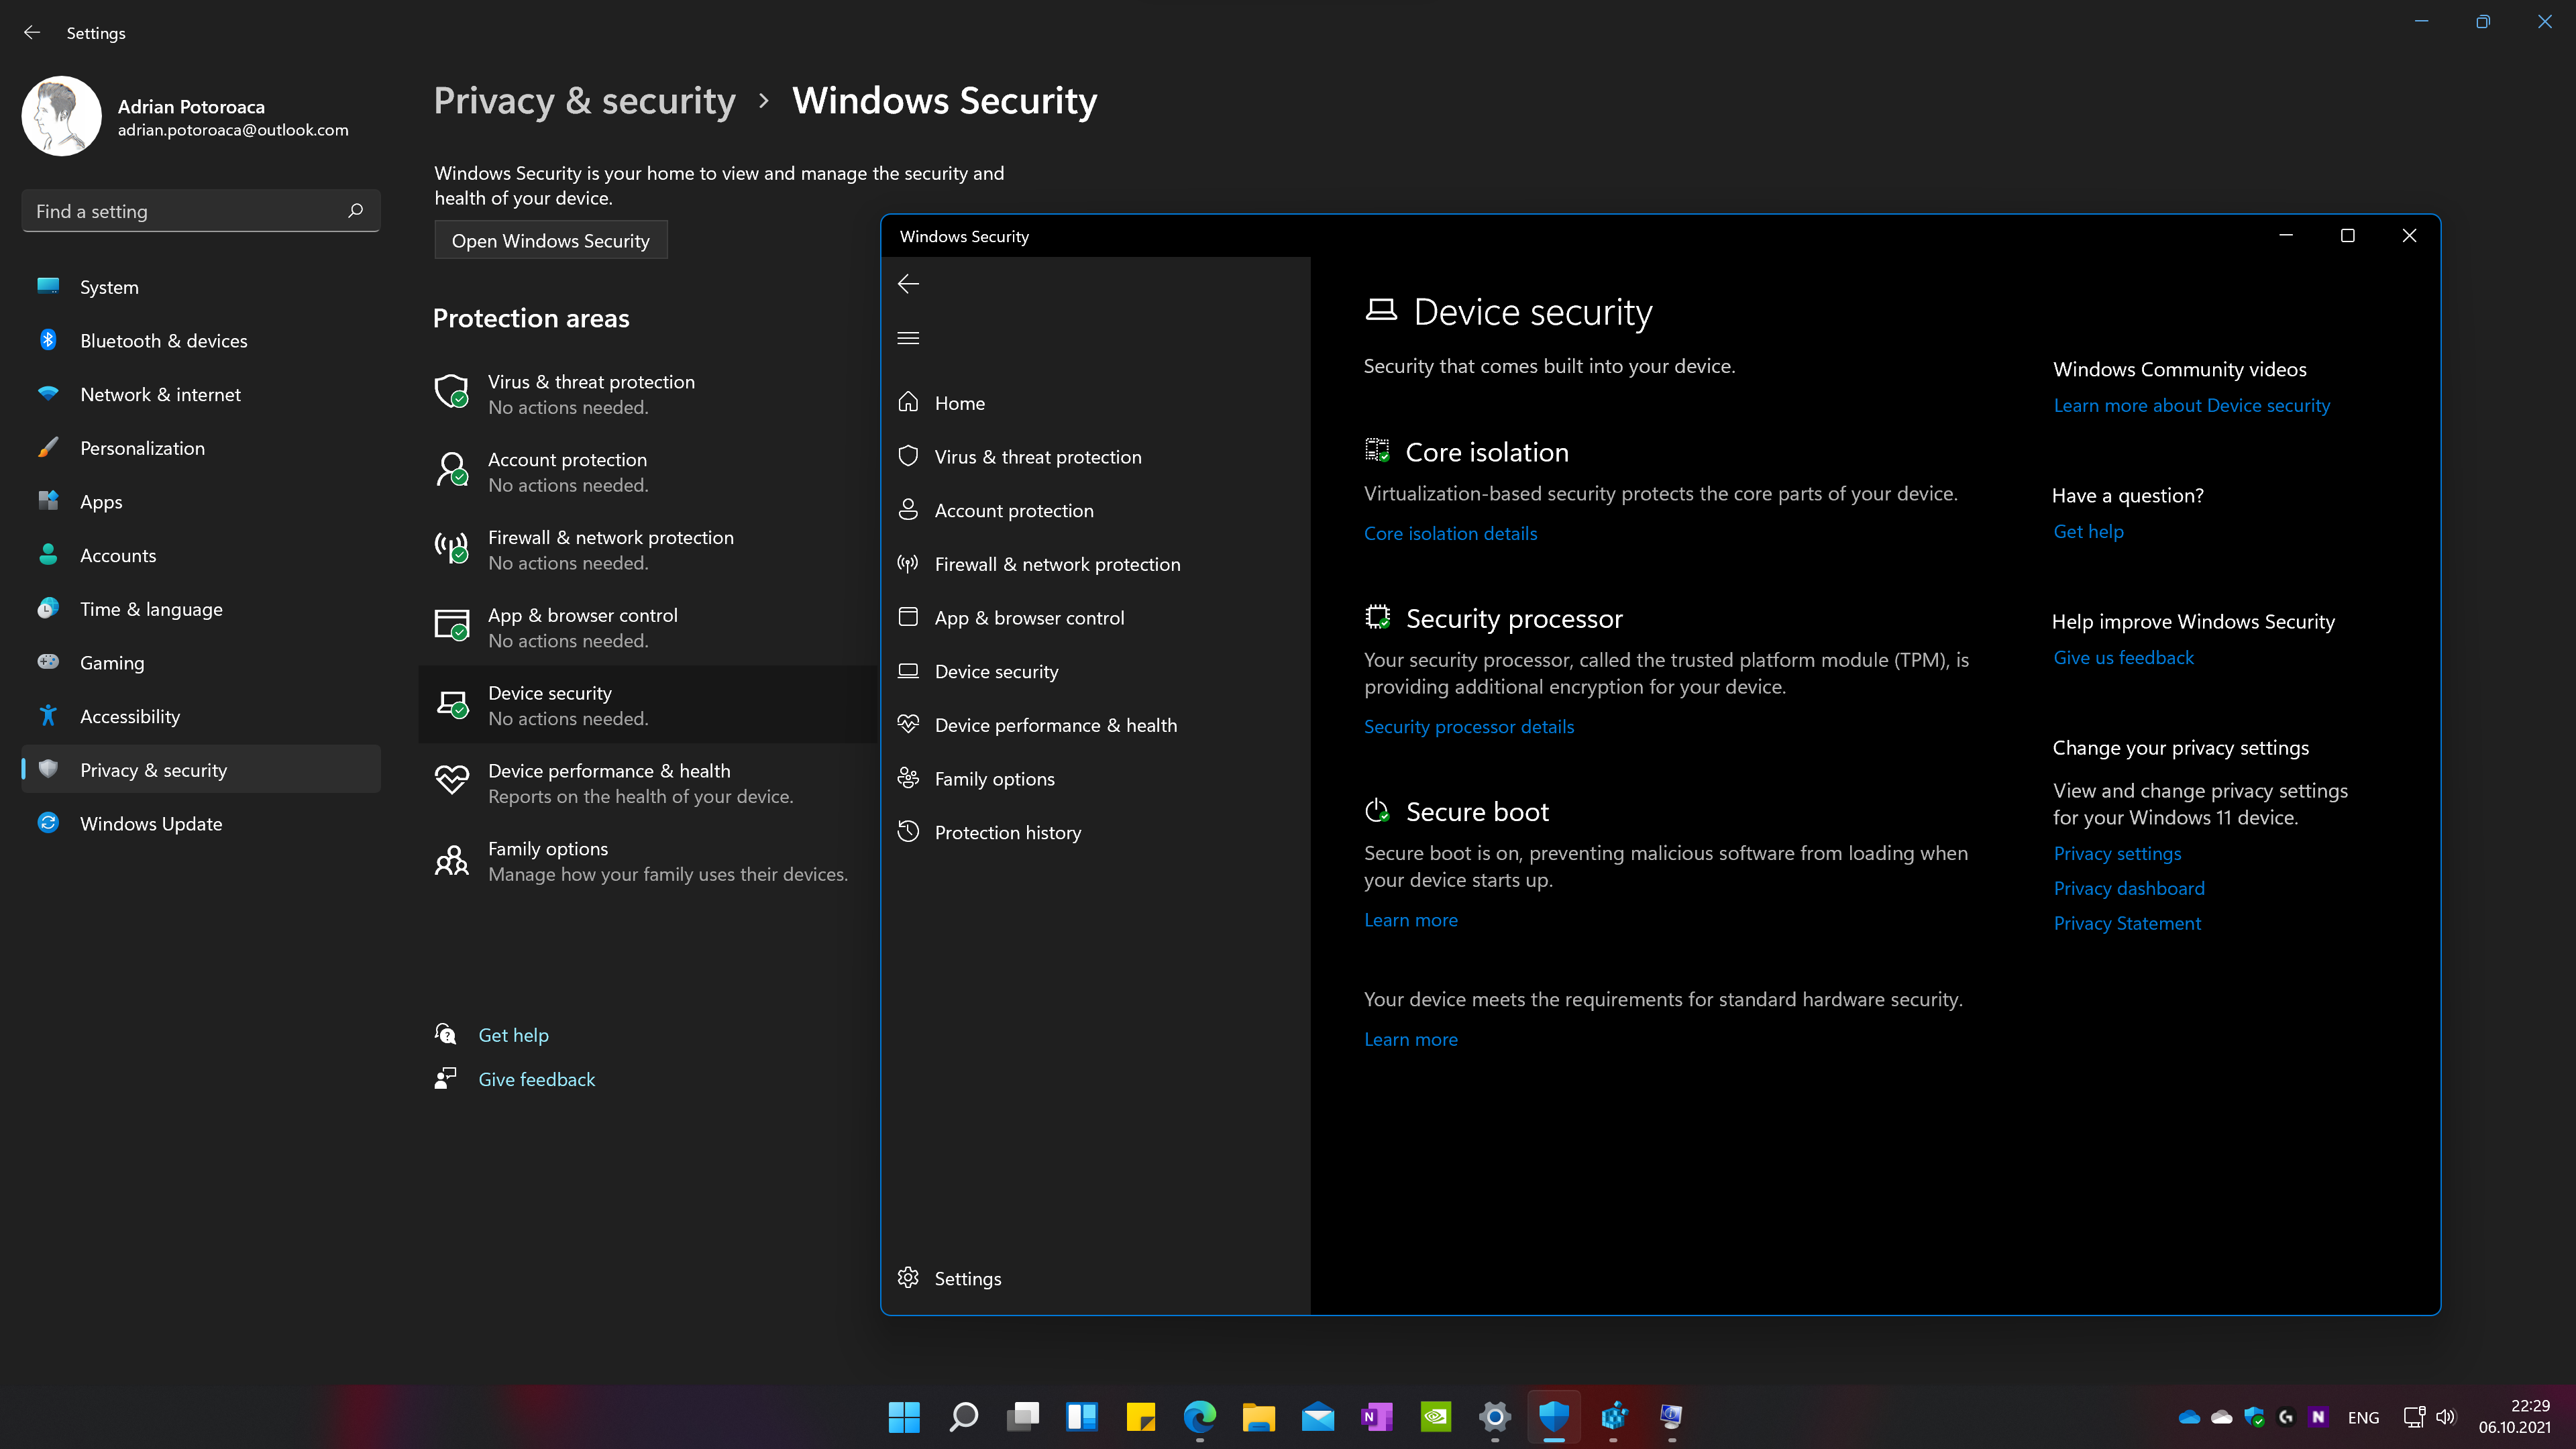
There are two ways to disable VBS in Windows 11. The first is to open Settings, click on Privacy & Security on the left pane, and you'll be greeted by a list of security features, Windows permissions, and App permissions. Click on the top one that says "Windows Security," and then click on Device security from the list that appears after that. Then click on "Core isolation details," which should be colored. This leaves you with a toggle for "Memory Integrity," which you need to turn off and restart your PC for it to take effect.

The same can be achieved by searching for "Core isolation" from the Taskbar or the search box in the Settings app, which will take you to the same place described above.
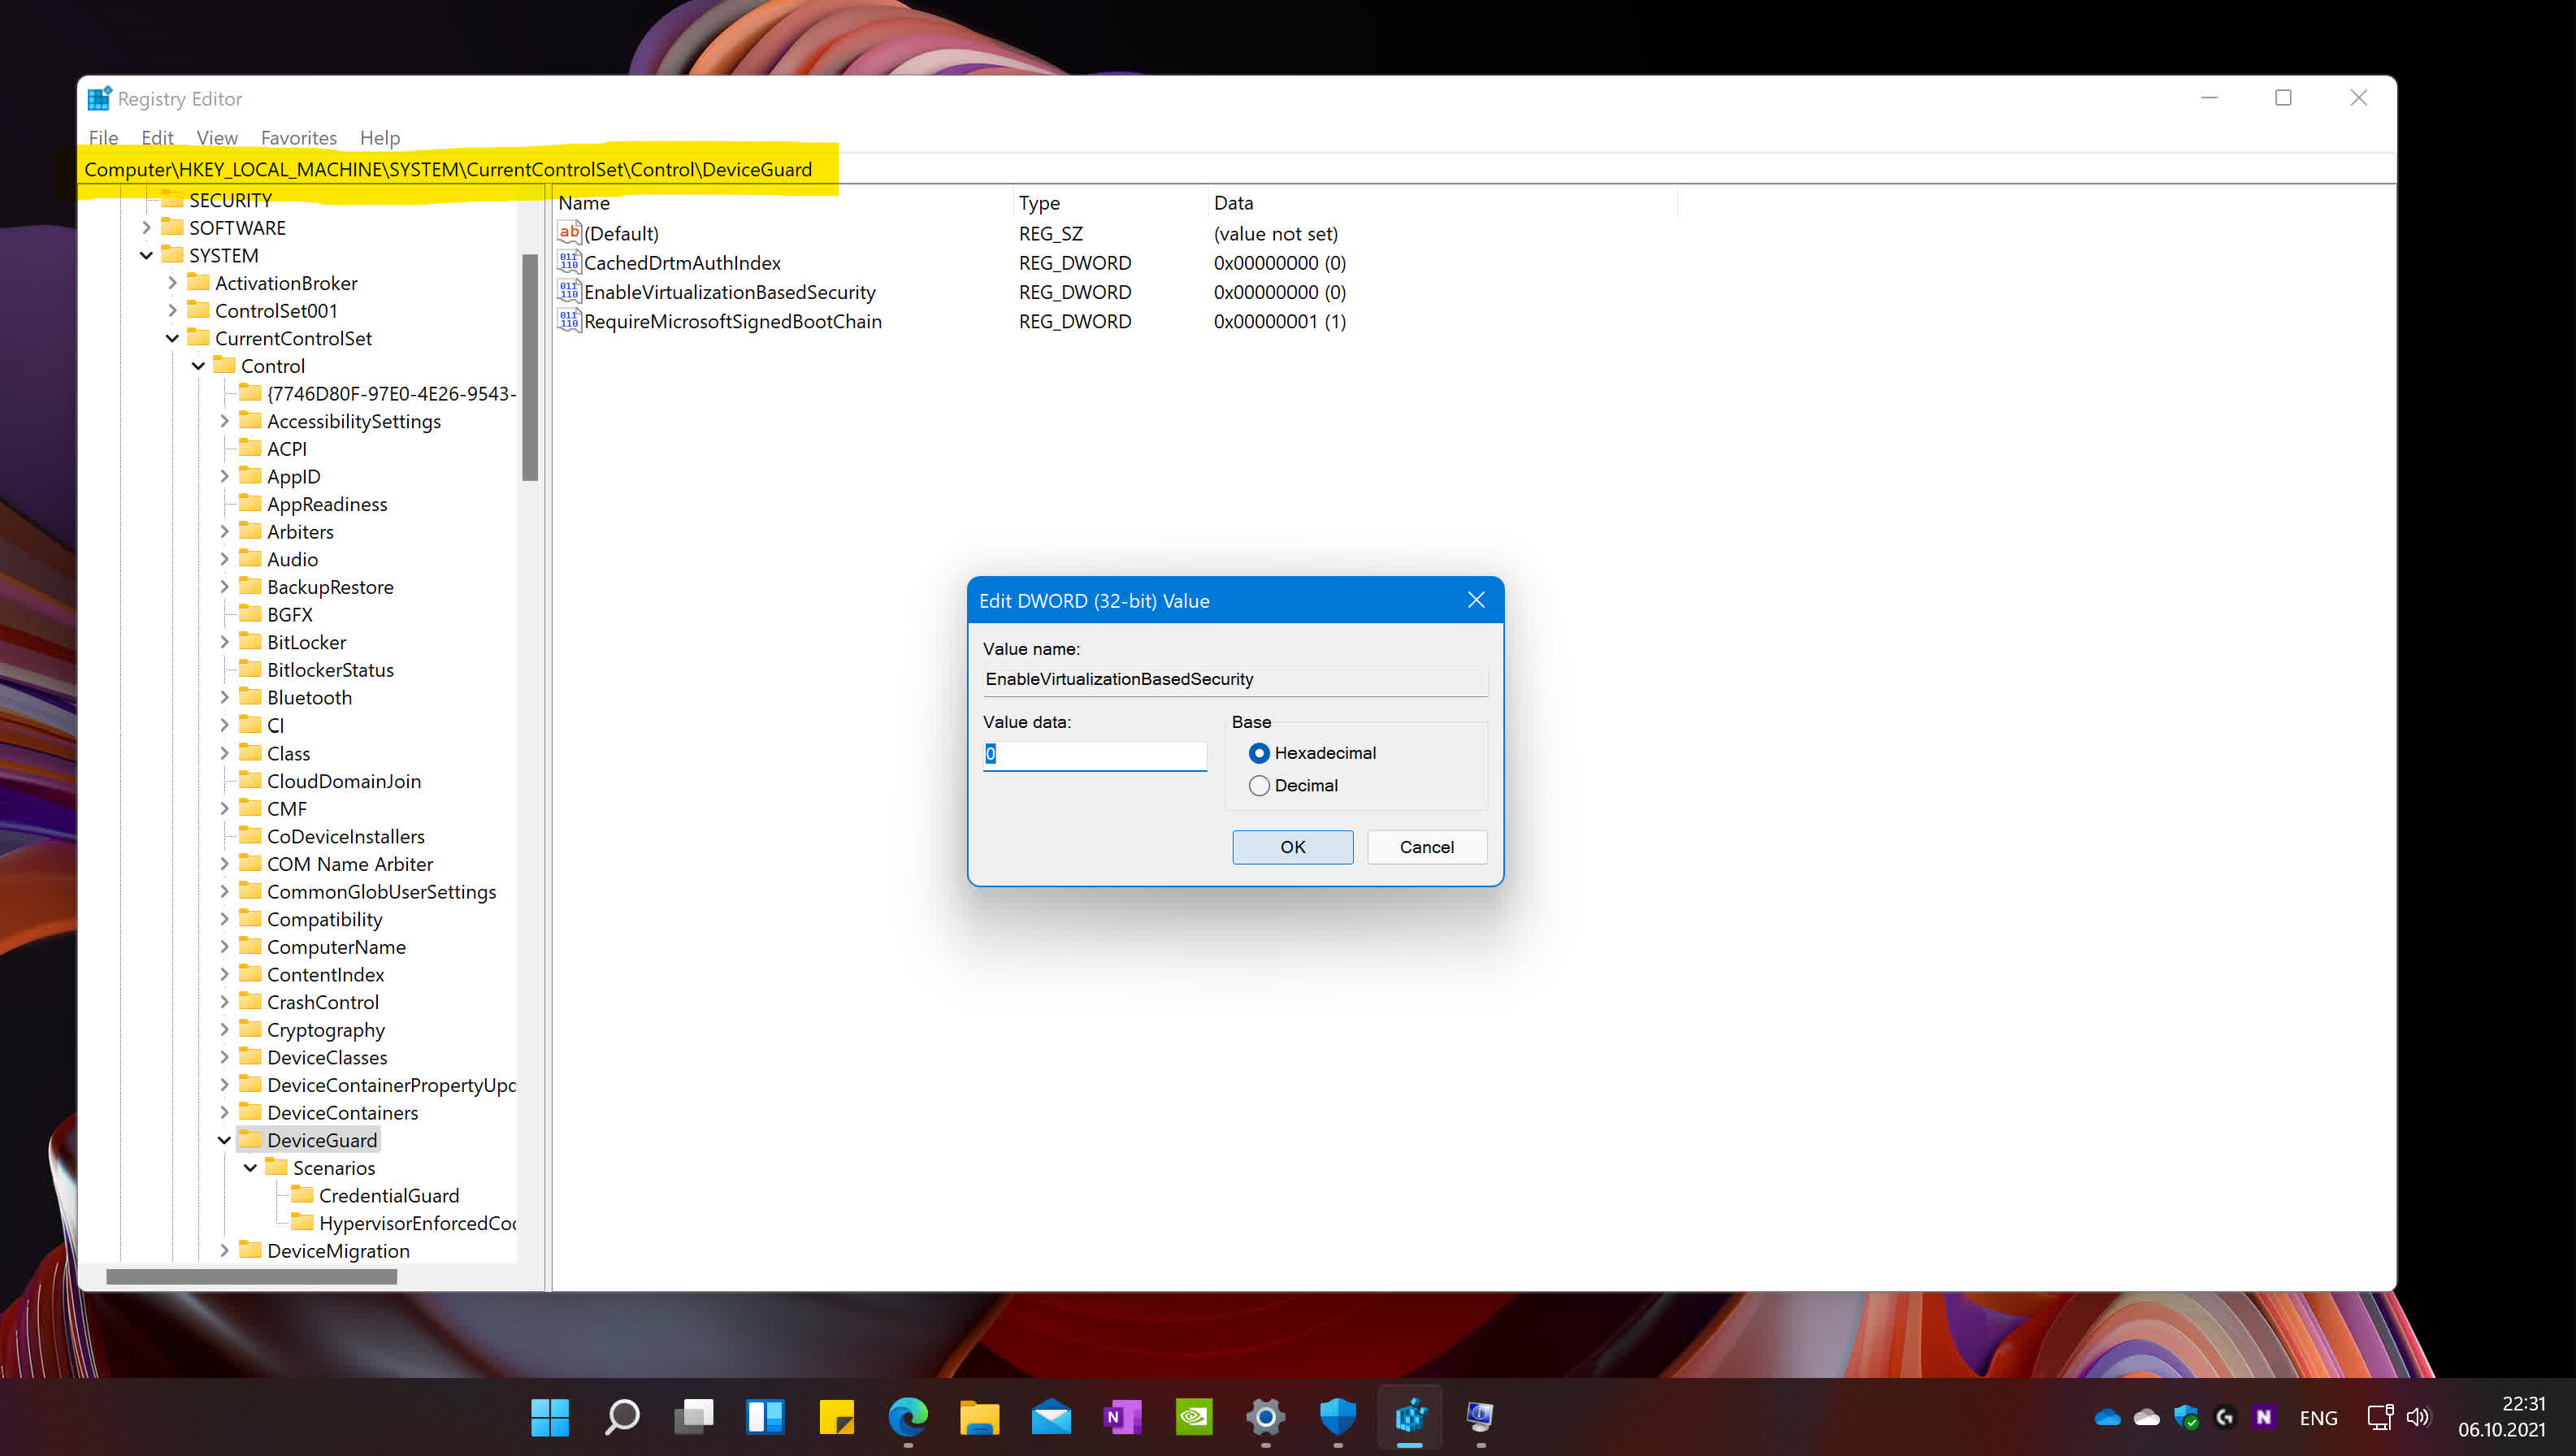
Another method to disable VBS is to use the Registry Editor. You can open it by searching for its name from the Taskbar or by hitting Windows + R and entering regedit in the text box that will pop up – click OK and you're ready to proceed.

On the window that appears, there's an address bar that you can use to navigate directly to "HKEY_LOCAL_MACHINE\System\CurrentControlSet\Control\DeviceGuard." On the right pane you should see a DWORD value called "EnableVirtualizationBasedSecurity." Open that and set it to "0." As with the first method, you need to restart your PC for the change to take effect.
