Installation
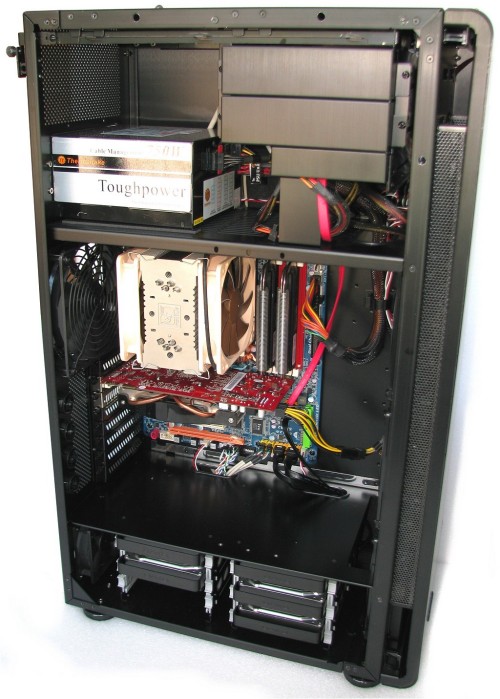
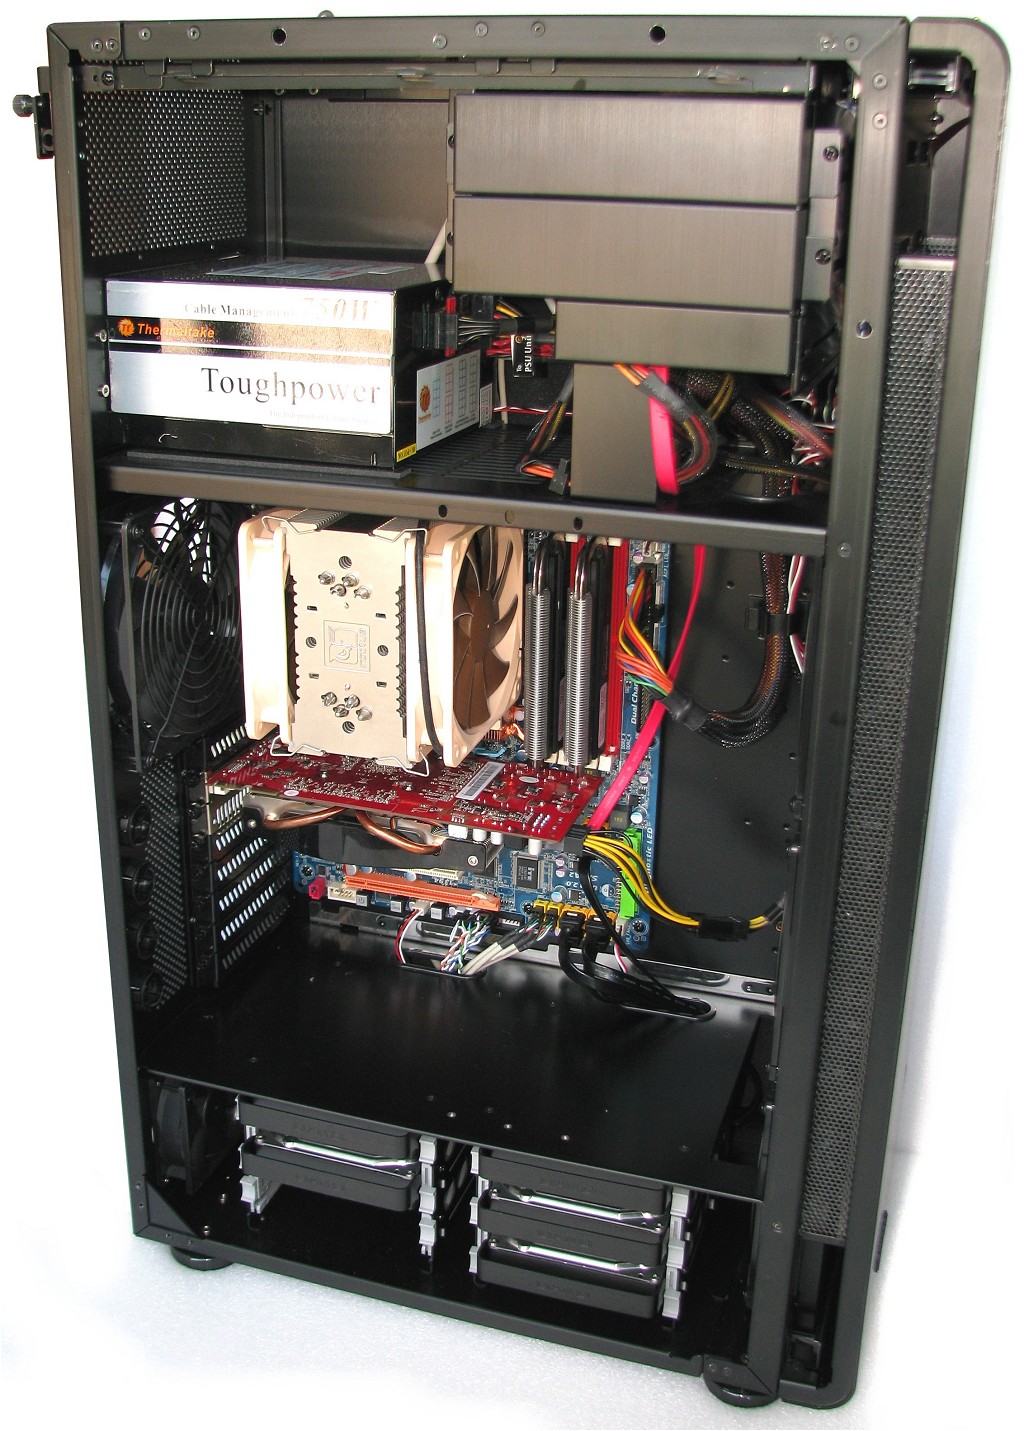
Although I play with computer hardware on daily basis, it is still fun when the opportunity to build an entire system from scratch arises. Having that said, I had a heap of fun with the Lian Li Tyr PC-X2000 as it truly is a pleasure to work with. Everything seemed to be where I wanted it to be, and there was enough room to install things the way you want to.

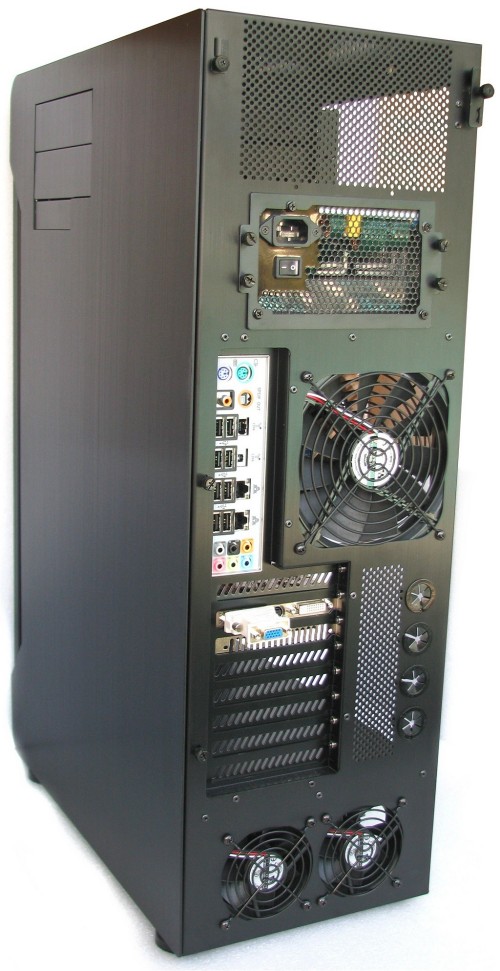
Before I began to build my new HTPC, I tried installing everything in their possible locations. To be perfectly honest, I had no problems with the case layout I could write about. Being such a large case, the Tyr PC-X2000 was pleasing to work with, no tight fits anywhere. Hardware becomes very accessible, which is great in case you need to install/remove hardware later on.

Getting into the case could not have been easier as it only requires to remove a single thumb screw, then pull from a small latch that allows removal of the door.

With a completely empty Tyr PC-X2000 case on the workbench, I first had to pick the hardware that would eventually end up inside it. So my choice of parts was as follows: Thermaltake Toughpower 750w power supply, Gigabyte EP45-DS4R motherboard, 4GB OCZ memory, Intel Core 2 Duo E7300 processor, Palit Radeon HD 4850 Sonic graphics card, six 1TB Samsung hard drives, and the Noctua NH-C12P cooler.
The Lian Li Tyr PC-X2000 supports the EATX (extended ATX) format, meaning motherboards as tall as 13" will fit comfortably. Lian Li also included a special mounting bracket that supports server motherboards though we didn't use this. The case comes with standard mounting screws that the user must install where necessary to support their motherboard.

As mentioned earlier, the hot-swappable drive bays are one of my favorite features as they made installing hard drives into the Tyr PC-X2000 extremely quick and easy. Once the drive bays are connected to the motherboard, you never need to touch another SATA data or power cable again.
The case does require you to install a special bracket to the hard drive which is done using four custom-made screws. This should take less than a minute, and once completed you can simply slide the drive into one of the six hot-swap bays. Installing optical drives was done in a similar fashion, which I found to be just as easy.

All the case fans use 3-pin power connectors, though Lian Li has kitted them with their own 4-pin power adapters, allowing the user to plug them directly into the power supply if they choose to do so. Alternatively, the three frontal fans can be connected to a fan speed controller using the 3-pin connectors. This gives the option to run the fans at one of the three available speed settings.
