Software and OLED Key Customization
Installing the Sabre on a desktop and a netbook system, both running Windows XP went without effort. The keyboard was automatically detected on both systems and I was prompted to connect to Windows Update to search for software. I cancelled this request and allowed the system to locate the keyboard's onboard memory. From there, I installed the x86 Sabre Manager and was all set.
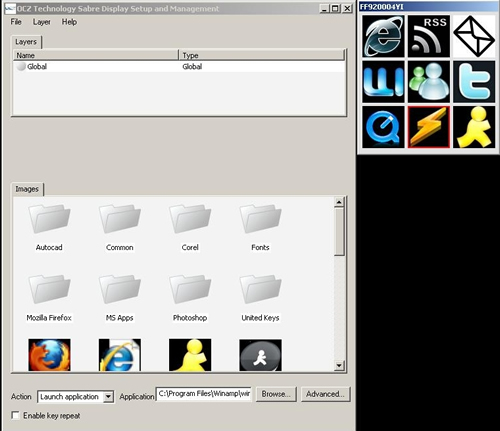
The Sabre Manager software consists of two windows. The main window manages layers and images as well as actions for each button. OCZ took the liberty to load a couple thousand images for you to select from, although the majority of these images are simple descriptive text like "cut", "copy", "refresh", etc. There are also a few Wingding folders with some usable icons for things like e-mail and chat.

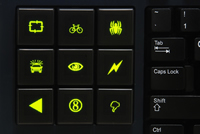
Odds are, however, that you will want to load your own images to display. As I found out, having only one color to work with really limits the complexity of images you can use that will look nice on the keys. More on this in a bit.
Each button function is totally customizable using the Action drop-down menu. From here, you can select from Plug-in, Launch Application, Browse to URL, Macro (keyboard), Nothing, Manual Layer, Previous Layer or Map Key.
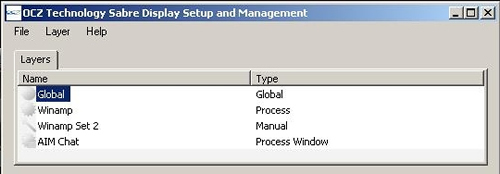
Using layers, you are virtually able to create an unlimited number of custom buttons. There are four types of layers: Global, Process, Dialog and Manual.

The Global layer is the main layer and is shown when no other layer is active.
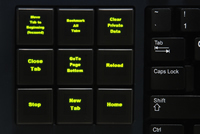
The Process layer is used to associate a layer with a specific application. For example, I set up a Process layer for Winamp, so whenever this program has focus, the button layout of the OLED keys changes to my custom Winamp layout which I set to display volume arrows and other media controls. The same can be done for games and any other program.
The Dialog Layer is used to associate a layer with a dialog box within an application, such as a printer or instant message window.
Finally we have the Manual Layer, which is only referenced by another layer. This is used to provide access to multiple layers within an application. For example, when using my custom Winamp layer, I can set one of the nine OLED buttons to access another layer for even more functionality when using this particular program.


It sounds a bit complicated but the included User Manual does a good job of explaining it all and providing examples of each layer type and its purpose. It was evident however that the user manual is a bit outdated as the program layout has changed some from the version I was using to what was shown in the manual.
The second window is the OLED display window which shows you the current image being displayed for each of the nine buttons within each layer. From here, you can clear an image from a key as well as change the type of monochromatic style between Dither and Contour.
