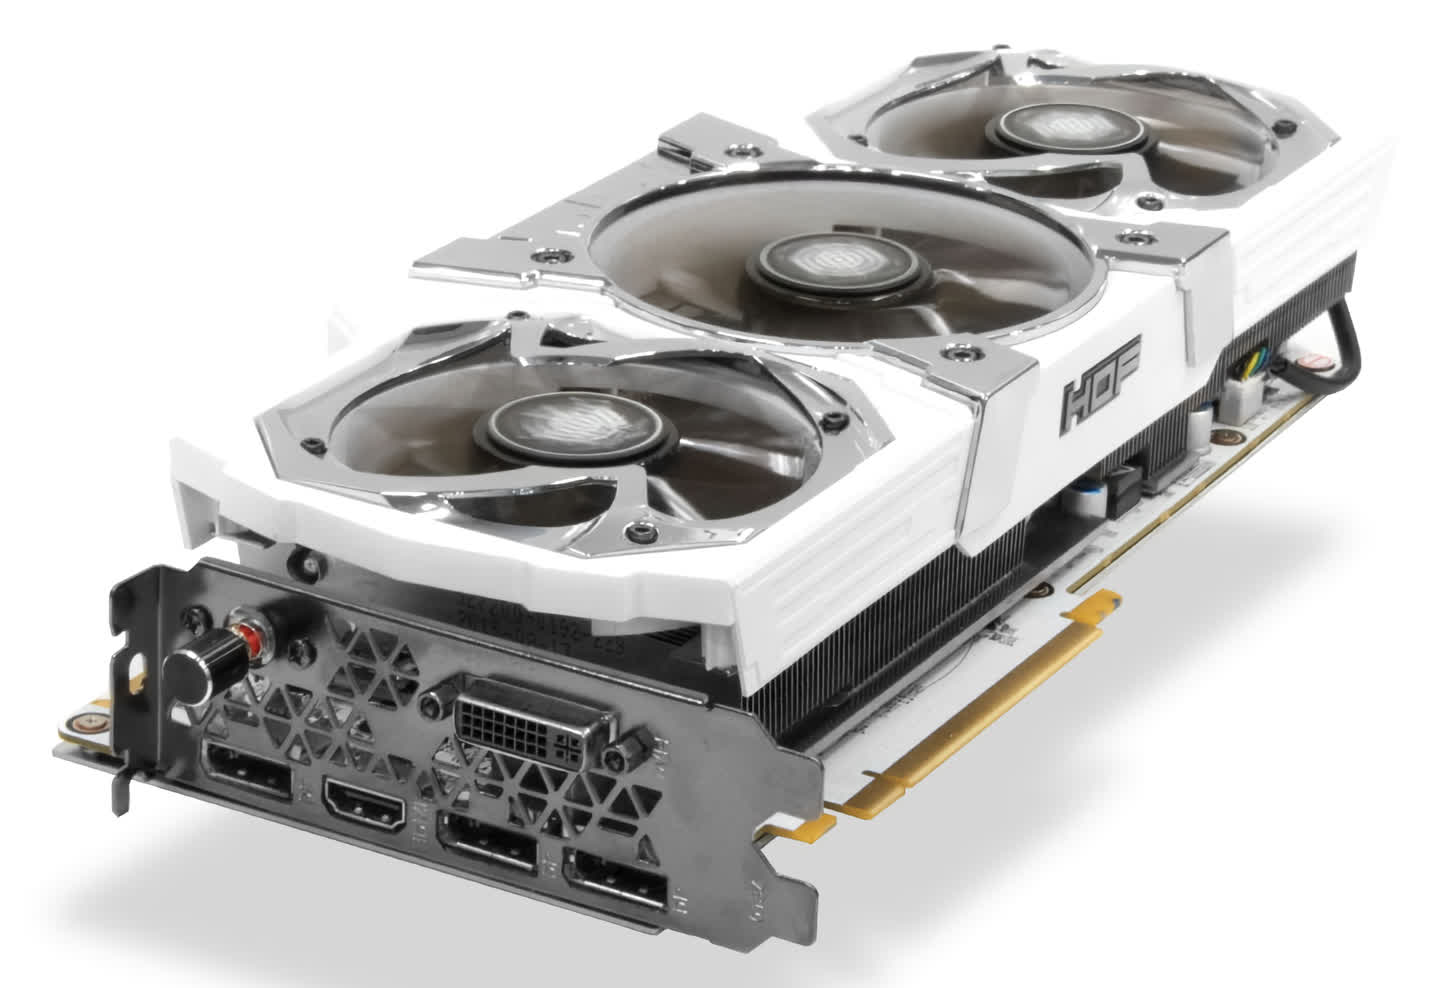
In a nutshell: When the active cooling solution on your graphics card fails, there is obvious reason for concern. YouTuber SamoesA DIY recently ran into this very issue and after trying to Jerry rig up a few CPU cooling fans, he decided to design and build a more permanent and effective solution.
The DIYer shared a timelapse of the design, print, and installation process over on YouTube. SolidWorks was used to create the design, which was then loaded into a Creality Ender 3 S1 3D printer. A power failure mid-print threatened to ruin the job but SamoesA DIY was able to resume the print with only minor defects.
Cooling shrouds have been around for decades and became quite popular around the turn of the century. In the earlier days of computing before 120mm fans were the norm, CPUs and cases often used smaller 80mm or even 60mm fans. These were more versatile in terms of size but often didn't move a ton of air and were noisier than larger fans.
It wasn't uncommon for enthusiasts to use an 80mm to 120mm fan shroud adapter on their CPU heatsink and in their cases to move more air and / or cut back on fan noise. The shroud that SamoesA DIY created for his Galaxy GeForce GTX 980 Ti HOF is essentially the same thing, replacing multiple smaller fans with a single, more powerful unit.
SamoesA DIY said the 120mm fan used is a "server fan" but didn't go into detail. It sure looks beefy, but is also likely on the loud side. A chart at the end of the video shows a max GPU temperature of 71.5 Celsius observed while running the 3DMark Time Spy benchmark. As a fellow enthusiast, I'd sure like to know what temps the card was hitting with the Jerry rigged CPU fans and also the specs of the new 120mm fan being used.
Either way, it's another great example of what's possible with a 3D printer and a bit of thinking.
