Level 10 Internal Design
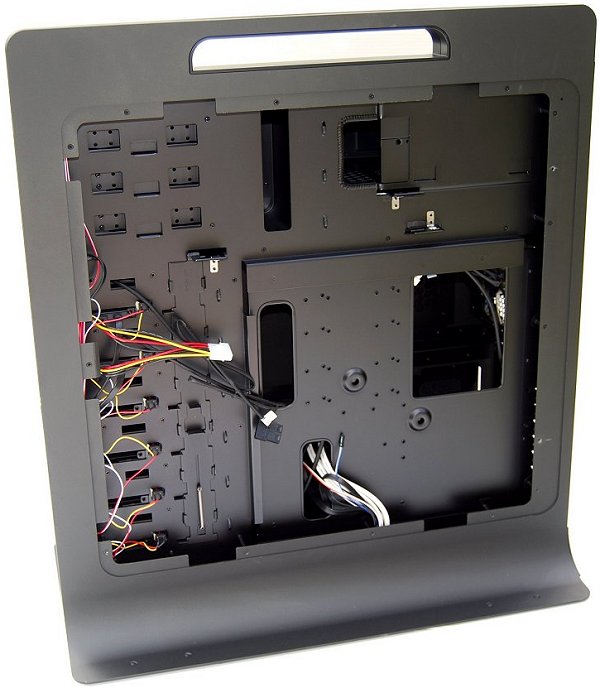
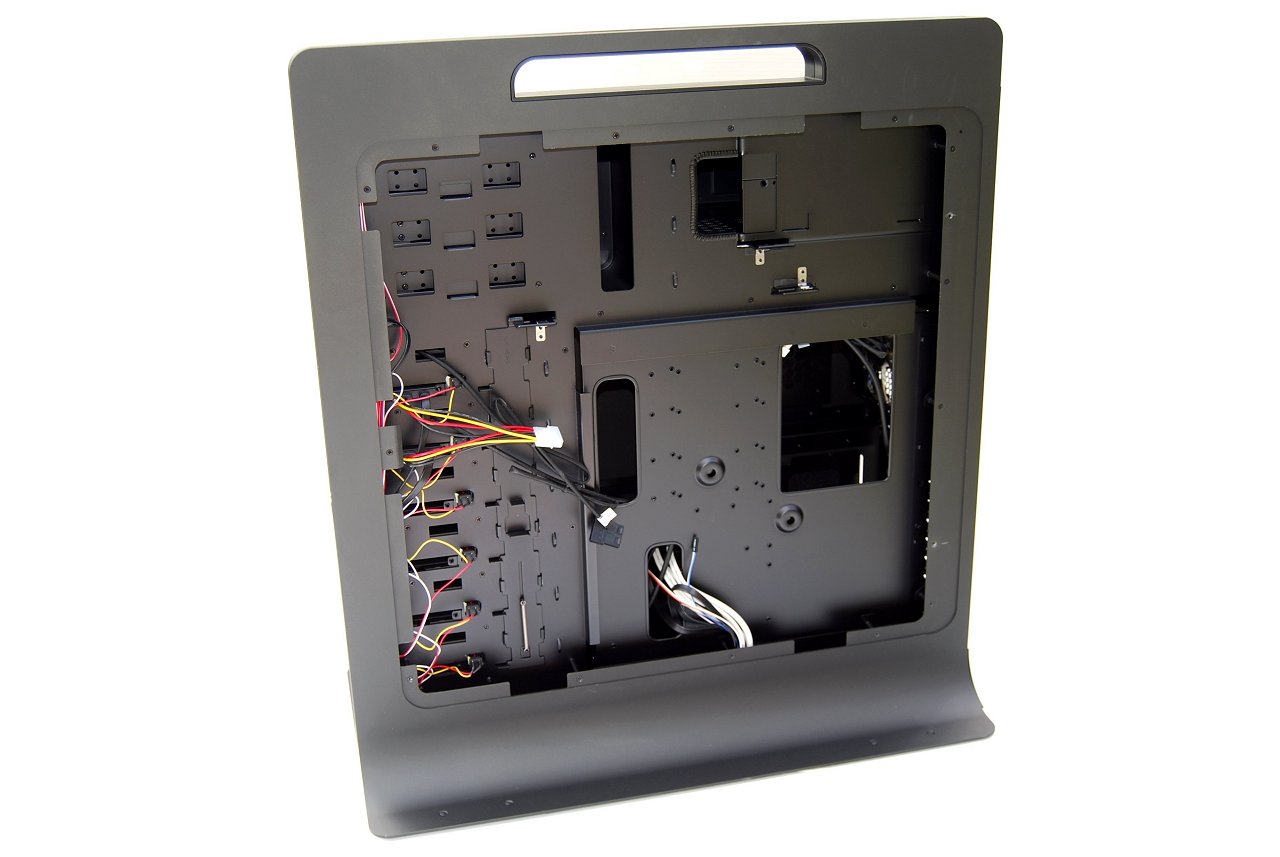
To get inside the Level 10 you have to remove a security panel on the right side by unlocking both the ODD/HDD and PSU/MB locks and then undoing two thumbscrews. The panel slides backwards about a centimeter and pulls out exposing the cable management area of the case.


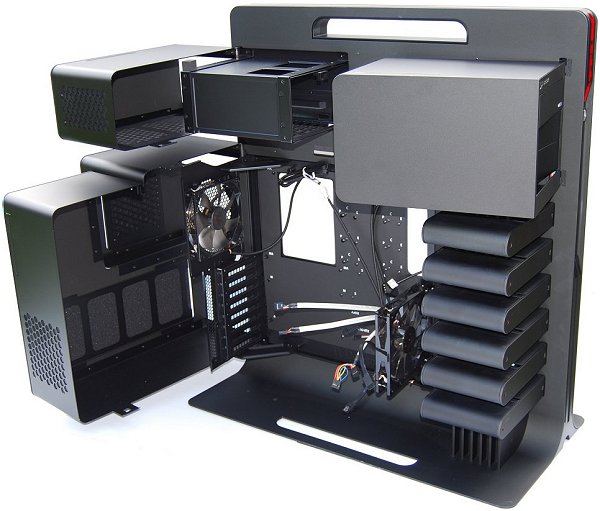
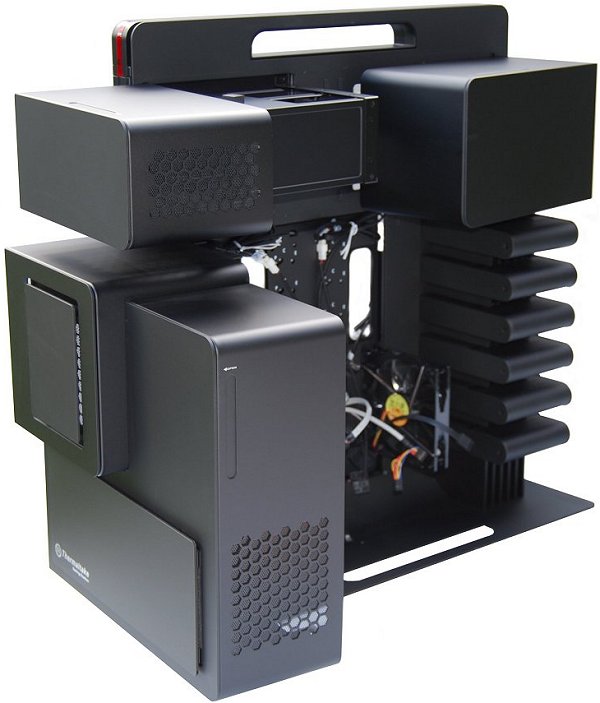
From here, you can access the release mechanisms to open the motherboard, power supply, optical drive and hard drive housings. In our opinion, the mechanisms are a little flimsy and don't demonstrate the kind of quality we'd expect from an $800 case. We're not sure how they would stand up to heavy use. While the optical drives, motherboard tray and power supply all use the same fragile mechanism, the 3.5" bays use a different system that feels much sturdier.


Organizing your wires is made easy with two large holes in the motherboard tray. The motherboard tray is easily removed for installation purposes. Once you have access to the motherboard compartment, you just have to unscrew four thumbscrews and the tray slips out. It's worth mentioning that the 120mm in-take and exhaust fans are fixed to the motherboard tray, but we found no issues with this design.


Disappointingly, only the primary and secondary drive bays have fixed SATA data and power cables. Again, for an $800 computer case leaving out this functionality for the other four bays is unacceptable as it would have cost Thermaltake very little and excluding it is a big deal in our opinion.


The power supply section measures 26cm long, 16cm wide and 8.5cm tall. Our Thermaltake Toughpower XT 875w fit comfortably as it measures just 16cm long, much larger 1kW+ models will be compatible. Once the PSU mechanism is unclipped, the housing folds back exposing a bracket where the power supply is inserted.
