TechSpot Reviews
Comprehensive tech reviews: From CPUs and graphics cards, to laptops and smartphones
-
Graphics
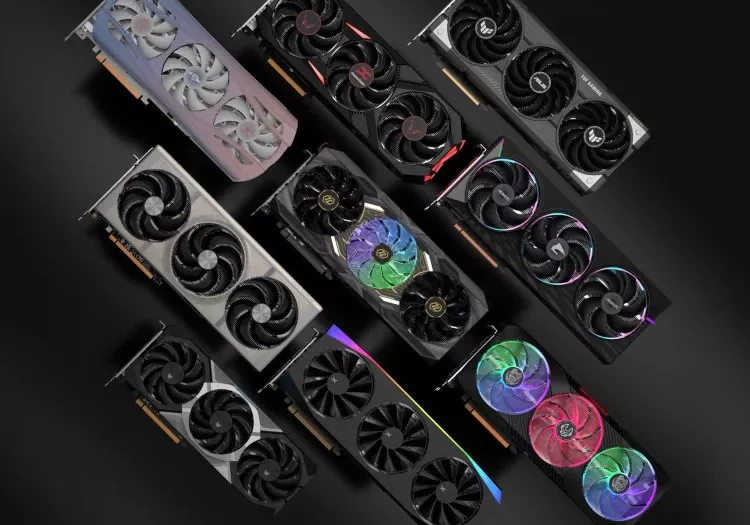
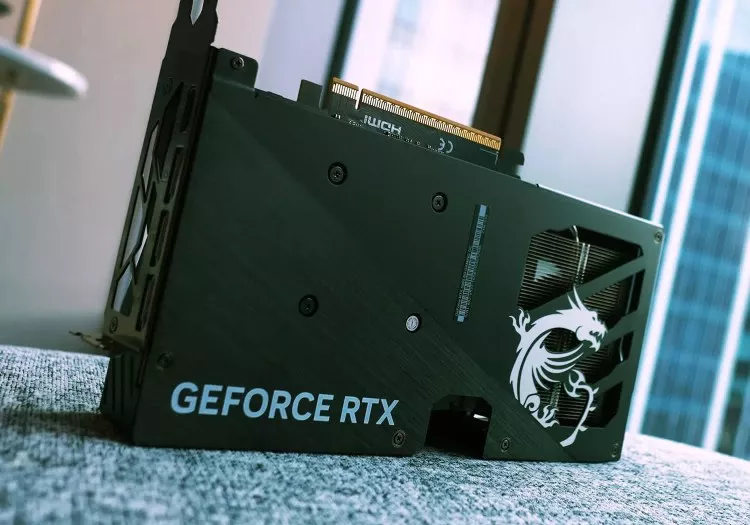
Real Stagnation: Six Years of GeForce RTX 60 Class GPUs Tested
-
CPU
Ryzen 7 9800X3D vs. Ryzen 5 7600X: CPU and GPU Scaling Benchmark
-
Graphics
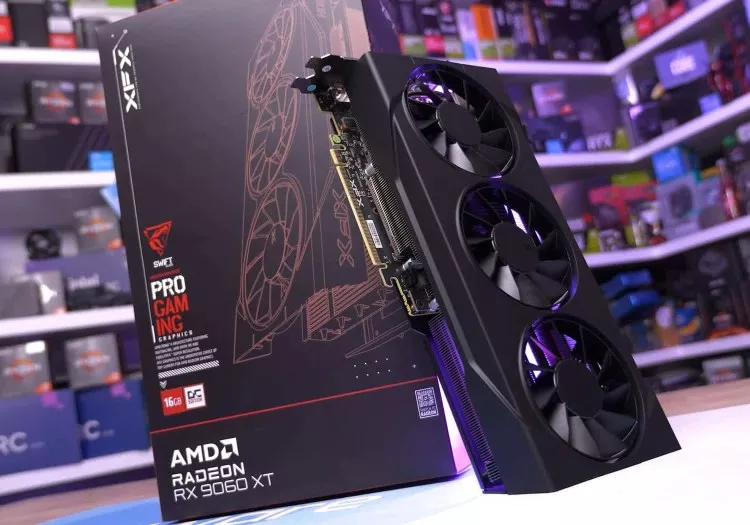
AMD Radeon RX 9060 XT 16GB Review
-
Gaming Benchmarks
Doom: The Dark Ages, 36 GPU Benchmark
-
Graphics
AMD Radeon RX 9070 XT vs. Nvidia GeForce RTX 5070 Ti
Latest Reviews
-
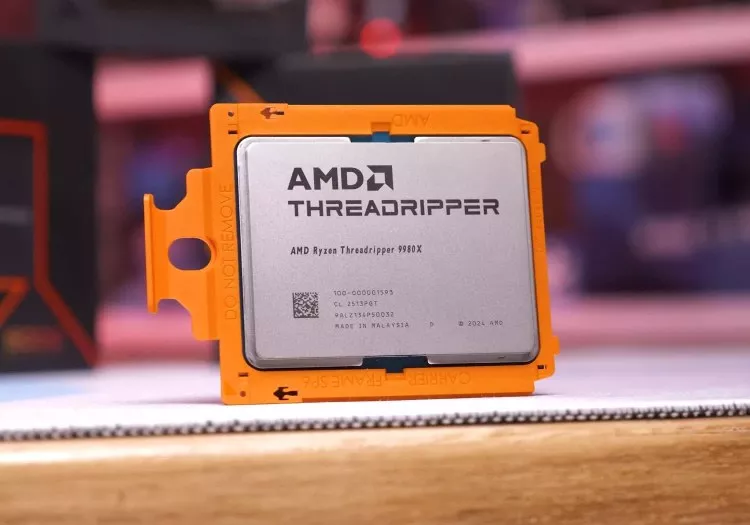
![AMD Ryzen Threadripper 9980X and 9970X Review]()
AMD Ryzen Threadripper 9980X and 9970X Review
AMD's Threadripper 9000 series pushes Zen 5 to the extreme, with up to 64 cores and sky-high specs. We review the HEDT 9970X and 9980X–powerful, pricey, and not for the faint of budget. -
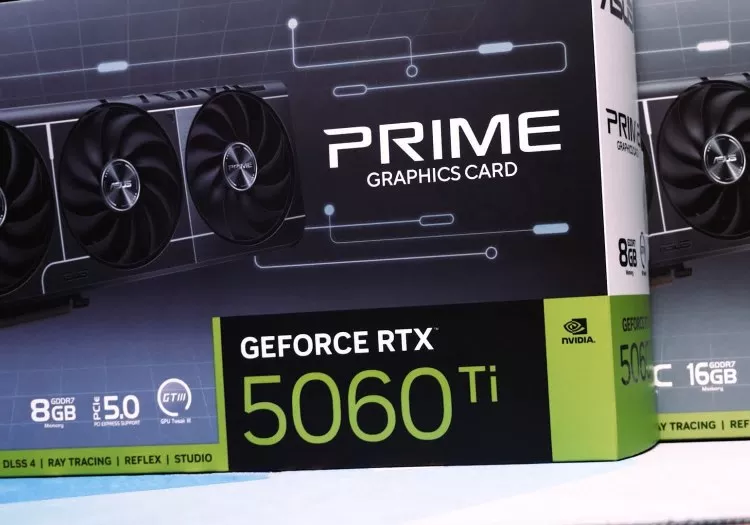
![Nvidia RTX 5060 Ti vs AMD Radeon 9060 XT with DLSS and FSR Enabled]()
Nvidia RTX 5060 Ti vs AMD Radeon 9060 XT with DLSS and FSR Enabled
Comparing the RTX 5060 Ti and RX 9060 XT 16GB, we benchmark performance with DLSS 4 and FSR 4 across multiple upscaling modes to see which GPU delivers the best real-world gaming experience. -
![AOC Q27G40XMN 27]()
AOC Q27G40XMN 27" Monitor Review
AOC is back with the Q27G40XMN, a budget 1440p gaming monitor that upgrades HDR with more dimming zones and wider color. It follows a fan favorite, but is it truly better? -
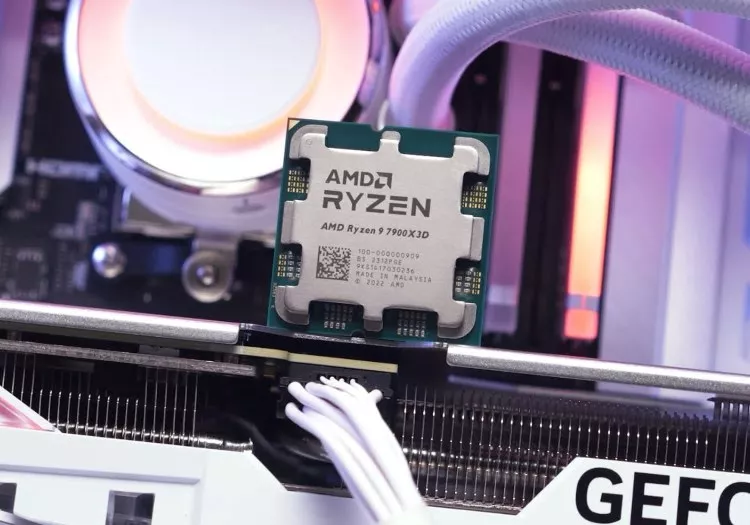
![Ryzen 7 9800X3D vs. Ryzen 5 7600X: CPU and GPU Scaling Benchmark]()
Ryzen 7 9800X3D vs. Ryzen 5 7600X: CPU and GPU Scaling Benchmark
We're kicking off a new benchmark series with the Ryzen 7 9800X3D vs. Ryzen 5 7600X, testing CPU and GPU scaling across four games, multiple resolutions, and four tiers of GPUs. -
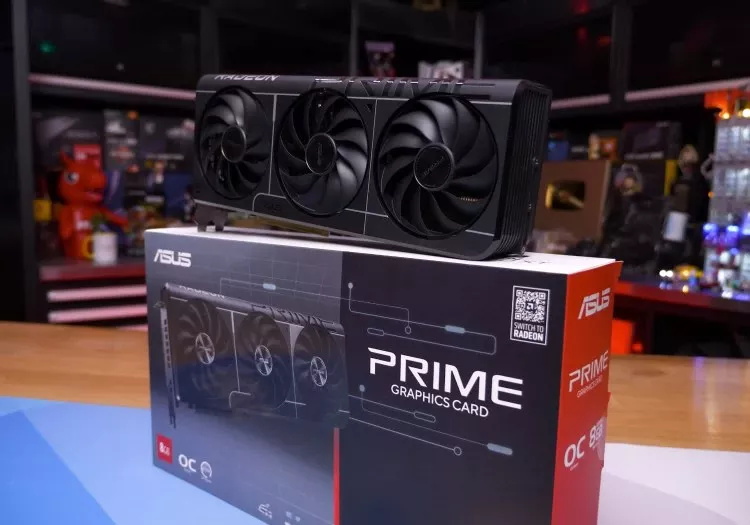
![AMD Radeon RX 9070 XT Roundup: 14 Graphics Cards Tested!]()
AMD Radeon RX 9070 XT Roundup: 14 Graphics Cards Tested!
After months of testing and tracking down nearly every Radeon RX 9070 XT model, we're finally ready to compare 14 cards in detail, covering gaming, thermals, and value to help you find the best options. -
![AMD Stagnation: Five Years of Mainstream Radeon GPUs Tested]()
AMD Stagnation: Five Years of Mainstream Radeon GPUs Tested
Let's put four generations of AMD Radeon GPUs to the test to see how the $300 segment has evolved over the past five years. From the 5600 XT to the new 9060 XT 8GB, here's how they stack up. -
![Real Stagnation: Six Years of GeForce RTX 60 Class GPUs Tested]()
Real Stagnation: Six Years of GeForce RTX 60 Class GPUs Tested
What has Nvidia delivered over the past six years? We've tested the mainstream RTX 2060, 3060, 4060, and new 5060 across modern games to find out how far the 60-class GPU lineup has actually come. -
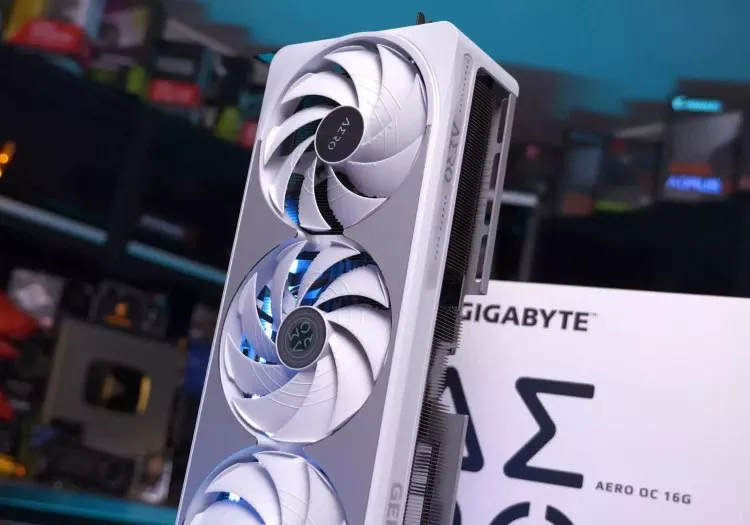
![Nvidia GeForce RTX 5050 Review]()
Nvidia GeForce RTX 5050 Review
Nvidia's RTX 5050 launched with no reviews, no benchmarks, and barely any availability. It's their latest GPU release–and once again, you're expected to buy blind. But we've tested it, so you don't have to. -
![MSI MAG 272QP X50 500Hz QD-OLED Review]()
MSI MAG 272QP X50 500Hz QD-OLED Review
MSI's MAG 272QP QD-OLED X50 is the first 500Hz QD-OLED monitor we've tested, offering not just extreme speed but also higher brightness and new dimming tech. All at a lower price than rivals. -
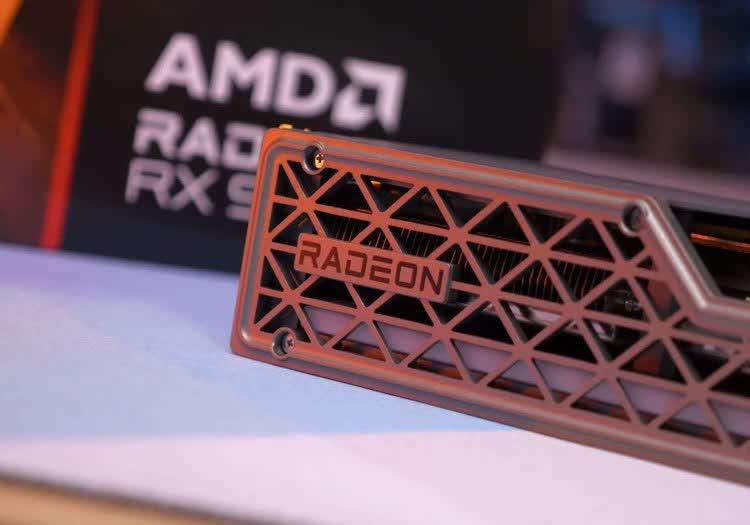
![The Radeon RX 9070 XT is Now Faster, AMD FineWine]()
The Radeon RX 9070 XT is Now Faster, AMD FineWine
With new drivers and game updates in play, we revisit the Radeon RX 9070 XT to see how it stacks up against our day-one data. Is this real FineWine, or just minor gains? -
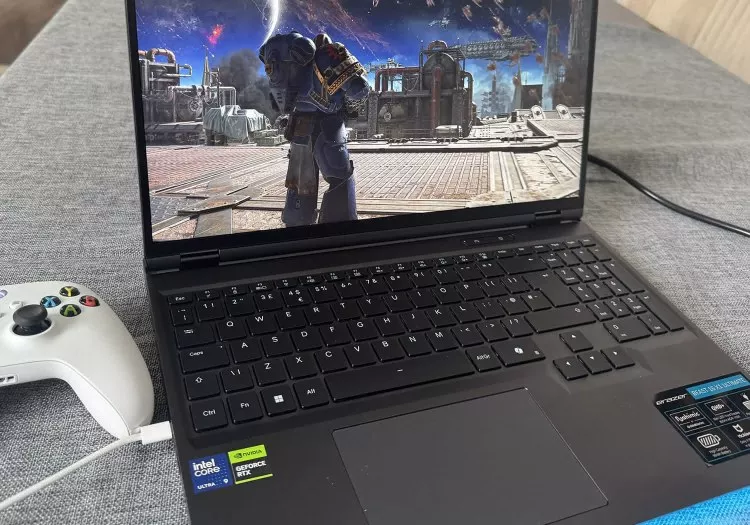
![Medion Erazer Beast 16 X1 Ultimate Laptop Review]()
Medion Erazer Beast 16 X1 Ultimate Laptop Review
Medion's Erazer Beast 16 X1 Ultimate is a powerful, creator-grade gaming laptop with an RTX 5080, Intel Ultra 9 chip, 300Hz mini-LED display, and the bold design to match its beastly name. -
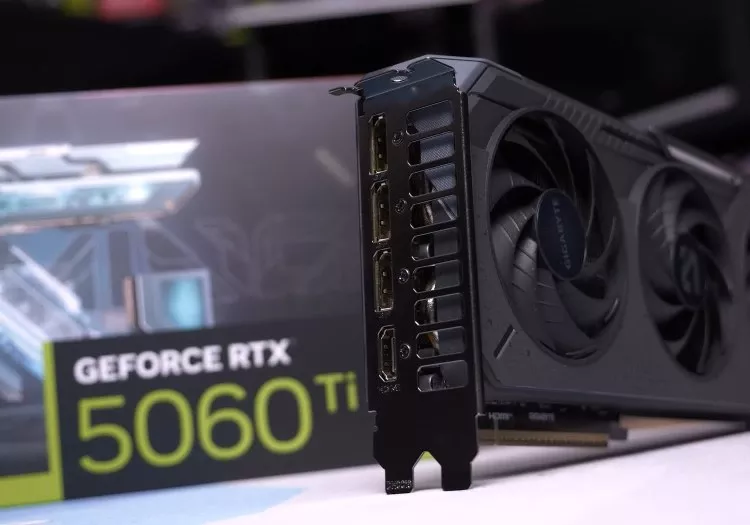
![Nvidia RTX 5060 Ti 8GB vs. 16GB Tested Across PCIe 3.0, 4.0 and 5.0]()
Nvidia RTX 5060 Ti 8GB vs. 16GB Tested Across PCIe 3.0, 4.0 and 5.0
We test how PCIe bandwidth impacts 8 GB GPUs like Nvidia's RTX 5060 when VRAM is exceeded and fall back to RAM. Let's see how bandwidth plays a major role in avoiding severe performance drops. -
![AMD Radeon RX 9060 XT PCIe Benchmark: 8GB vs. 16GB]()
AMD Radeon RX 9060 XT PCIe Benchmark: 8GB vs. 16GB
The 8GB RX 9060 XT looks like a solid budget GPU - until you actually game on it. Limited VRAM turns it into a performance liability, especially for players hoping to future-proof their systems. -
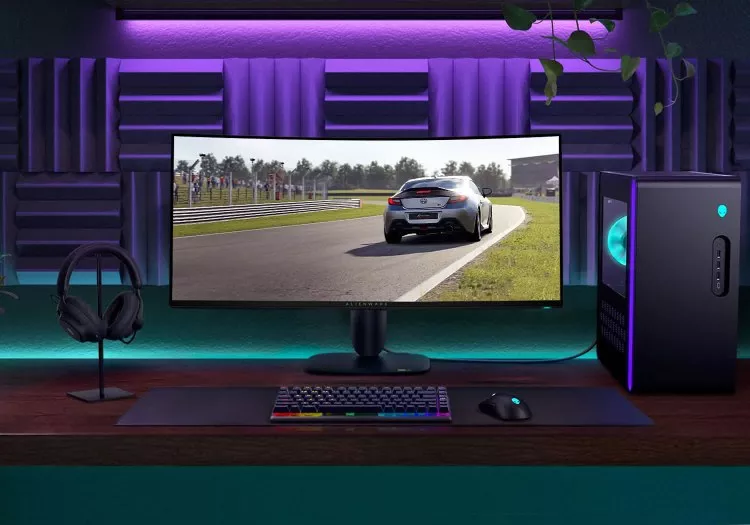
![Dell Alienware AW3425DW 34]()
Dell Alienware AW3425DW 34" 240Hz Review
Dell's new Alienware AW3425DW refines a fan-favorite ultrawide gaming monitor with a 240Hz refresh rate, sleek new design, and competitive $800 price–without straying from its proven QD-OLED formula. -
![AMD Radeon RX 9060 XT 8GB Review: Not Good]()
AMD Radeon RX 9060 XT 8GB Review: Not Good
AMD's Radeon 9060 XT offers solid performance with 16GB of VRAM, but a confusing dual-version launch–mirroring Nvidia's past missteps–raises serious concerns for gamers in 2025. -
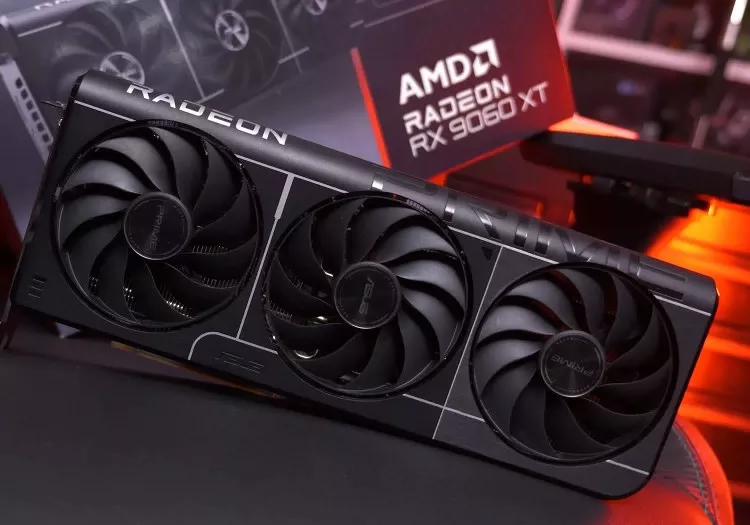
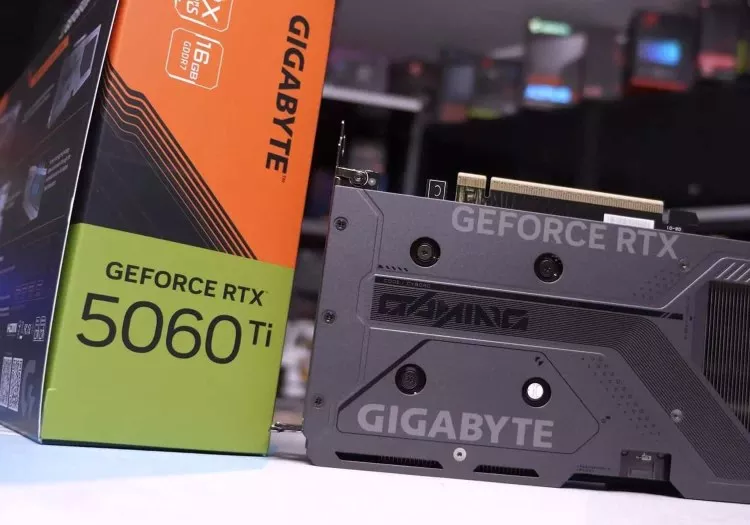
![AMD Radeon RX 9060 XT 16GB Review]()
AMD Radeon RX 9060 XT 16GB Review
AMD's Radeon RX 9060 XT comes in two flavors–only one's worth your money. The 16GB model undercuts Nvidia on price, matches performance, and may be the new go-to GPU for budget-conscious gamers. -
![Gaming Keyboards That Punch Above Their Weight: Redragon Eclipse K720 Pro and K686 Pro SE Anime Review]()
Gaming Keyboards That Punch Above Their Weight: Redragon Eclipse K720 Pro and K686 Pro SE Anime Review
When it comes to budget peripherals, many people have negative preconceptions. While the old idiom "you get what you pay for" often rings true, there are still some genuine bargains to be found. -
![AMD Radeon RX 9070 XT vs. Nvidia GeForce RTX 5070]()
AMD Radeon RX 9070 XT vs. Nvidia GeForce RTX 5070
We're revisiting the Radeon RX 9070 XT vs GeForce RTX 5070, now with updated drivers, pricing shifts, and a massive 57-game benchmark at 1440p and 4K to see which GPU really offers better value. -
![Nvidia GeForce RTX 5060 Review: They Didn't Want This Out]()
Nvidia GeForce RTX 5060 Review: They Didn't Want This Out
We've tested Nvidia's new RTX 5060 on the road at Computex 2025. With faster memory and more cores than the 4060, it looks promising–until you hit its 8 GB VRAM limit. Let's see how it performs. -
![Doom: The Dark Ages, 36 GPU Benchmark]()
Doom: The Dark Ages, 36 GPU Benchmark
Doom: The Dark Ages is the latest ray-traced FPS from id Software. We'll be benchmarking the "hell" out of it, and no doubt a few configurations will be doomed. -
![Nvidia's RTX 5060 Ti 8GB is Even Slower than the Intel Arc B580]()
Nvidia's RTX 5060 Ti 8GB is Even Slower than the Intel Arc B580
We test Nvidia's RTX 5060 Ti to reveal why the 8GB version struggles badly in modern games–and how it stacks up against Intel's much cheaper Arc B580 in VRAM-limited scenarios. -
![LG 45GX950A Review: The Ultimate OLED Ultrawide?]()
LG 45GX950A Review: The Ultimate OLED Ultrawide?
LG's new 45-inch 4K-class ultrawide OLED, the 45GX950A, delivers major upgrades in resolution and immersion–but its aggressive 800R curve may not suit all gamers or productivity users. -
![Instantly Obsolete: Nvidia RTX 5060 Ti 8GB Review]()
Instantly Obsolete: Nvidia RTX 5060 Ti 8GB Review
Nvidia tried to bury early reviews of the 8GB RTX 5060 Ti, but now the truth is out–and it's not pretty. With outdated specs and poor value, this GPU leaves a lot to be desired in 2025. -
![Nvidia GeForce RTX 5060 Ti 16GB Review]()
Nvidia GeForce RTX 5060 Ti 16GB Review
While popular with gamers, Nvidia's RTX 4060 series was a letdown. Now, with the RTX 5060 we see history repeating. We're digging into what's changed and what Nvidia doesn't want you to see. -
![Is DDR5-8000 Worth It? The Ryzen AM5 Test]()
Is DDR5-8000 Worth It? The Ryzen AM5 Test
Thinking about upgrading to AMD's AM5 platform? We've tested nearly everything from CPUs to motherboards---now it's time to revisit DDR5 memory performance, including G.Skill's new CL26 and DDR5-8000 kits. -
![AMD Radeon RX 9070 XT vs. Nvidia GeForce RTX 5070 Ti]()
AMD Radeon RX 9070 XT vs. Nvidia GeForce RTX 5070 Ti
AMD's RX 9070 XT is off to a blazing start, already outselling Nvidia's GeForce 50 series. With the RTX 5070 Ti now in the spotlight, we're diving into which GPU offers the better bang for your buck. -
![Dell Alienware AW2725Q 27]()
Dell Alienware AW2725Q 27" Review
The Dell Alienware AW2725Q debuts as the cheapest 27-inch 4K 240Hz QD-OLED gaming monitor yet, priced $200 below competitors. Is this a genuine deal or are sacrifices made? -
![AMD Ryzen 9 9950X3D Review: The Best High-End CPU]()
AMD Ryzen 9 9950X3D Review: The Best High-End CPU
AMD's Ryzen 7 9800X3D has been a massive hit with gamers. Now, AMD is back with the Ryzen 9 9950X3D and 9900X3D, aiming to deliver both top-tier gaming and productivity power. -
![AMD Radeon RX 9070 Review]()
AMD Radeon RX 9070 Review
AMD impressed us with the Radeon 9070 XT, but now we turn to its cheaper sibling, the RX 9070. Priced at $550, it competes with Nvidia's RTX 5070, but its biggest rival may be AMD's own. -
![AMD Radeon RX 9070 XT Review]()
AMD Radeon RX 9070 XT Review
AMD's Radeon 9070 GPUs have been the subject of much speculation, but now we finally have the hardware in hand. Let's put the 9070 XT to the test to see what it's truly capable of.


No products matched your criteria.
Try refining your search or go back to the popular listing.