Building a Liva
We found it off that the Liva mini PC didn't come pre-assembled. There don't seem to be any reason for this so perhaps it was simply cheaper to offload assembly to the consumer.
Thankfully, the installation process is quite simple so novice users shouldn't have any trouble putting the Liva together.
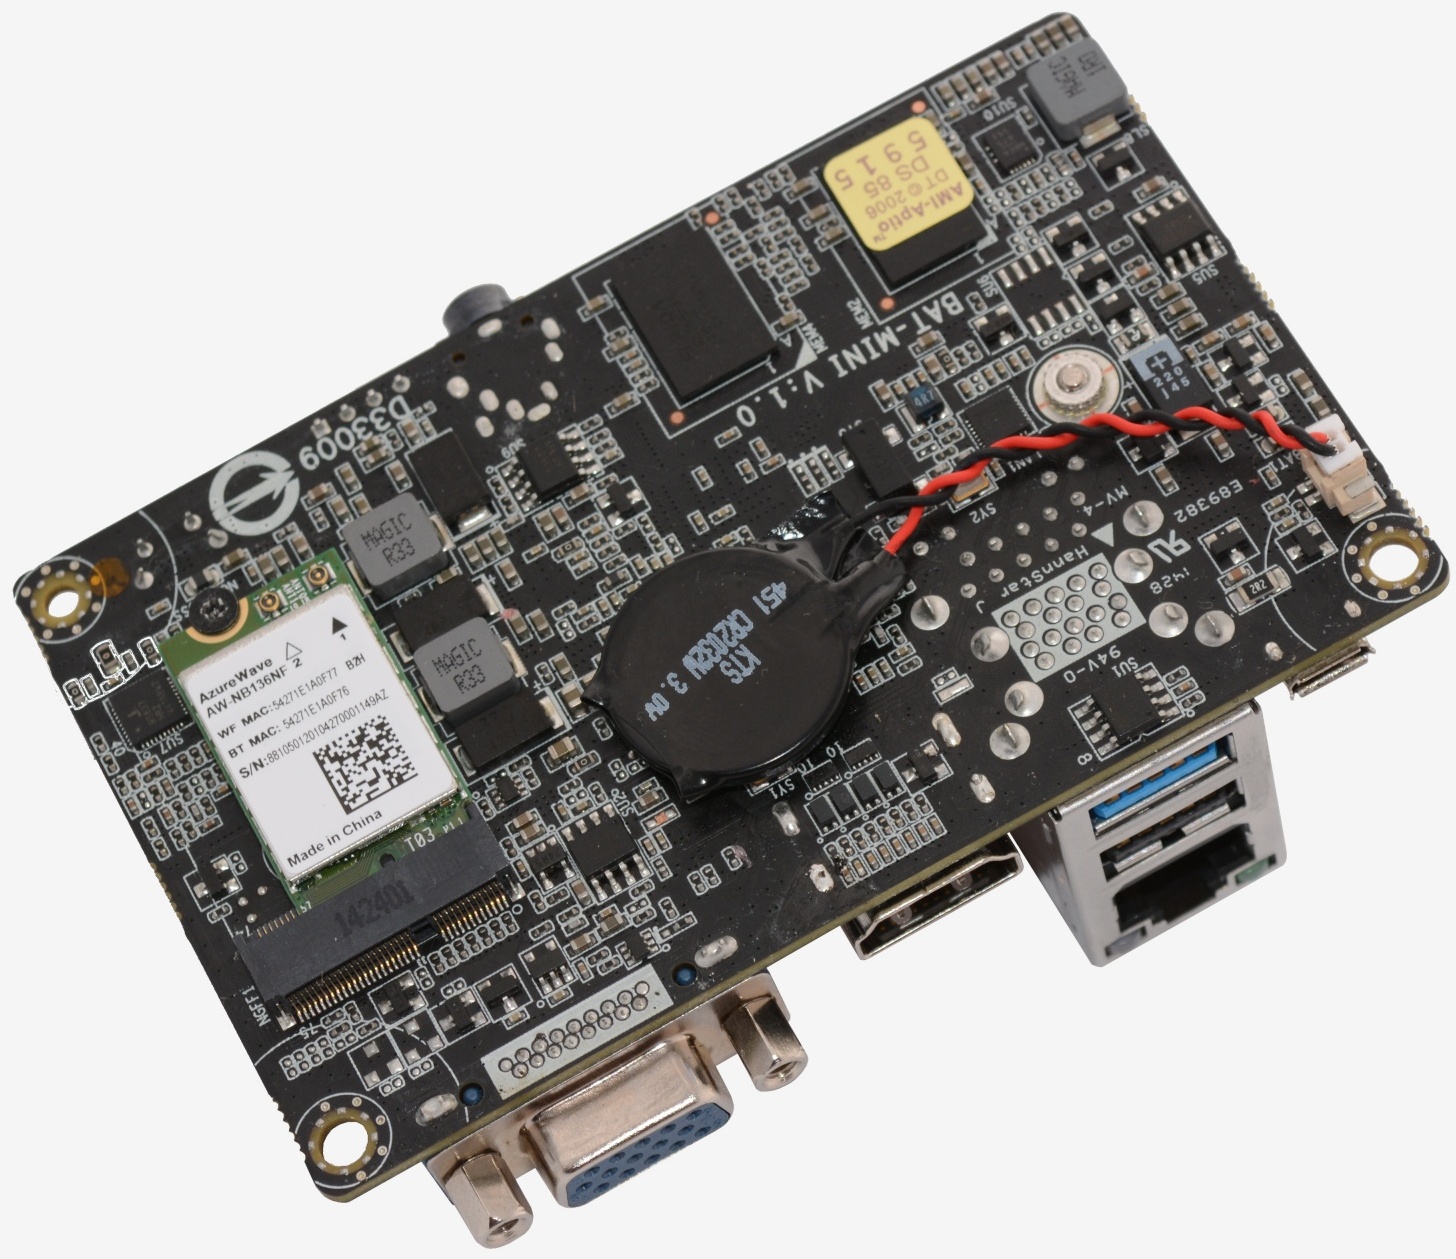
The quick installation guide suggests installing the M.2 Wi-Fi card onto the BAT-Mini motherboard first. The Wi-Fi card and the screw to fix it in place are in separate packets. Also note that the entire PC comes with just a single screw.
Once the Wi-Fi card is installed the antennas need to be placed in the correct locations within the plastic housing. Both the antenna feature adhesive so simply peel back the tape and attach them (there is a long and a short antenna).
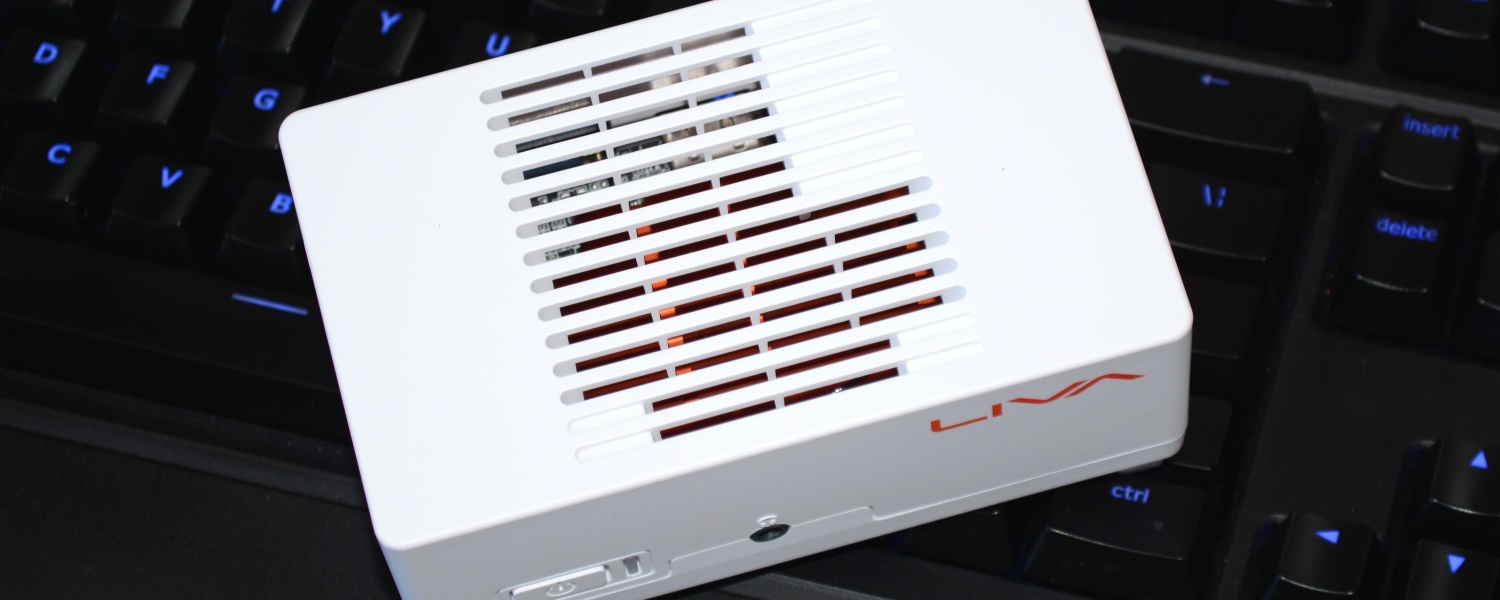
Next the motherboard goes in and then the antennas are connected to the Wi-Fi card. The motherboard isn't screwed into place, the base of the case simply holds it in place using friction. That means once the antennas are connected you just need to clip the bottom of the case on and you are done.
The entire build process revolves around installing the Wi-Fi card onto the motherboard, sticking the antennas in and then connecting them to the Wi-Fi card. ECS could have saved on a few plastic bags and a static bag if they just built the thing themselves.
We found one real issue: taking the case back apart without damaging it isn't easy. You have to pry it apart and hope for the best and while it's unlikely you will ever need to open it again, this could be an issue if you make a mistake with the installation.


