Installation
After installing the hard drives and physically attaching the N3200XXX to the network, we powered the device up and gave it an IP address. You can configure IP address using either the Thecus Setup Wizard on a PC or an option available by navigating through built-in LCD display.
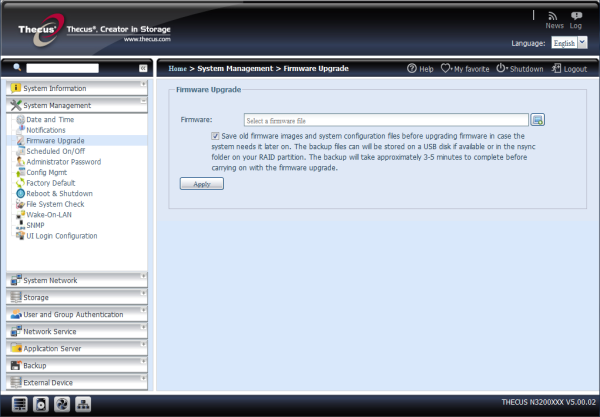
The Setup Wizard is currently at v2.0.4 (released February 8) and can be found on the supplied CD or downloaded from Thecus website. The Setup Wizard automatically detects all Thecus storage devices on your network, after which you can move on to setting an admin password, host name and IP address.
Those wanting to avoid using the software can rely on the LCD controls. The up, down, enter and escape buttons can be used to configure the N3200XXX and the same options are available using this method.
Once the N3200XXX has been configured for your network you can open up the Web Administration Interface using your favorite web browser and make further changes to the device's network settings.
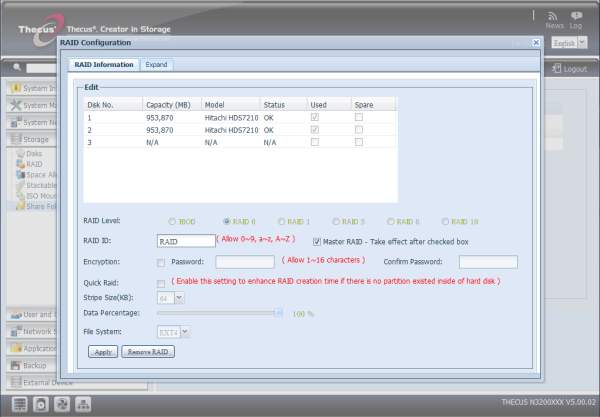
Typically, the first step is to create a RAID array which can be accomplished by navigating to the "Storage" menu and then entering the "RAID" sub-menu. You can create various types of disk arrays including RAID 0, 1, 5 and JBOD along with options to define a stripe size and set which disks are to be used in the array or used as a spare disk.
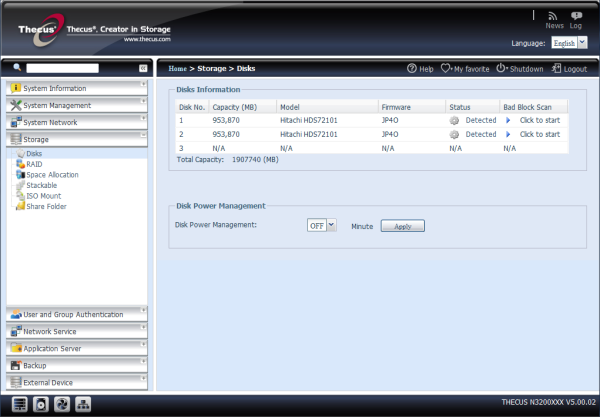
The N3200XXX also supports AES-256bit RAID volume encryption to protect data. To activate this function, the Encryption option needs to be enabled while the RAID is created and is followed by password input for identification. You'll also need an external writable USB thumb drive plugged into the system to save the password you entered while creating the RAID volume.
To access the encrypted RAID volume, you'll need that USB drive every time you boot up, though it can be removed after your machine is validated. The RAID volume cannot be mounted if the USB thumb drive containing the key cannot be found in one of your system's USB ports
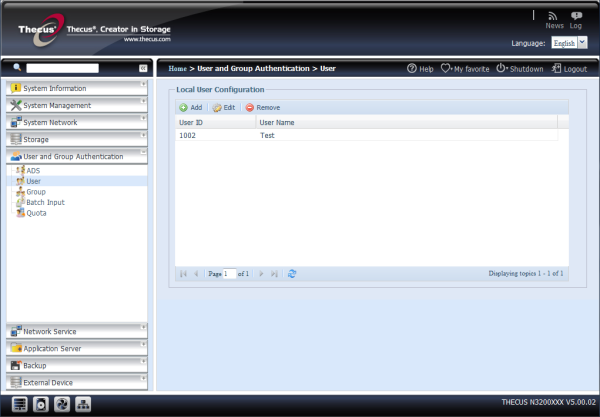
Once the volume is created you can set up user accounts. The Thecus IP storage has a built-in user database that allows administrators to manage user access using different group policies. From the User and Group Authentication menu you can create, modify, and delete users as well as assign them to groups that you designate.
If you have a Windows Active Directory Server (ADS) or Windows NT server to handle the domain security in your network, you can simply enable the ADS/NT support feature; the Thecus IP storage will connect with the ADS/NT server and get all the information of the domain users and groups automatically. From the Accounts menu, choose Authentication item and the ADS/NT Support screen appears. You can to change any of these items and press Apply to confirm your settings.
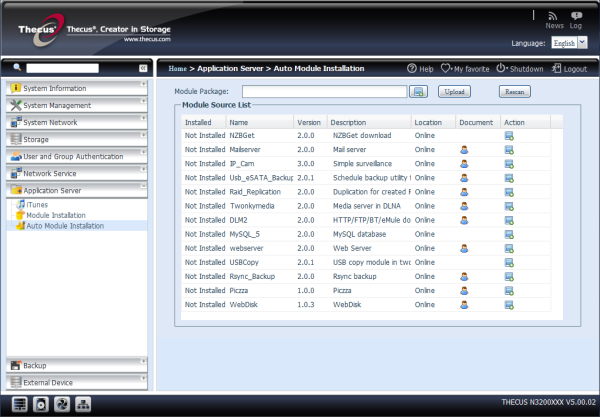
Once you've configured the user accounts and privileges, you can begin creating folders on the N3200XXX and user access to each one can be set with Folder Access Control Lists. The last step is to activate any desired services such as the FTP server, iTunes server, backup server, printer server or photo server.