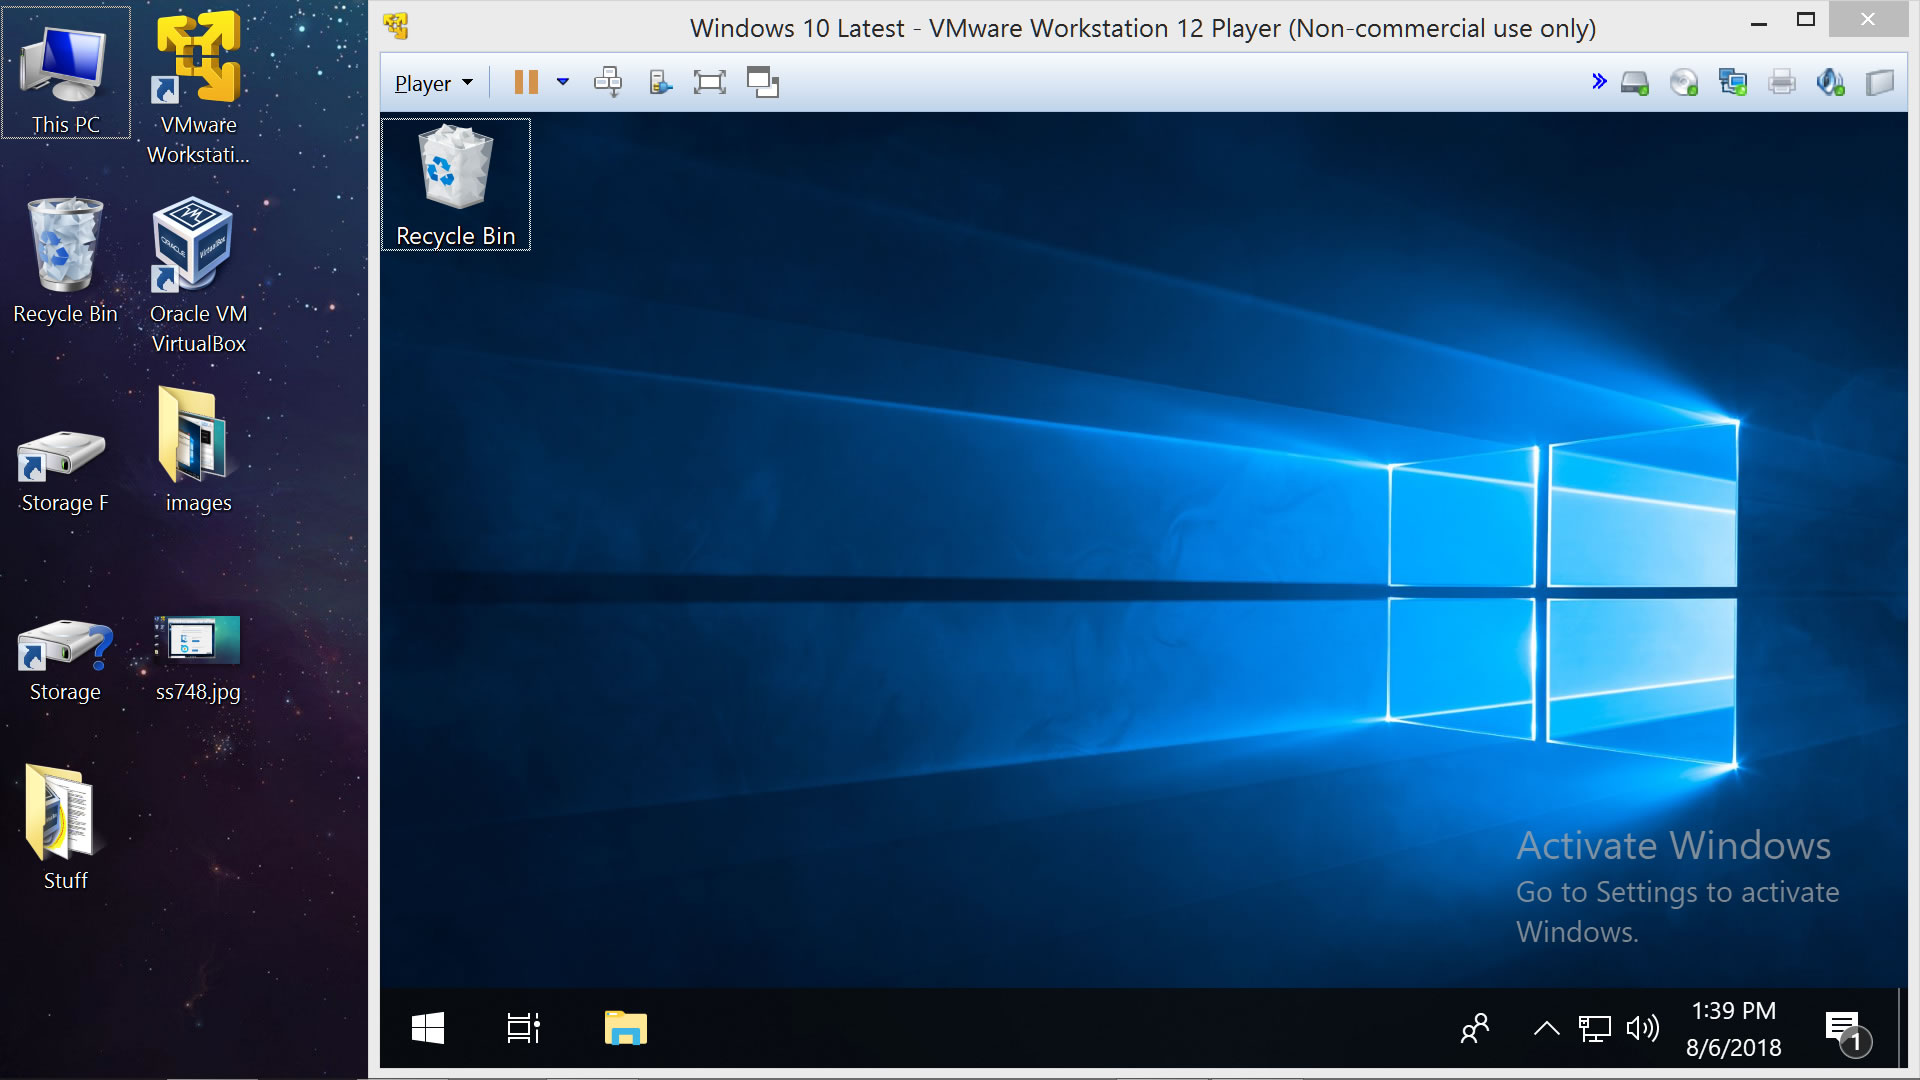
Having a virtual machine on-hand can be useful for a variety of purposes, such as testing software or tweaks in a sandboxed environment that is separate from your primary operating system. A virtual machine can also help you to run older software that doesn't work with your new operating system, or simply exploring a new operating system altogether.
For instance, you could have a fully working copy of Linux while being logged into Windows, or an installation of Windows XP inside Windows 10, etc.
Running an OS within an OS is surprisingly easy to do courtesy of free software from VMware and VirtualBox, both of which we'll show you how to install and configure, albeit with more of an emphasis on VMware Player.
Download: VMware Player | VirtualBox | Microsoft Windows & Office ISO Download Tool
We've used VMware Player extensively for years and for this guide we worked with our current installation of an older version that supports older processors. VMware Player 14 has new features and improved support for more modern hardware, and will be the focus of our guide today. Meanwhile, VirtualBox is also worth a mention as it can be run on macOS. Both VMware and VirtualBox support Linux.
Setting up a Windows 10 virtual machine in VMware Player
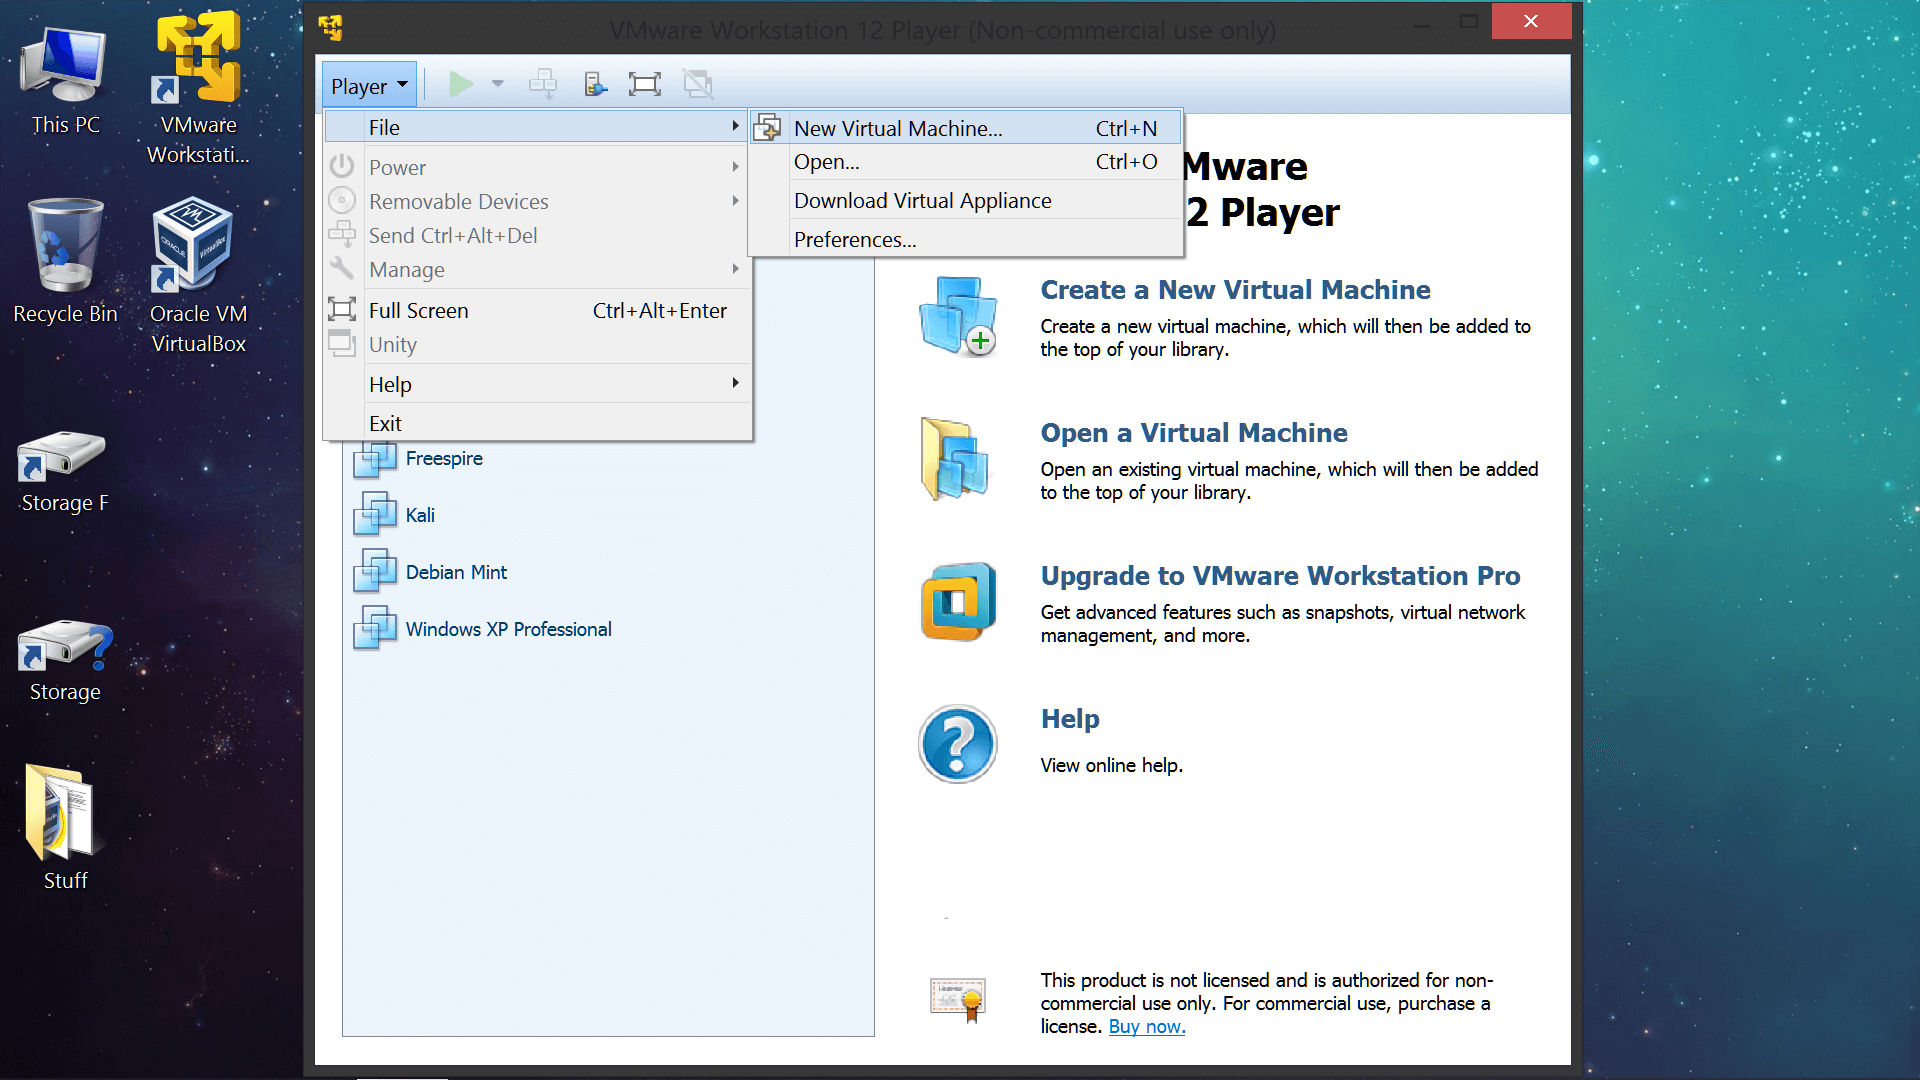
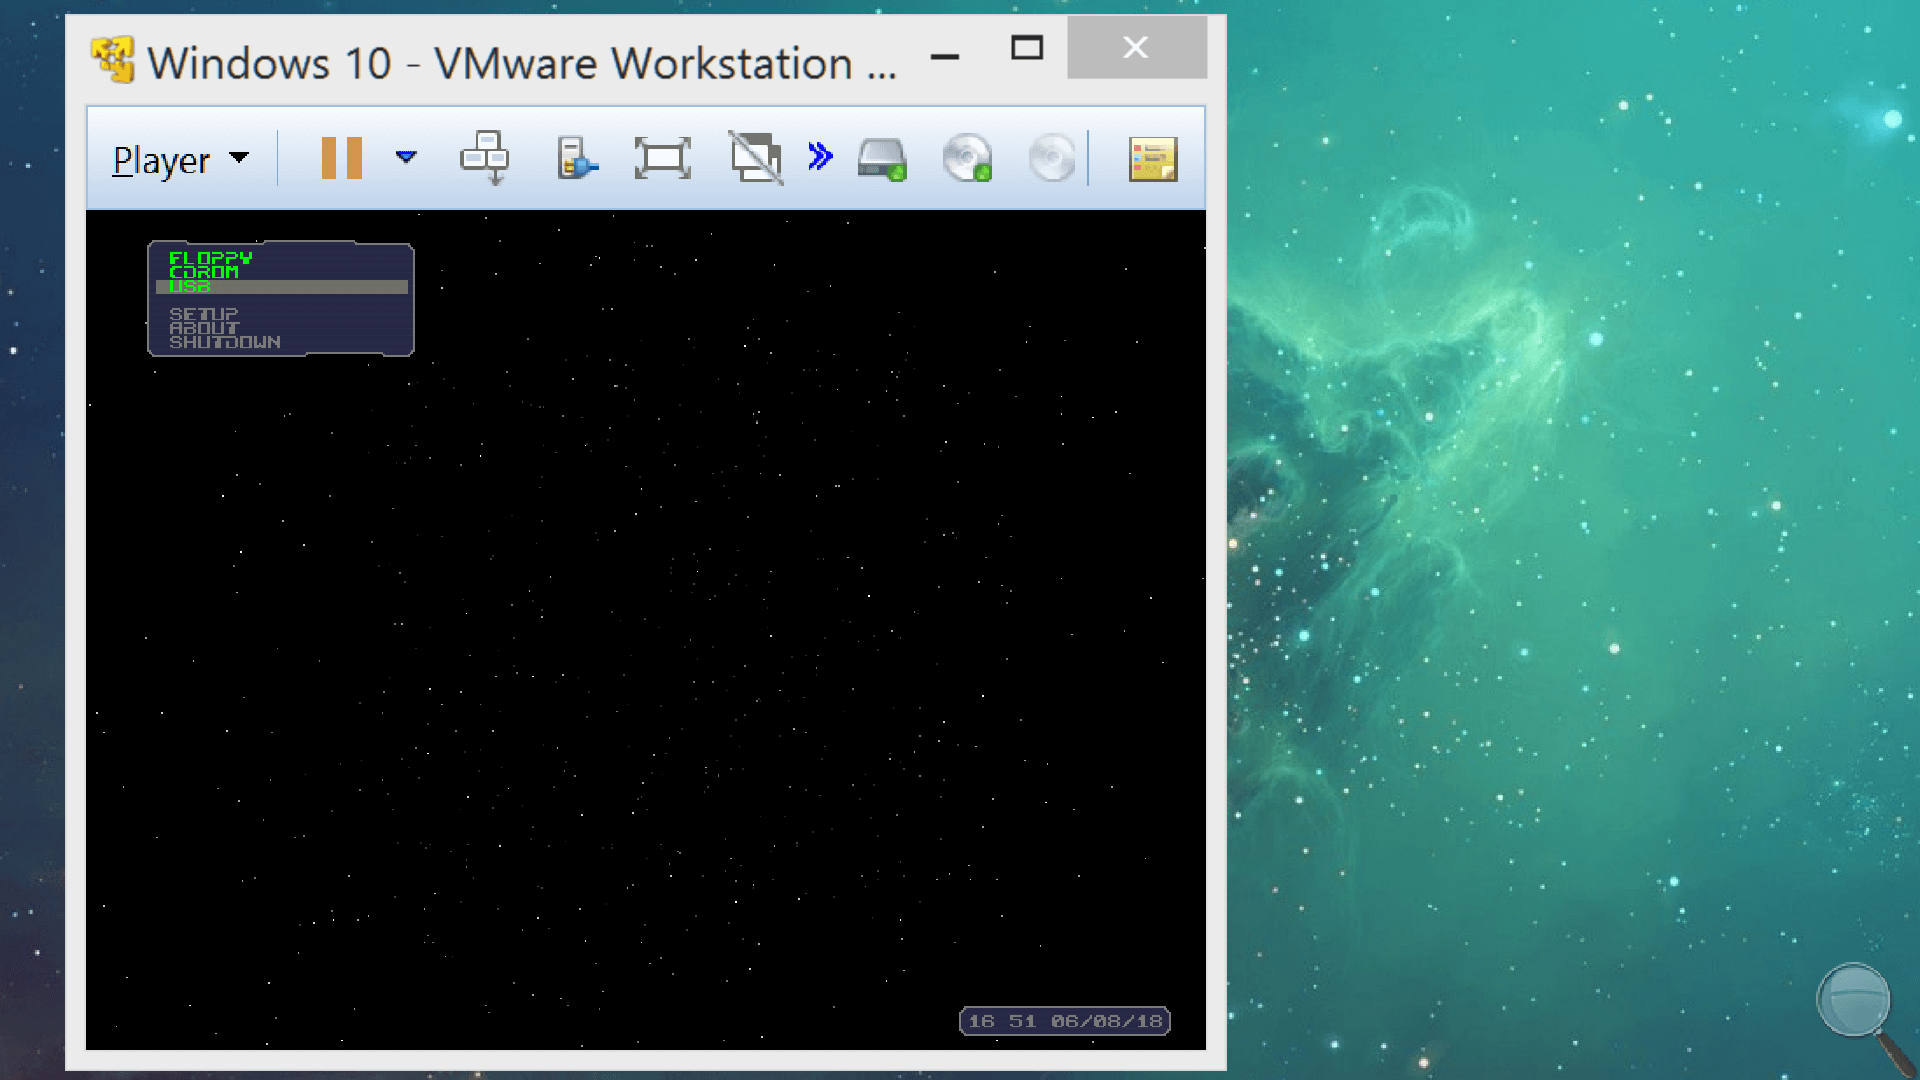
With VMware Player installed and open, you can begin setting up a new virtual machine from an ISO file or bootable CD/DVD by going to the "Player" menu on the top left > New Virtual Machine and the first window will let you select an ISO file or installation CD (or to proceed without either).
In the event that your copy of Windows 10 is on a bootable USB drive instead of being an ISO, VMware Player doesn't provide native support for booting off USB devices, but it's easy to add this functionality when you reach the hardware configuration screen at end of the setup prompts.
How to boot off a USB drive in VMware Player...
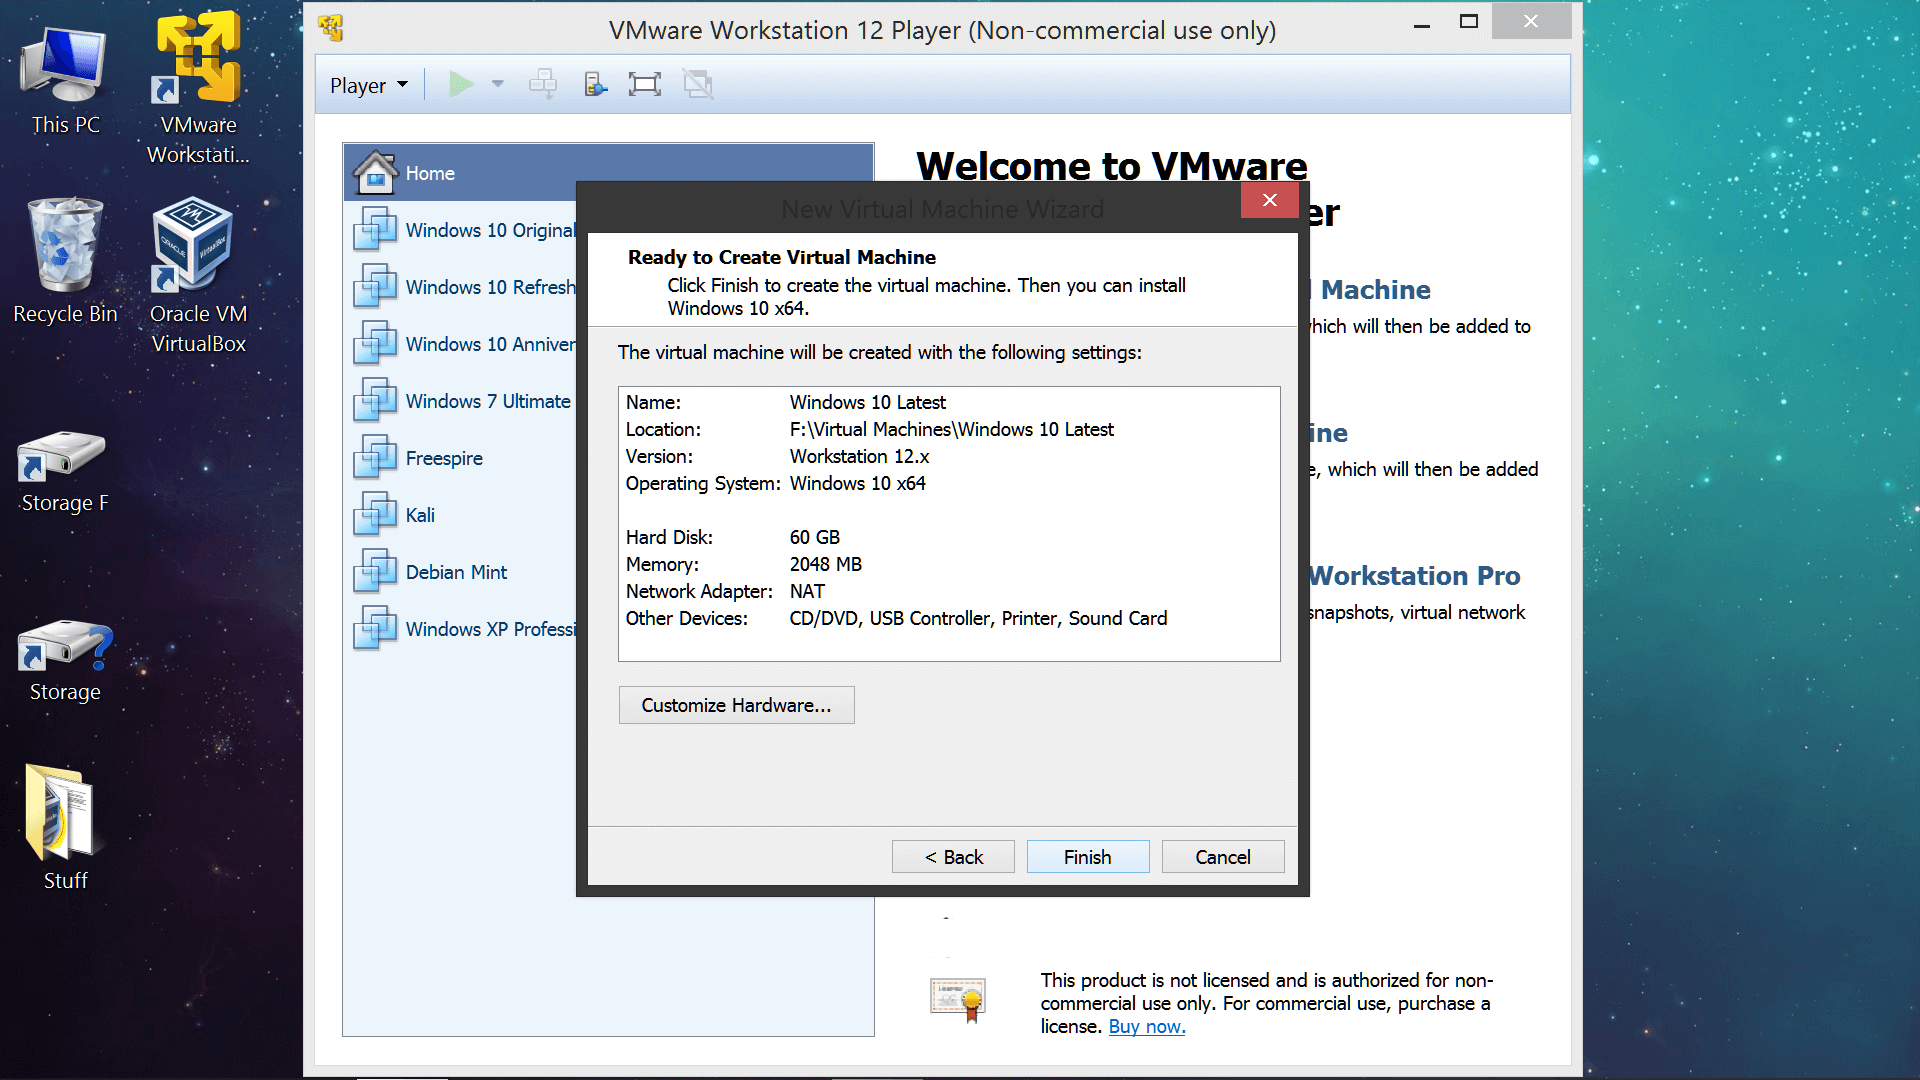
Download Plop Boot Manager and extract the zipped contents. When you reach the final screen in the virtual machine setup wizard, click "Customize Hardware..." to open the VM's hardware settings (you can also reach this menu afterward via Player > Manager > Virtual Machine Settings).
Once you're in the hardware settings...
- Click "Add..." toward the bottom of the hardware settings window
- Click "Next" on the next add a CD/DVD Drive
- Choose ISO on the next prompt and point it to Plop Boot Manager.iso
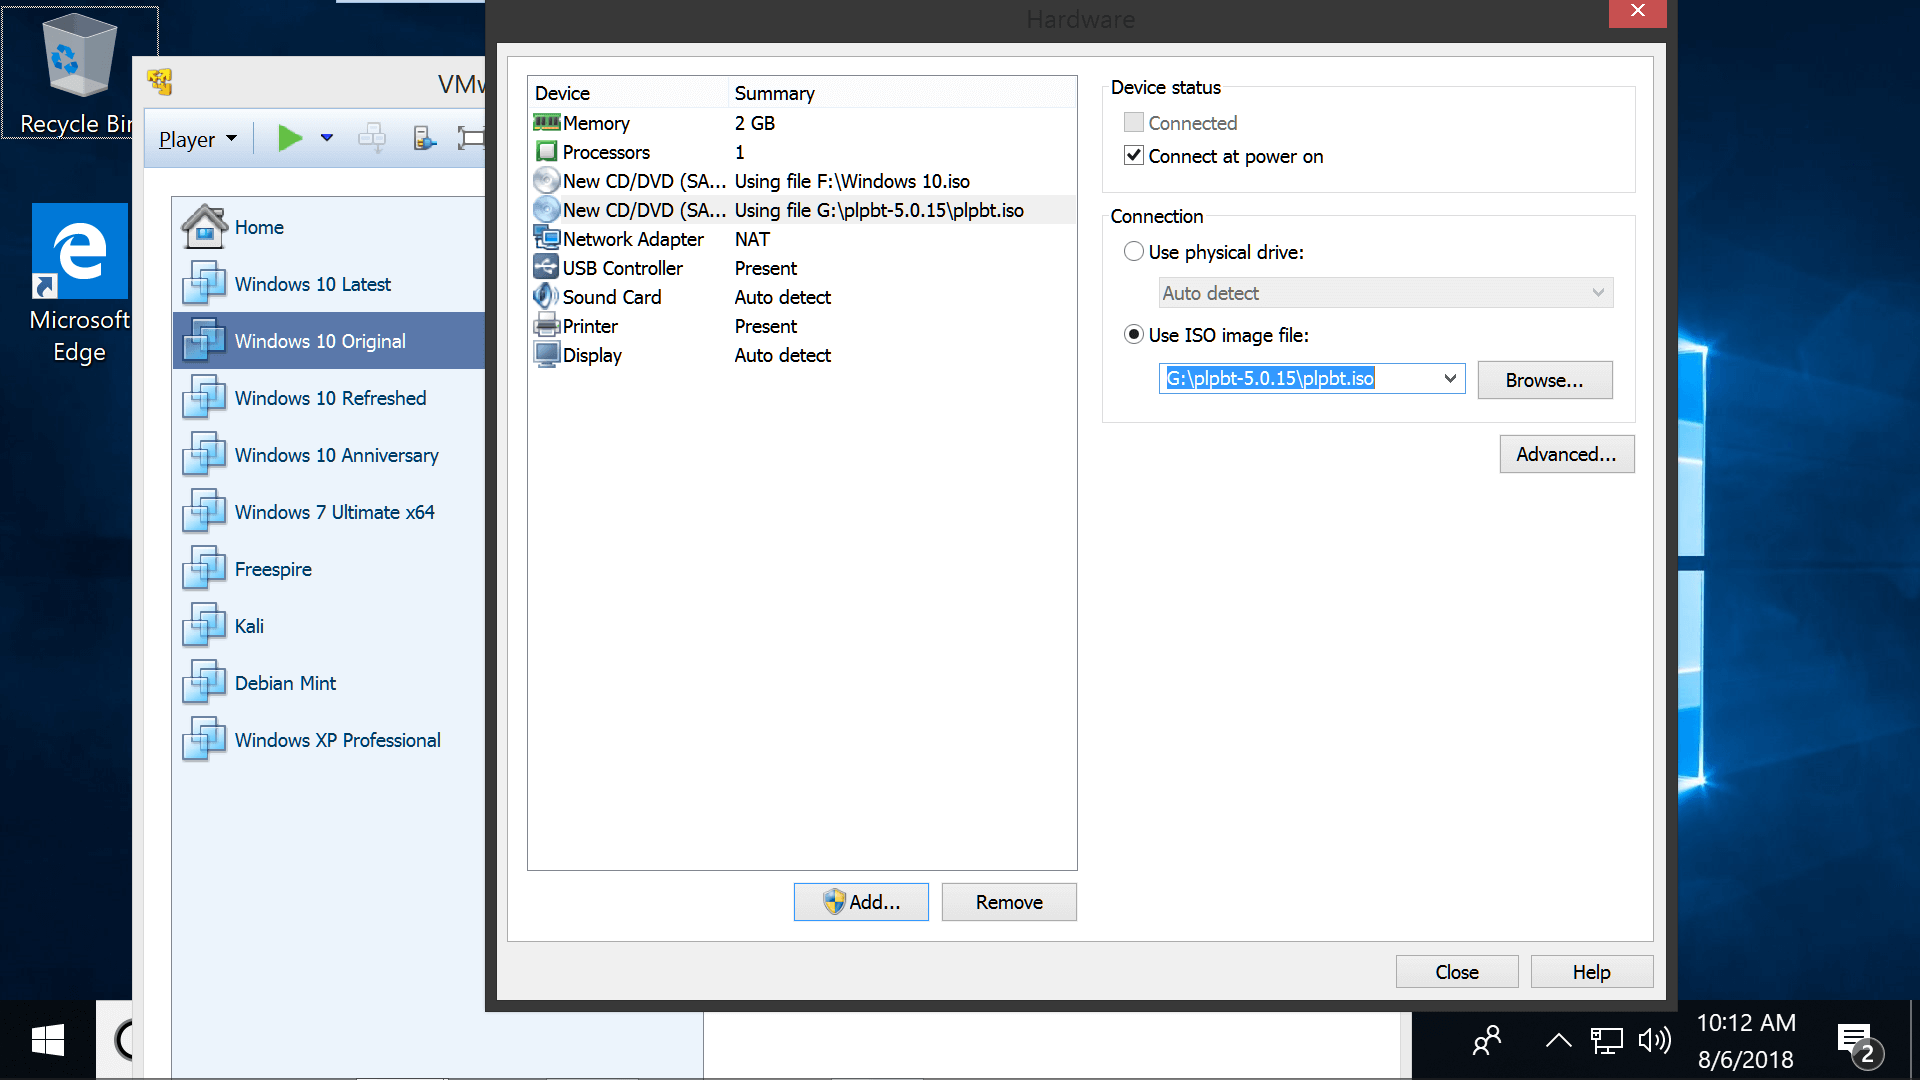
Now when you start your virtual machine it will have a custom boot device menu including the ability to boot from USB devices.
Most of the setup process for creating a new virtual machine is straightforward but there are some additional details worth noting about the initial setup configuration:
- You might not want the virtual machine stored on your primary drive if it's limited on space as with a low capacity SSD, but you can store the virtual machine files on any drive connected to your computer.
- Allocating 60GB should be plenty of storage to get started and you could probably reduce to that if necessary.
- 2GB of RAM will function considerably better than 1GB for Windows 10.
- The setup process above is similar or identical for other operating systems.
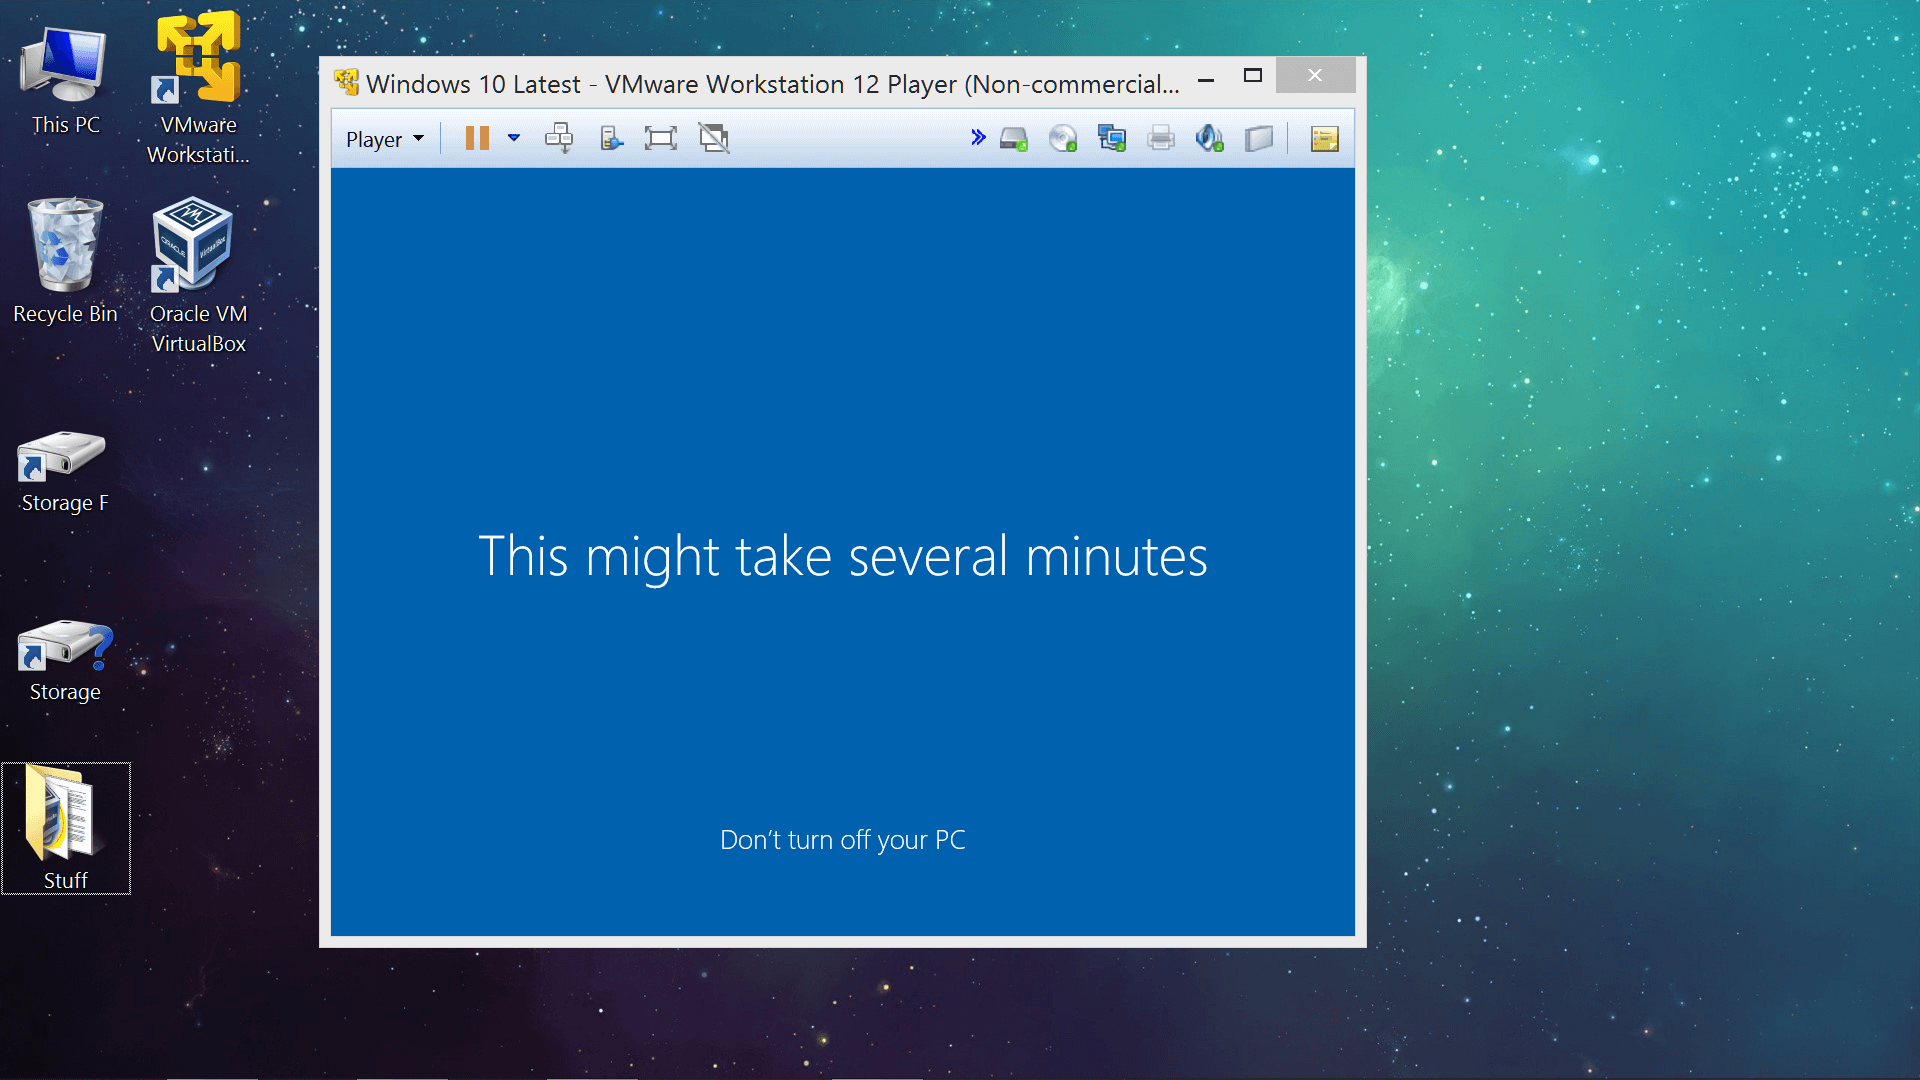
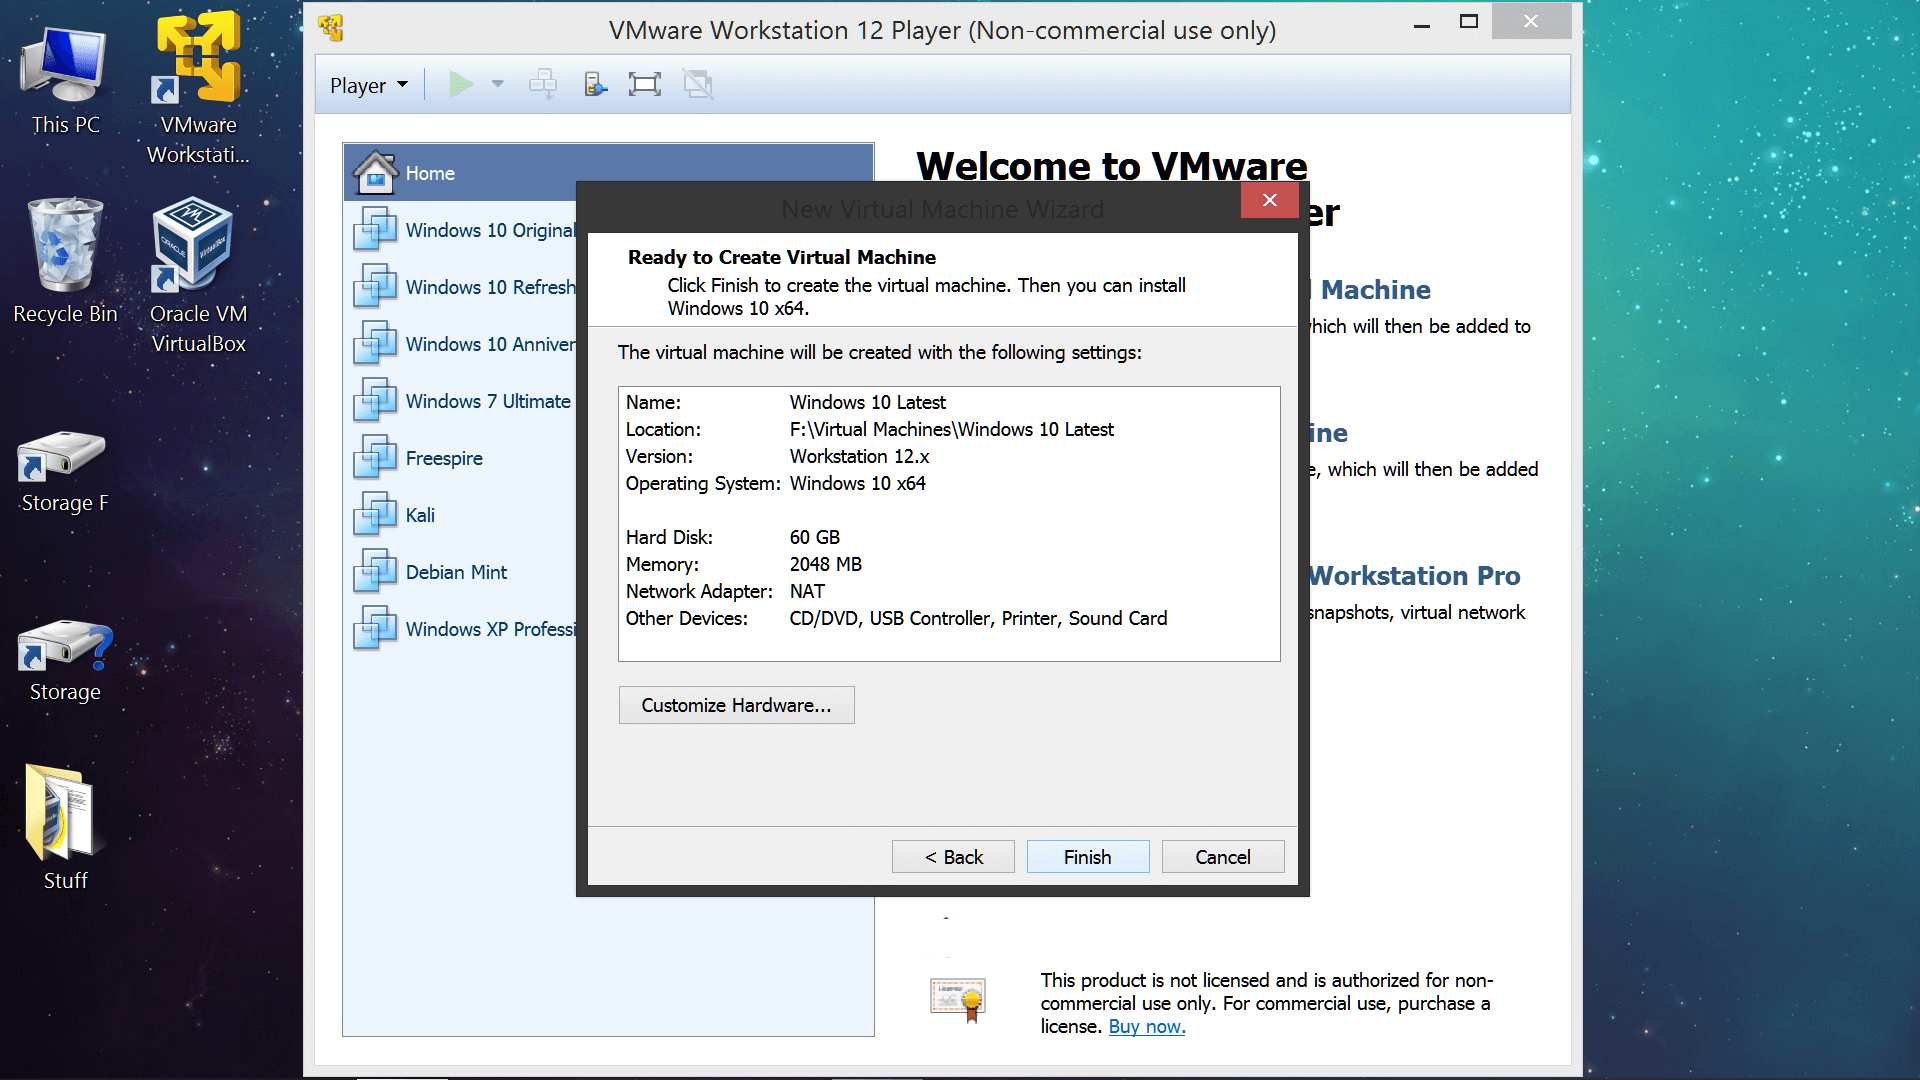
Installing Windows 10 on the newly created virtual machine...
Note that hitting Ctrl + Alt will change focus from the virtual machine back to your main operating system.
If you made it through the setup wizard, you should see your new virtual machine listed VMware Player's welcome screen where it can be powered on to begin the Windows 10 installation. We won't cover that in great depth since most of you are probably well acquainted, but here are some notes about the Windows 10 installation process:
- For starters, you don't need a license to install Windows 10. Not activating Windows 10 will lock down the personalization features and put a watermark on the desktop but the operating system will remain functional enough to do software testing, etc. When prompted for a product key, look for an option at the bottom of the registration screen and select that you don't have one.
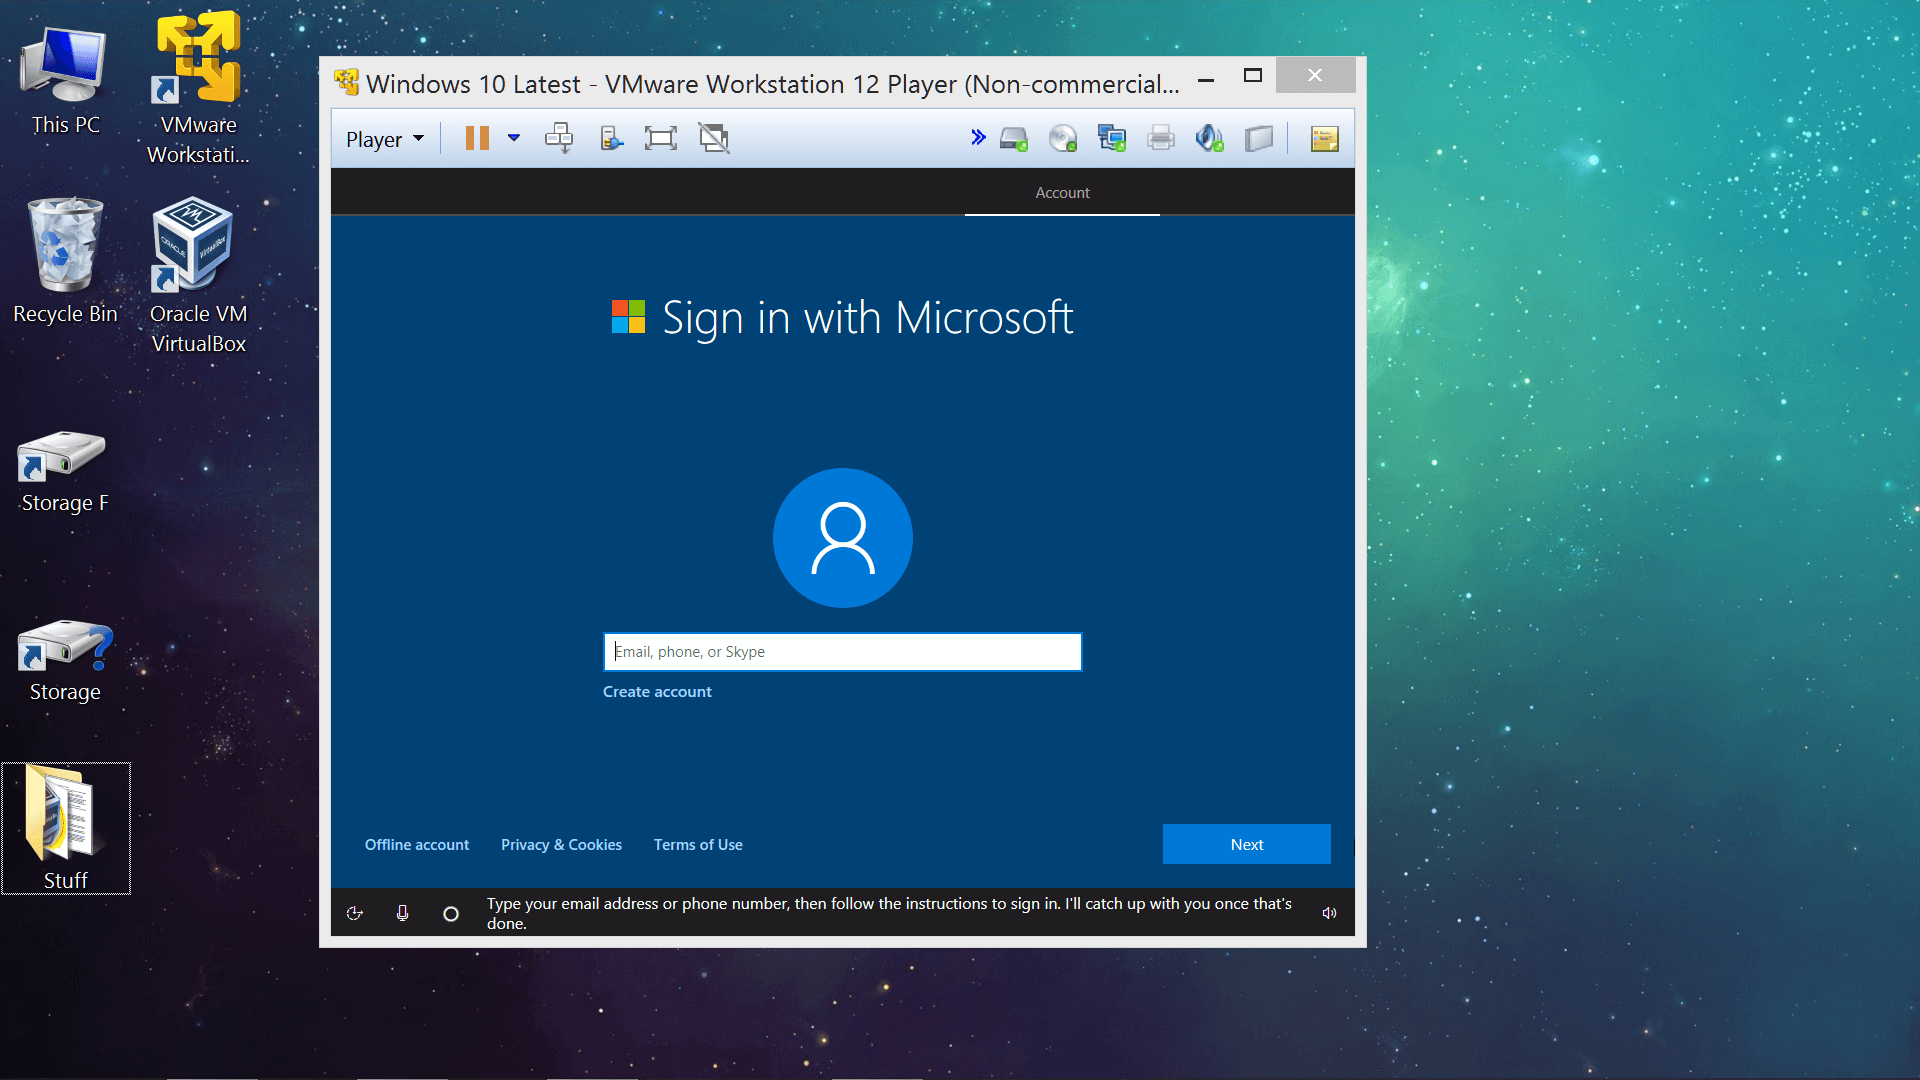
- We recommend using an offline Windows account which is an option on the bottom left of the Windows installation sign in screen, and you can proceed without a password on the next prompt by clicking next.
- When the installation of Windows 10 completes, your virtual machine should automatically connect to the internet assuming it has working network drivers. Drivers should generally take care of themselves and if you started with the newest version of Windows you shouldn't have many if any updates to download – if that even matters for your use case.
Configuring your VMware Player virtual machine a little further...
To use your VM you'll probably want to change your display resolution first, especially if you intend to use the virtual machine in full screen. It's worth taking a few minutes to install VMware Tools, so that your resolution will automatically adjust as the size of the virtual machine's window changes.
VMware Tools adds other worthwhile features too, such as the ability to drag and drop files directly into the virtual machine from your main Windows environment, as well as the ability to create a shared folder between the host and guest operating systems.
How to install VMware Tools
Click the "Player" button on the top left of VMWare Player then go to Manage > Install VMware Tools. The software should automatically mount to your virtual machine's DVD drive and if it doesn't autorun you can navigate there from the File Explorer to launch the executable yourself (D:\setup64.exe). The virtual machine will have to be rebooted for the installation to finish.
You can still transfer files to and from the virtual machine without installing VMware Tools by connecting a removable storage device. In the Player menu there is a section for removable devices where your flash drives etc. should be listed and can be connected or disconnected, which is necessary for the primary operating system to recognize the device again.
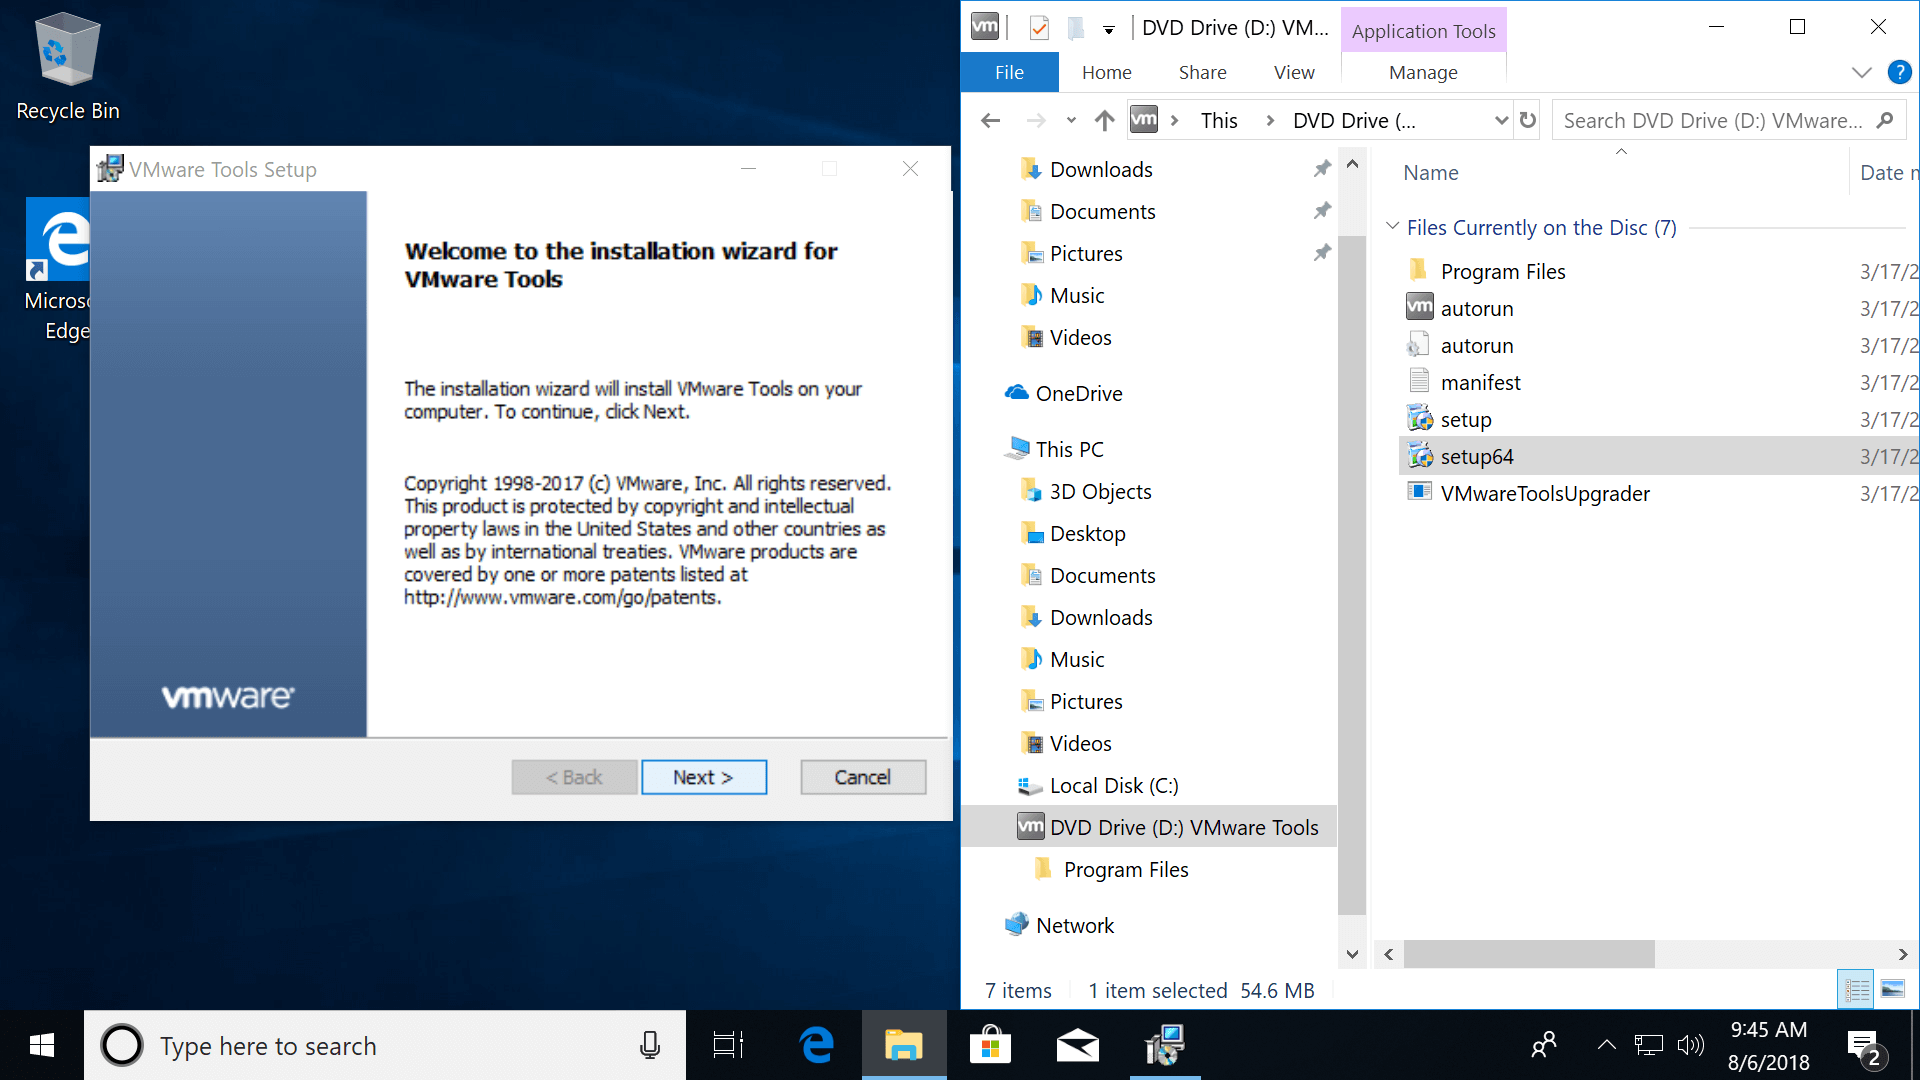
Any configuration of the virtual machine beyond this point should be about the same as setting up any other new Windows 10 installation. We tend to start by removing most items from the taskbar (Cortana first) and desktop – including the Recycle Bin, although that's not possible with the personalization options locked in an unactivated virtual machine.
Accomplishing some of the same using VirtualBox
The configuration process is similar to VMware Player besides some menu differences such as how you go about mounting the guest operating system image file. You can create a new virtual machine by clicking "New" and following the prompts, after which it will be listed on the left panel with virtual hardware under "Machine tools" on the right.

Scroll down to "Storage" where you can right click the optical drive, mount an operating system image file and start the virtual machine to begin installing Windows 10 (remember to unmount the Windows 10 image after installation).
Note that it can be easy to miss the option for changing the virtual machine's storage directory when going through the initial creation process – go to "Expert Mode" on the the Create Virtual Hard Disk screen and browse to the destination where you want the virtual machine saved.
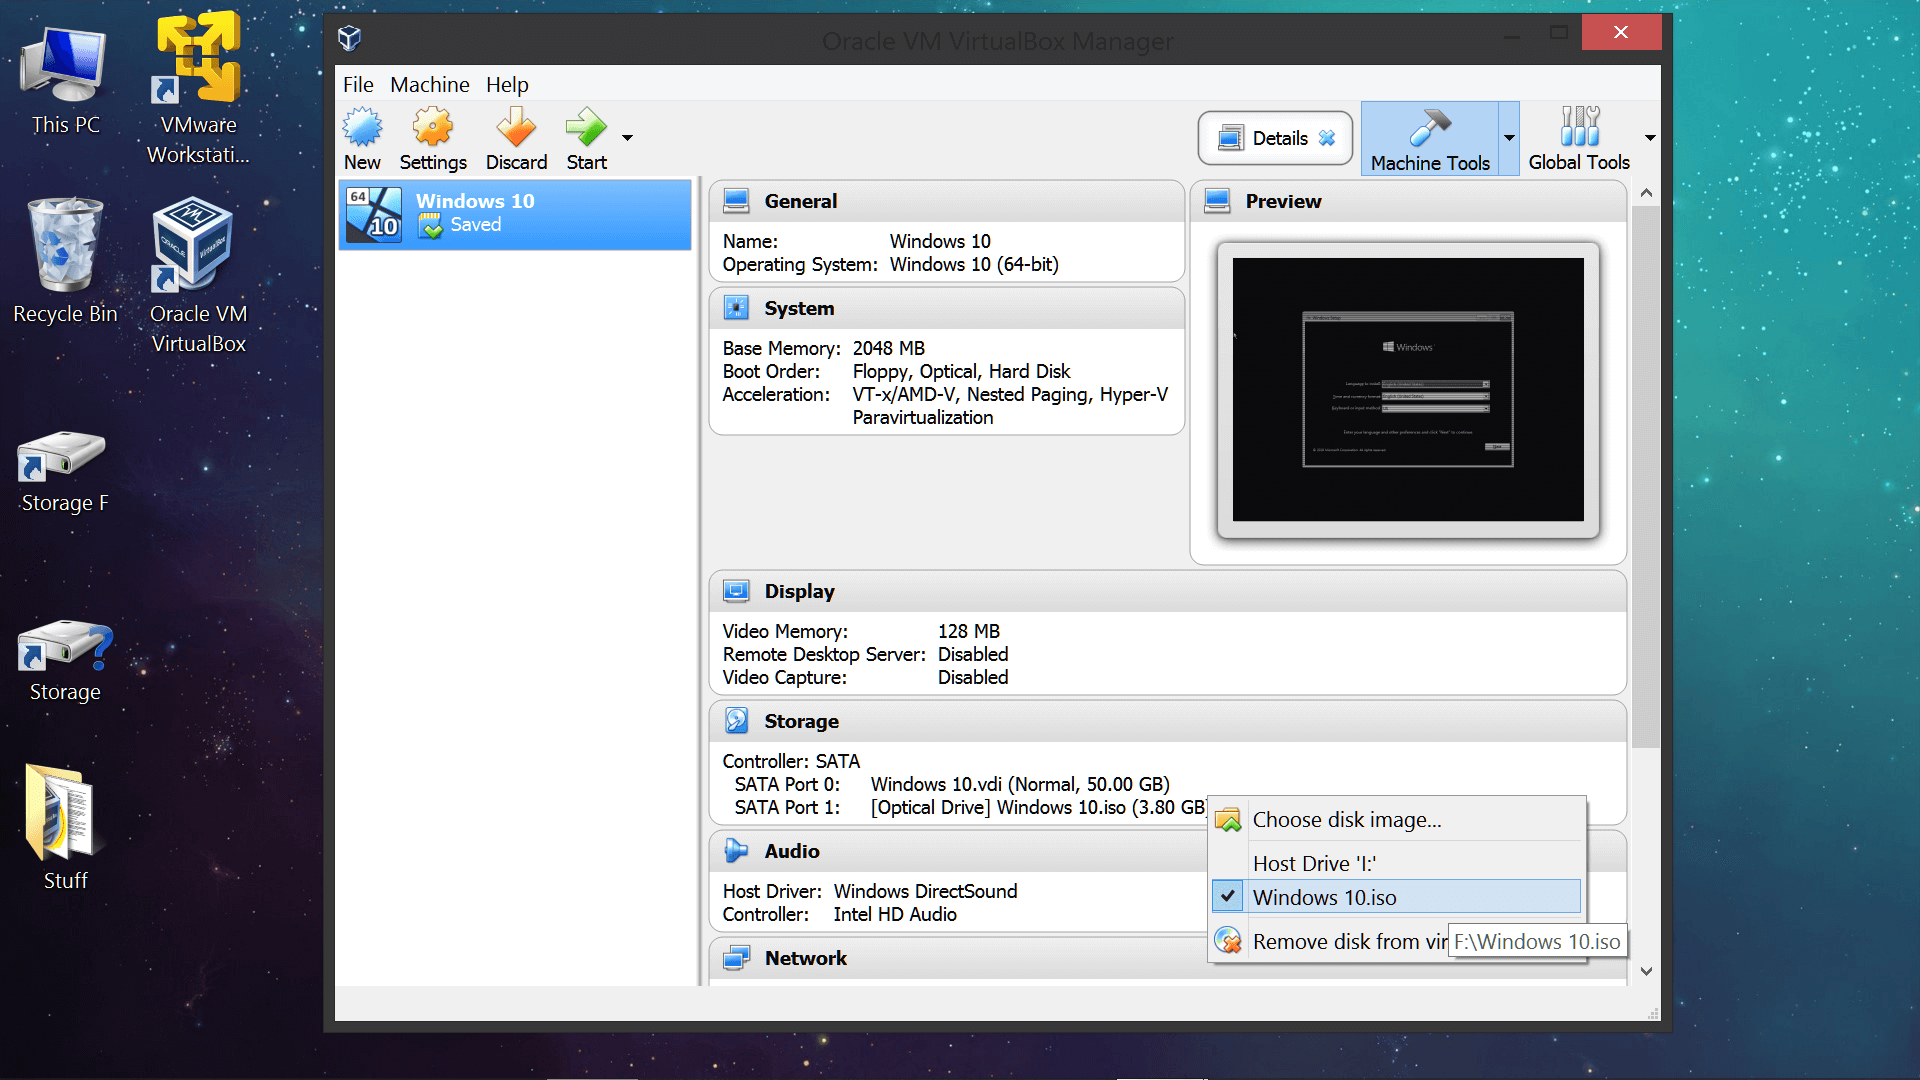
Many of the features mentioned for VMware Player are also present in VirtualBox's settings menu, such as drag and drop and shared folders, though VMware seems better at auto-scaling the virtual machine's display as you resize it (Right Ctrl + F goes full screen and Right Ctrl + C enables scaling mode – neither are as sharp looking as VMware Player).
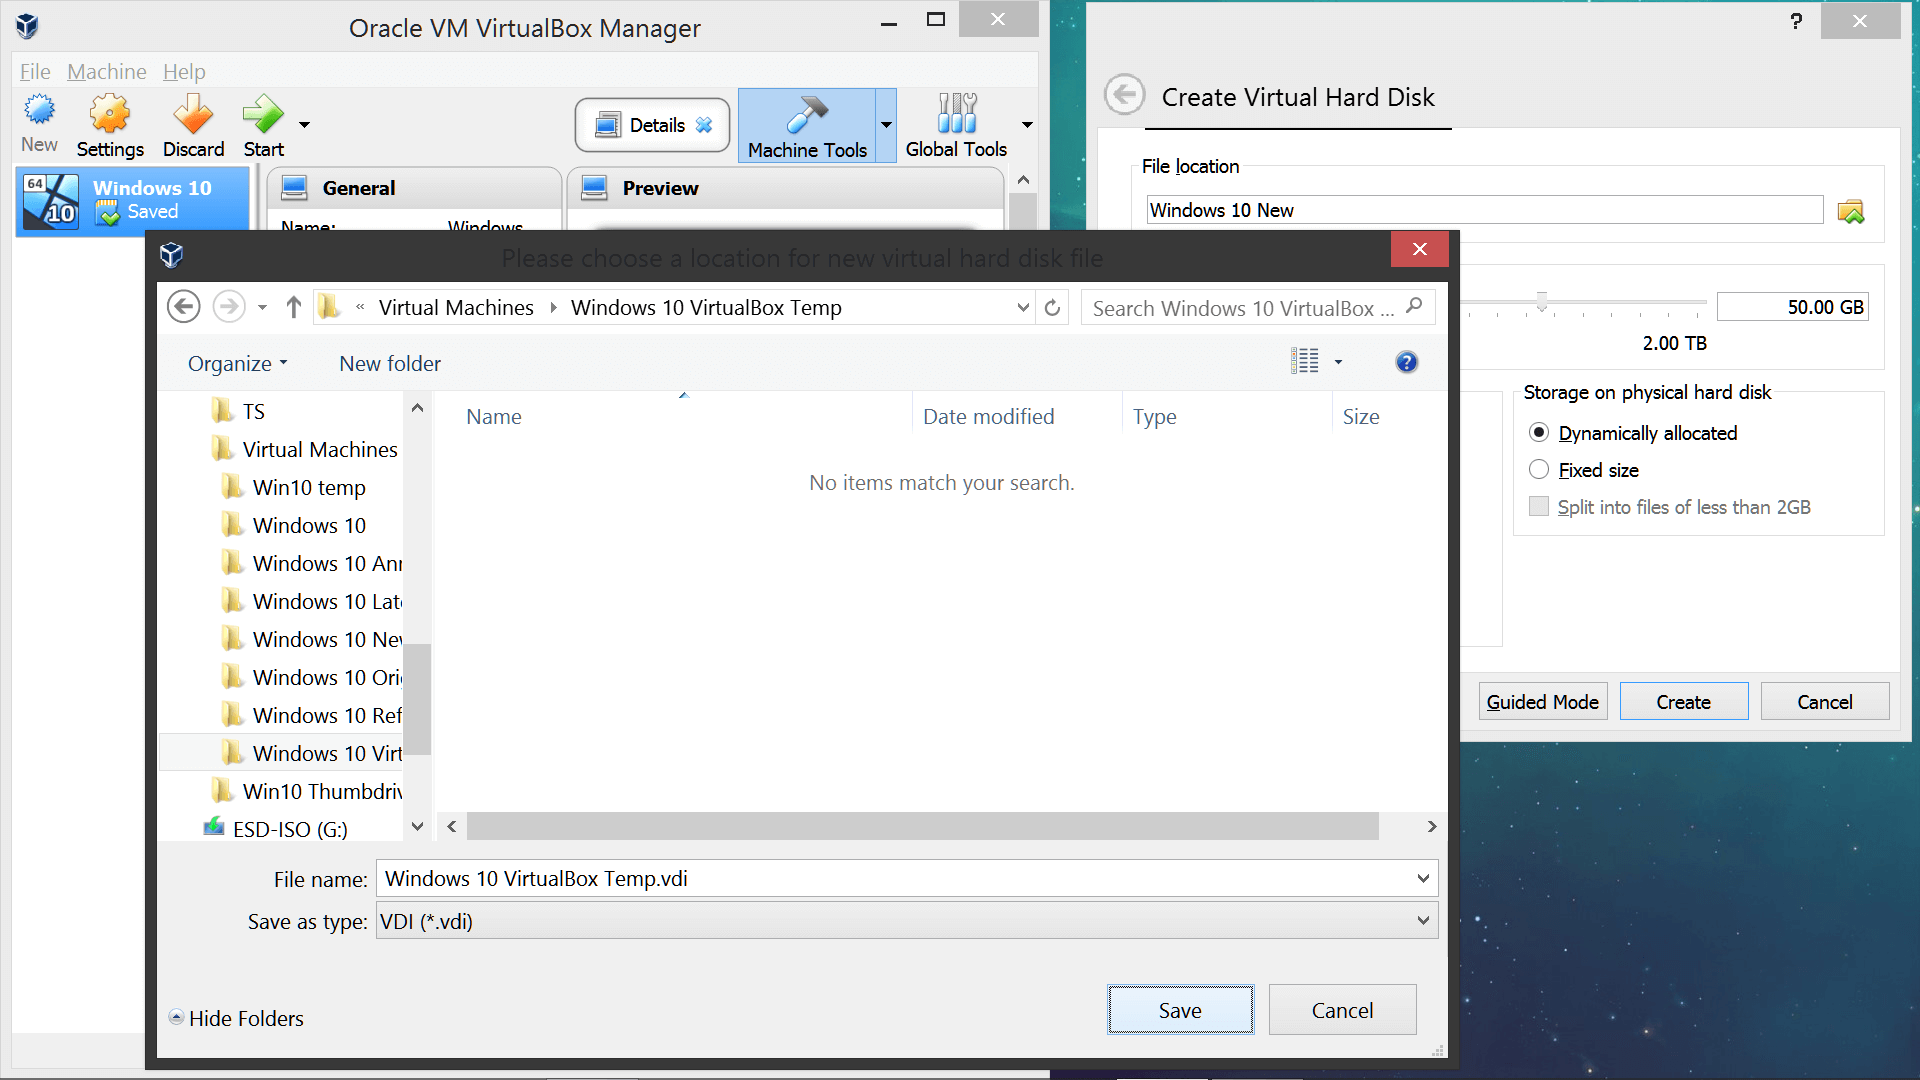
As mentioned earlier, we have more experience with VMware Player, but here's a complete user manual for VirtualBox if that's the software you're using.
Bonus: Download Microsoft ISOs
The Microsoft Windows and Office ISO Download Tool makes it easy to download Windows 7, Windows 8.1 and Windows 10 disk images (ISO) from Microsoft's servers, as well as Office 2010, Office 2013, Office 2016, Expression Studio and Office for Mac.
