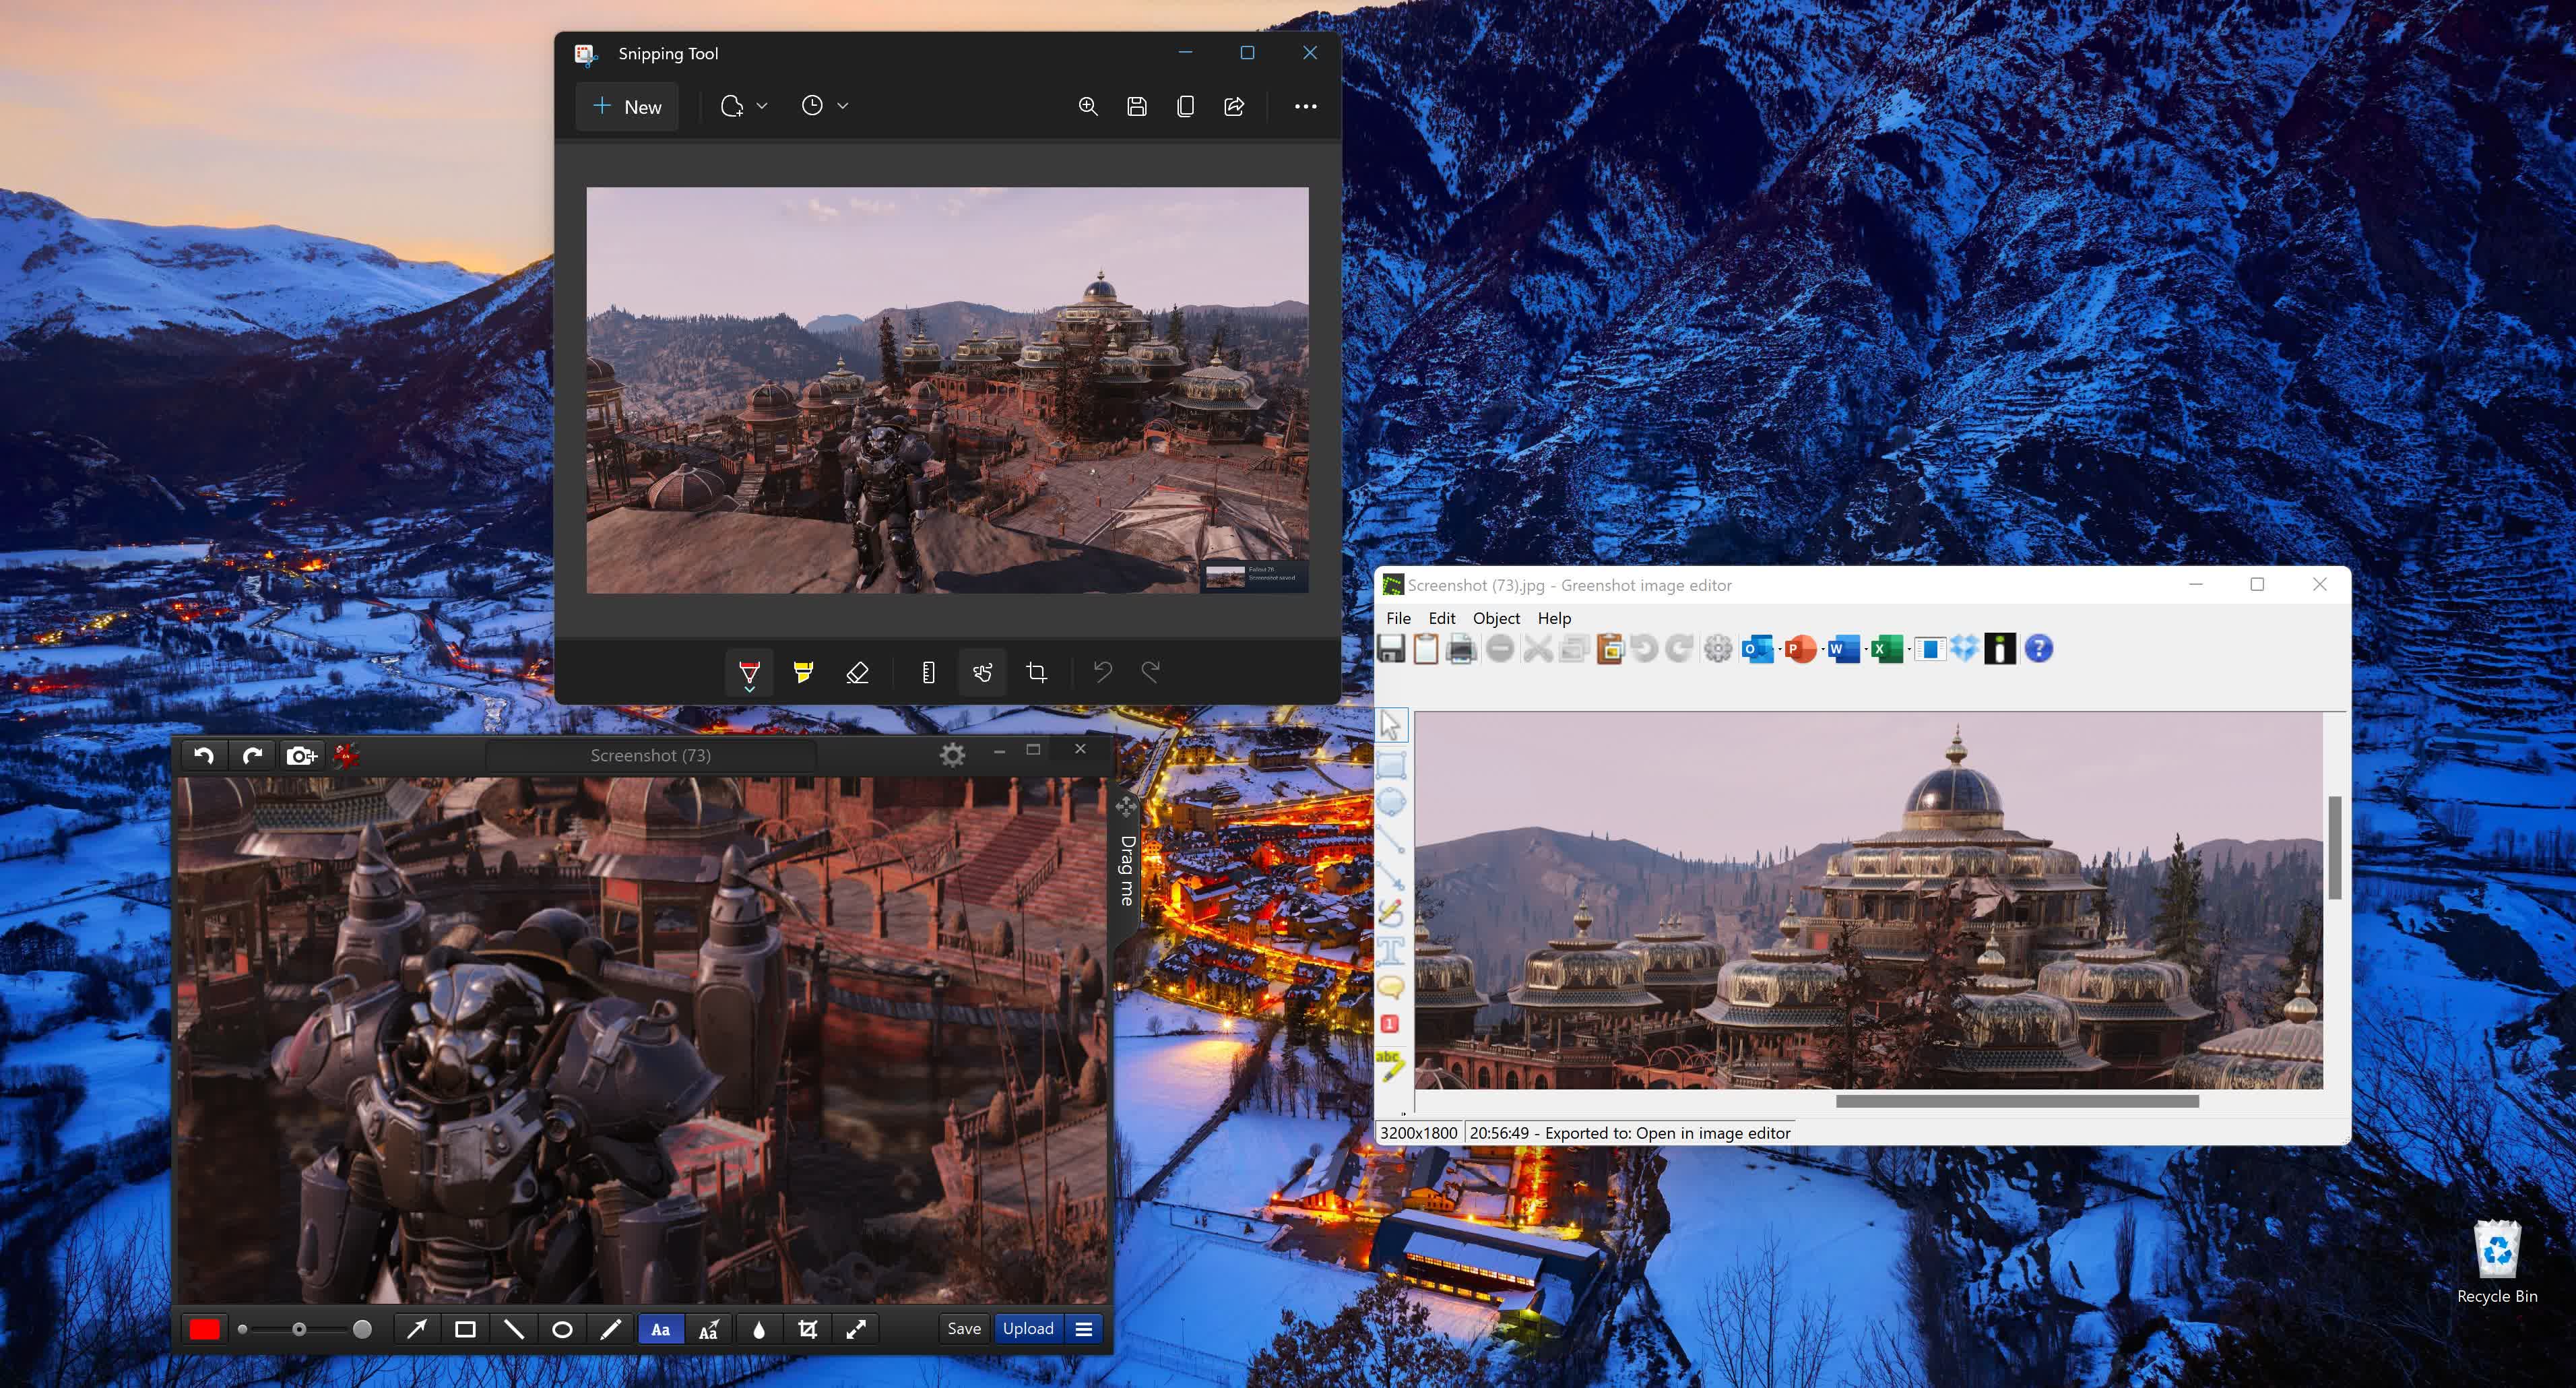
Whether you're using Windows 10, Windows 11, or rockin' it old school with Windows 7, capturing the content on your screen can come in handy in a variety of situations.
Whether you need to save information for later, collaborate with others, or share troubleshooting information, screenshots are a powerful tool that can be worth a thousand words. In this guide, we'll show you the best ways to take screenshots with Windows built-in tools and through the best third-party tools for the job.
The Basics: Using the Print Screen Key
The simplest way to take a screenshot is to press the Print Screen key on your keyboard, which is usually abbreviated as PrtSc. This will save what's displayed on your PC screen inside the clipboard. If you're using a laptop, you may need to press Fn + PrtSc to get the same result.

To crop, annotate, and save your screen capture, you'll have to paste it into an app like Paint or an image editor of your choice. For very simple editing, you can use Paint which is available in all Windows versions. Open Paint from the Start menu, and then press Ctrl + V on your keyboard to paste your screenshot. From there, you can crop and edit your screenshot to your liking, or save it directly by pressing Ctrl + S on your keyboard.
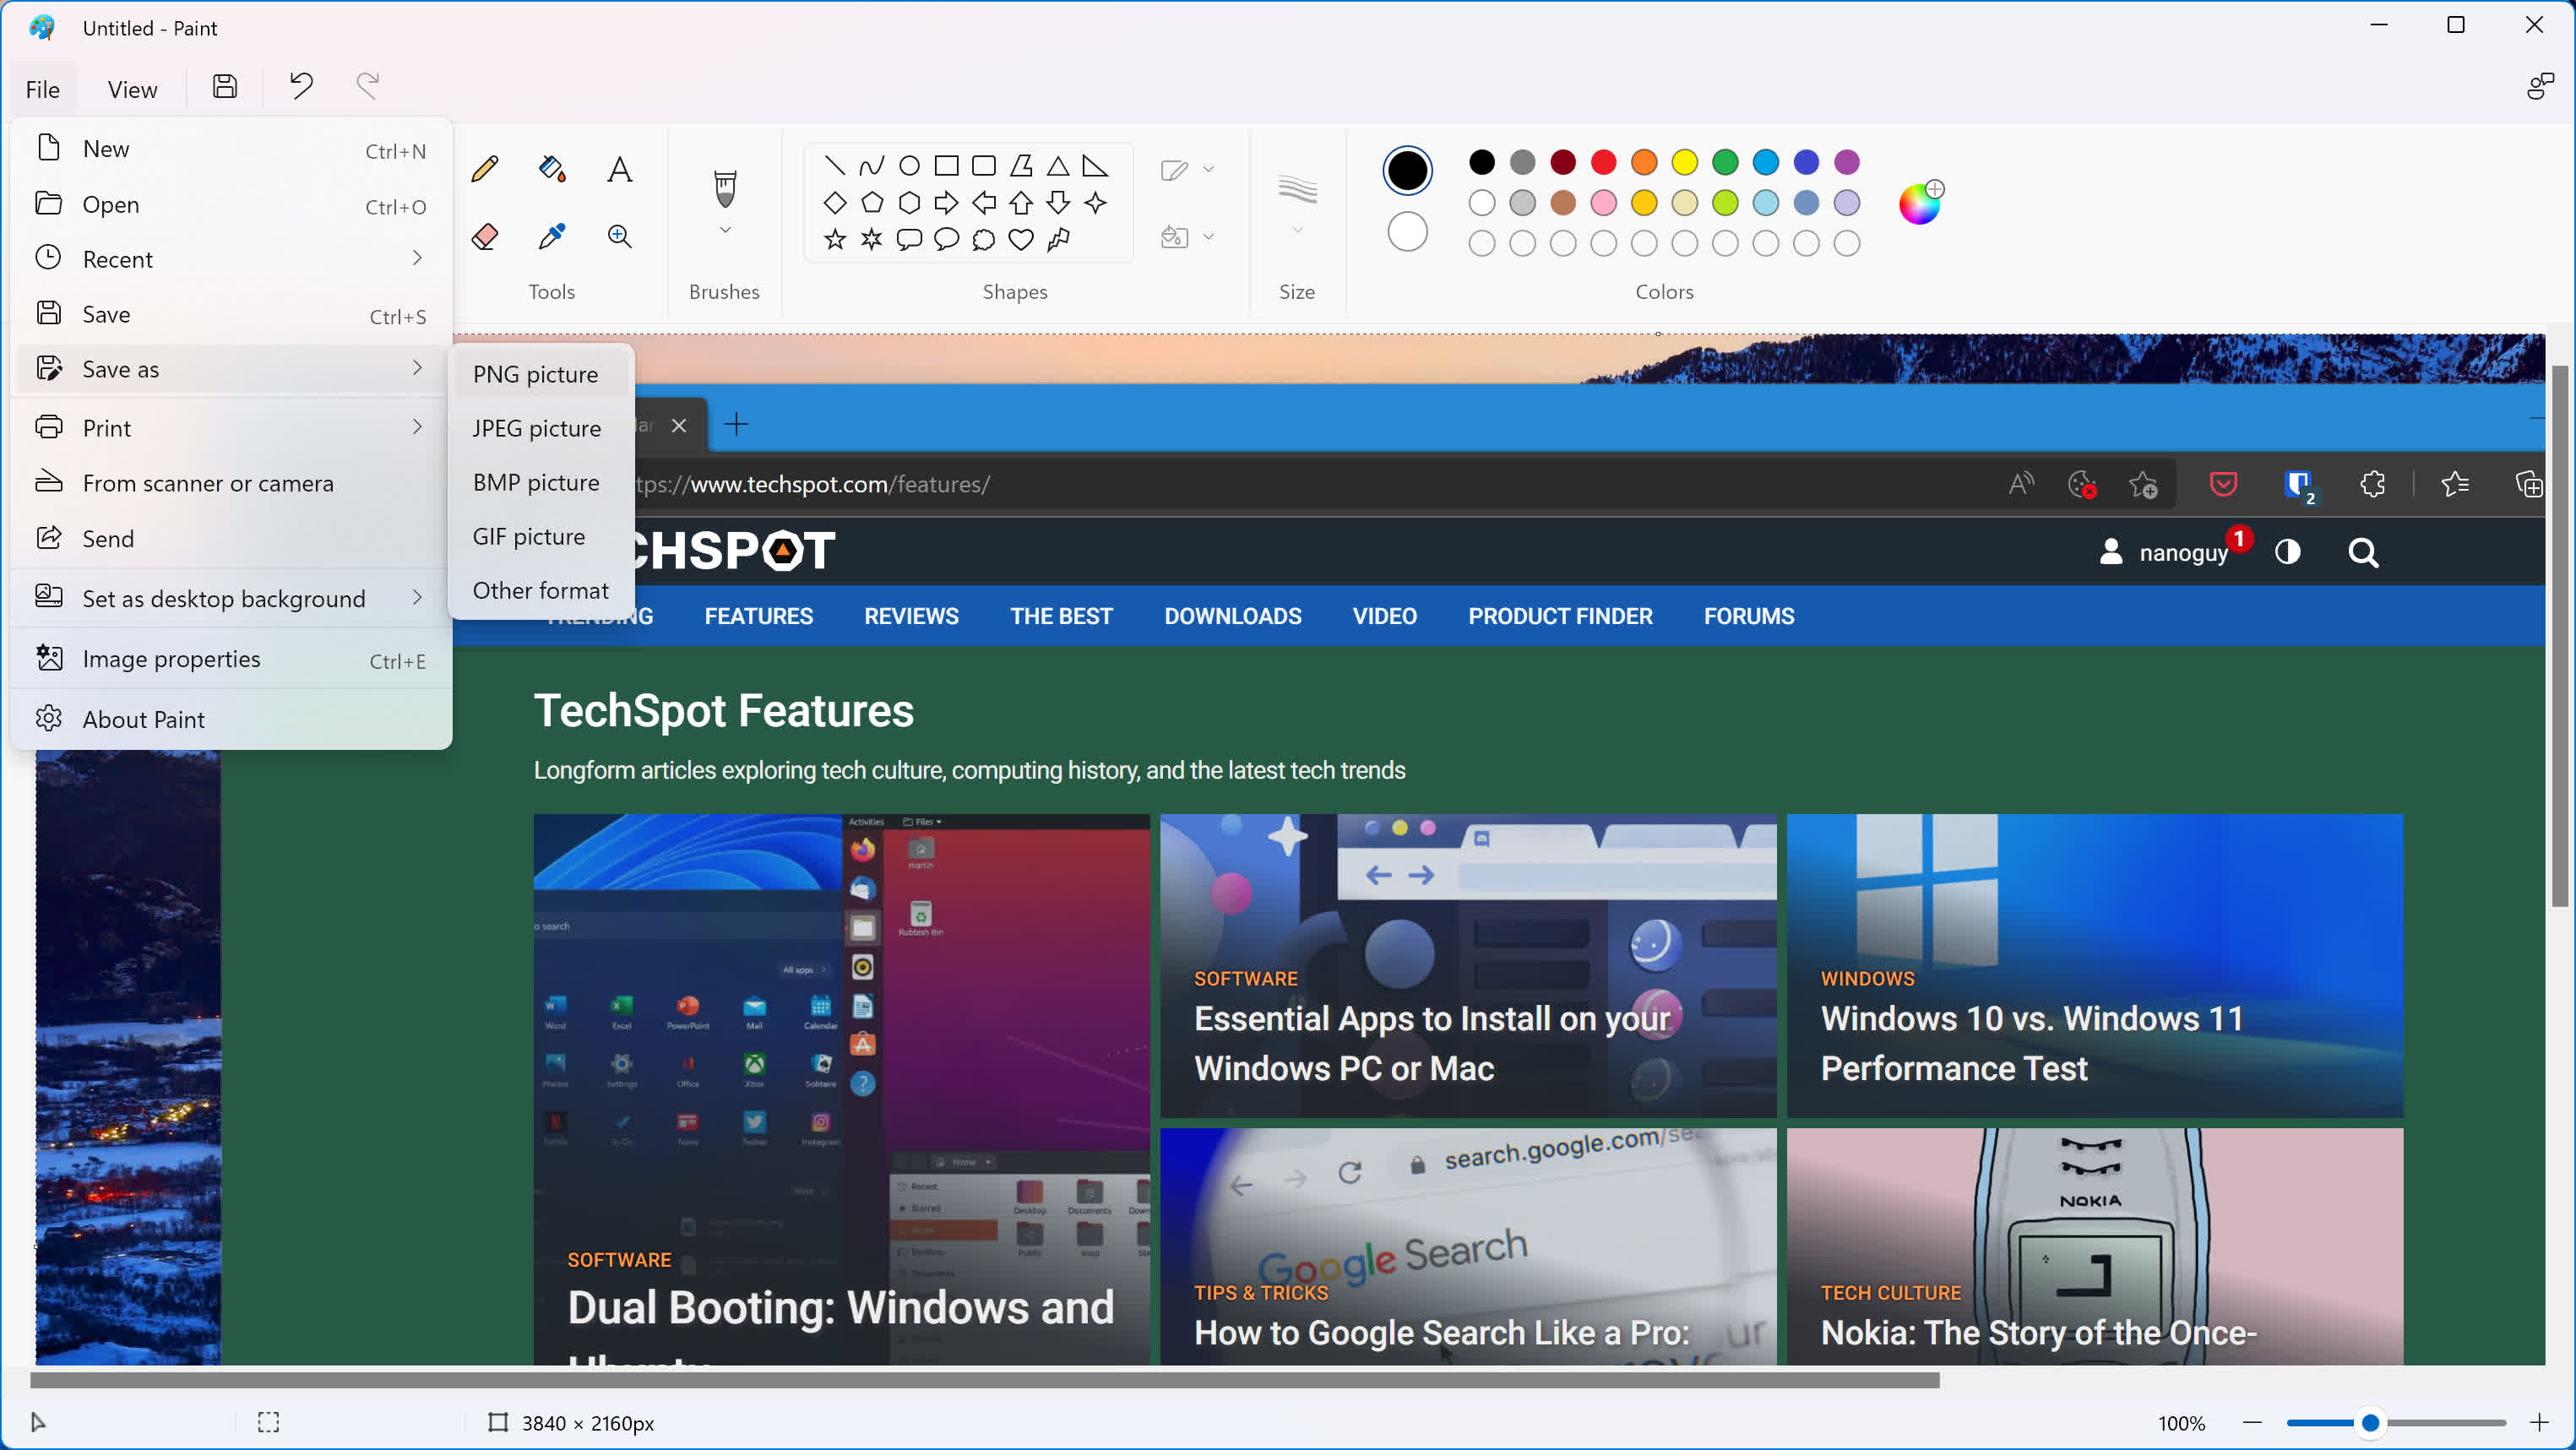
If what you captured is mostly white space, text, graphs, tables, and app windows, the PNG format, which is the default, will lead to a sharper image.
If what you captured is a frame from a YouTube video, or a Zoom video, a scene from a game, or a photo, JPG will be better choice, as it will produce an acceptable looking capture with a smaller file size.

You can also grab a full screen capture without any modifications by pressing Win + PrtSc.
This will instantly save the contents of your screen as a PNG inside a folder called Screenshots in your Pictures folder. This is useful when you need to take several screenshots in quick succession.
To only capture the contents of the active window, use Win + Alt + PrtSc. Then use Paint to save it as explained above.

Using the Snipping Tool
Alternatively, there is a more robust way to take screenshots in Windows – use either Snipping Tool (Windows 10) or Snip & Sketch (Windows 11). Both are meant to give you instant ways to annotate and crop your screen captures.
To open Snipping Tool, look it up from the Start menu or press .

From there, you can drag your cursor to select the area of the screen you want to be captured.
Alternatively, you can use the app to perform a freeform snip by drawing any shape around what you are looking to capture.
You can then scribble or highlight elements in your capture using the Snipping Tool, or copy it to a different app.
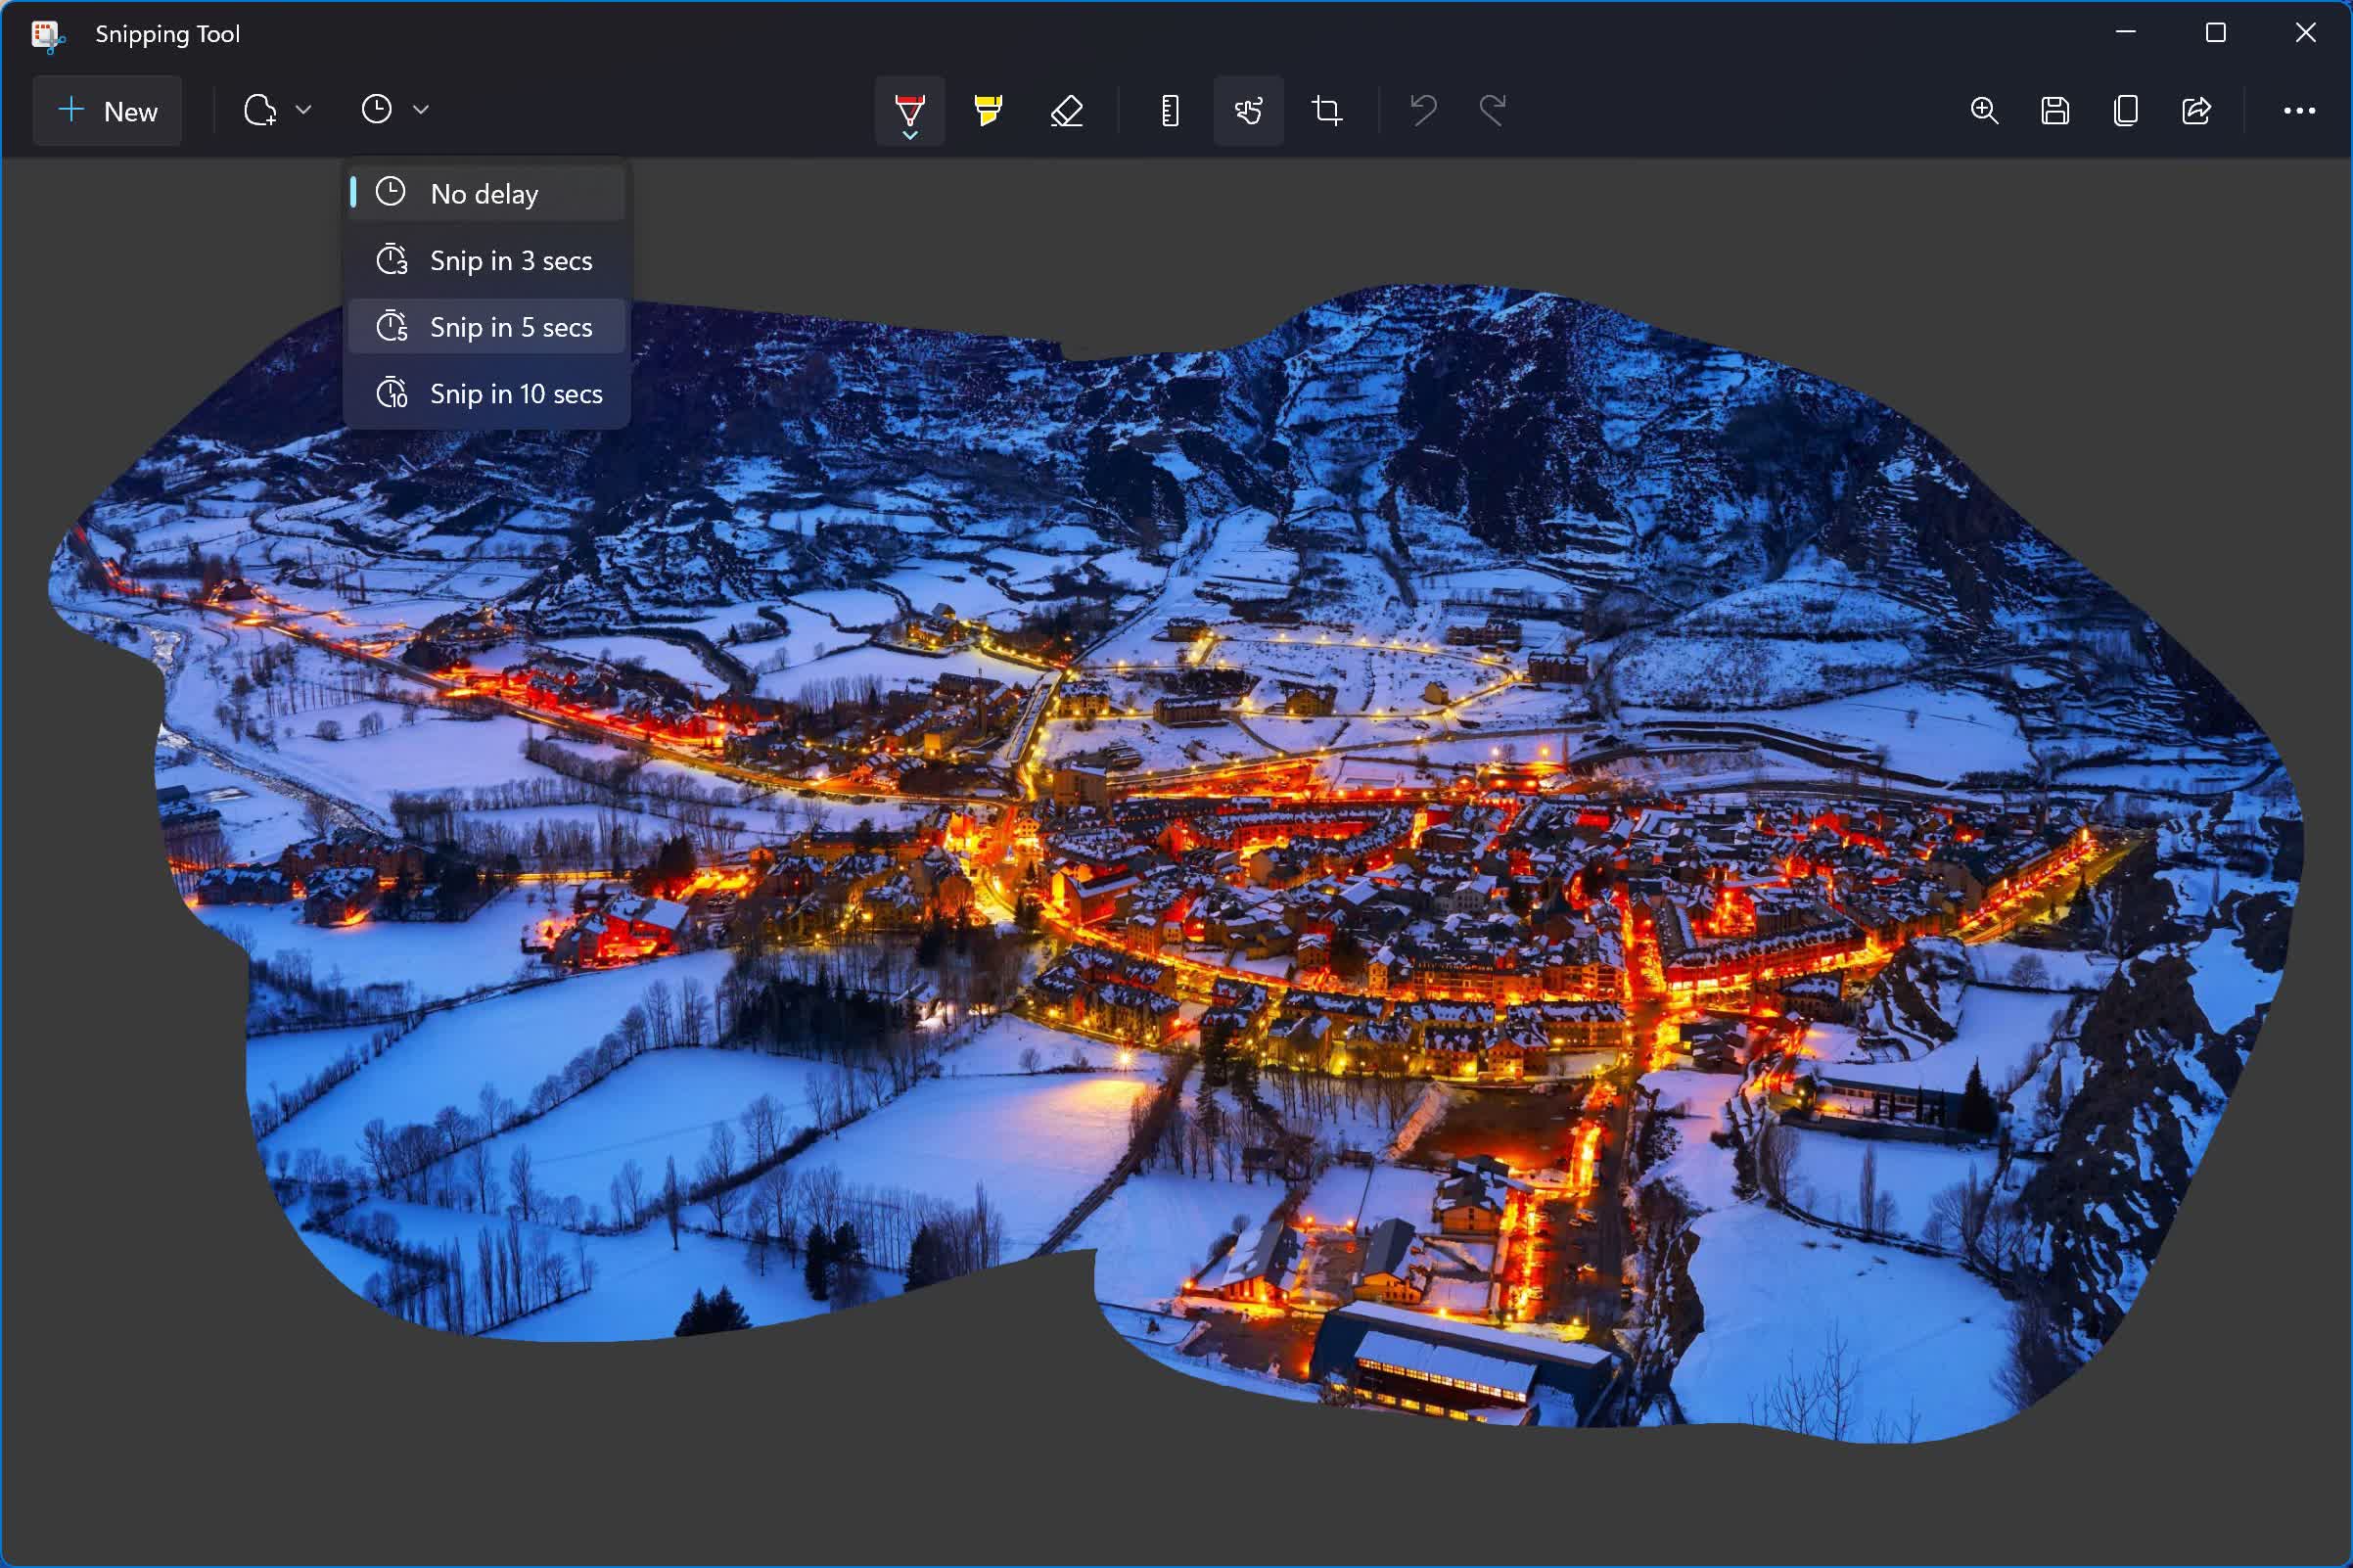
The Snipping Tool also allows you to do a timed screen capture, which is useful for tricky situations where you need to take screenshots of pop-up menus or multiple dialog boxes. Choose the desired delay and then perform a snip like you normally would.
Steps Recorder
Good for documentation
Another great way to take screenshots is a little-known utility introduced in Windows 7 called "Problem Steps Recorder," currently known as "Steps Recorder." This one is part screenshot tool, part keylogger, and part annotation tool, which is very useful when you need to reproduce or document a series of steps while using software.
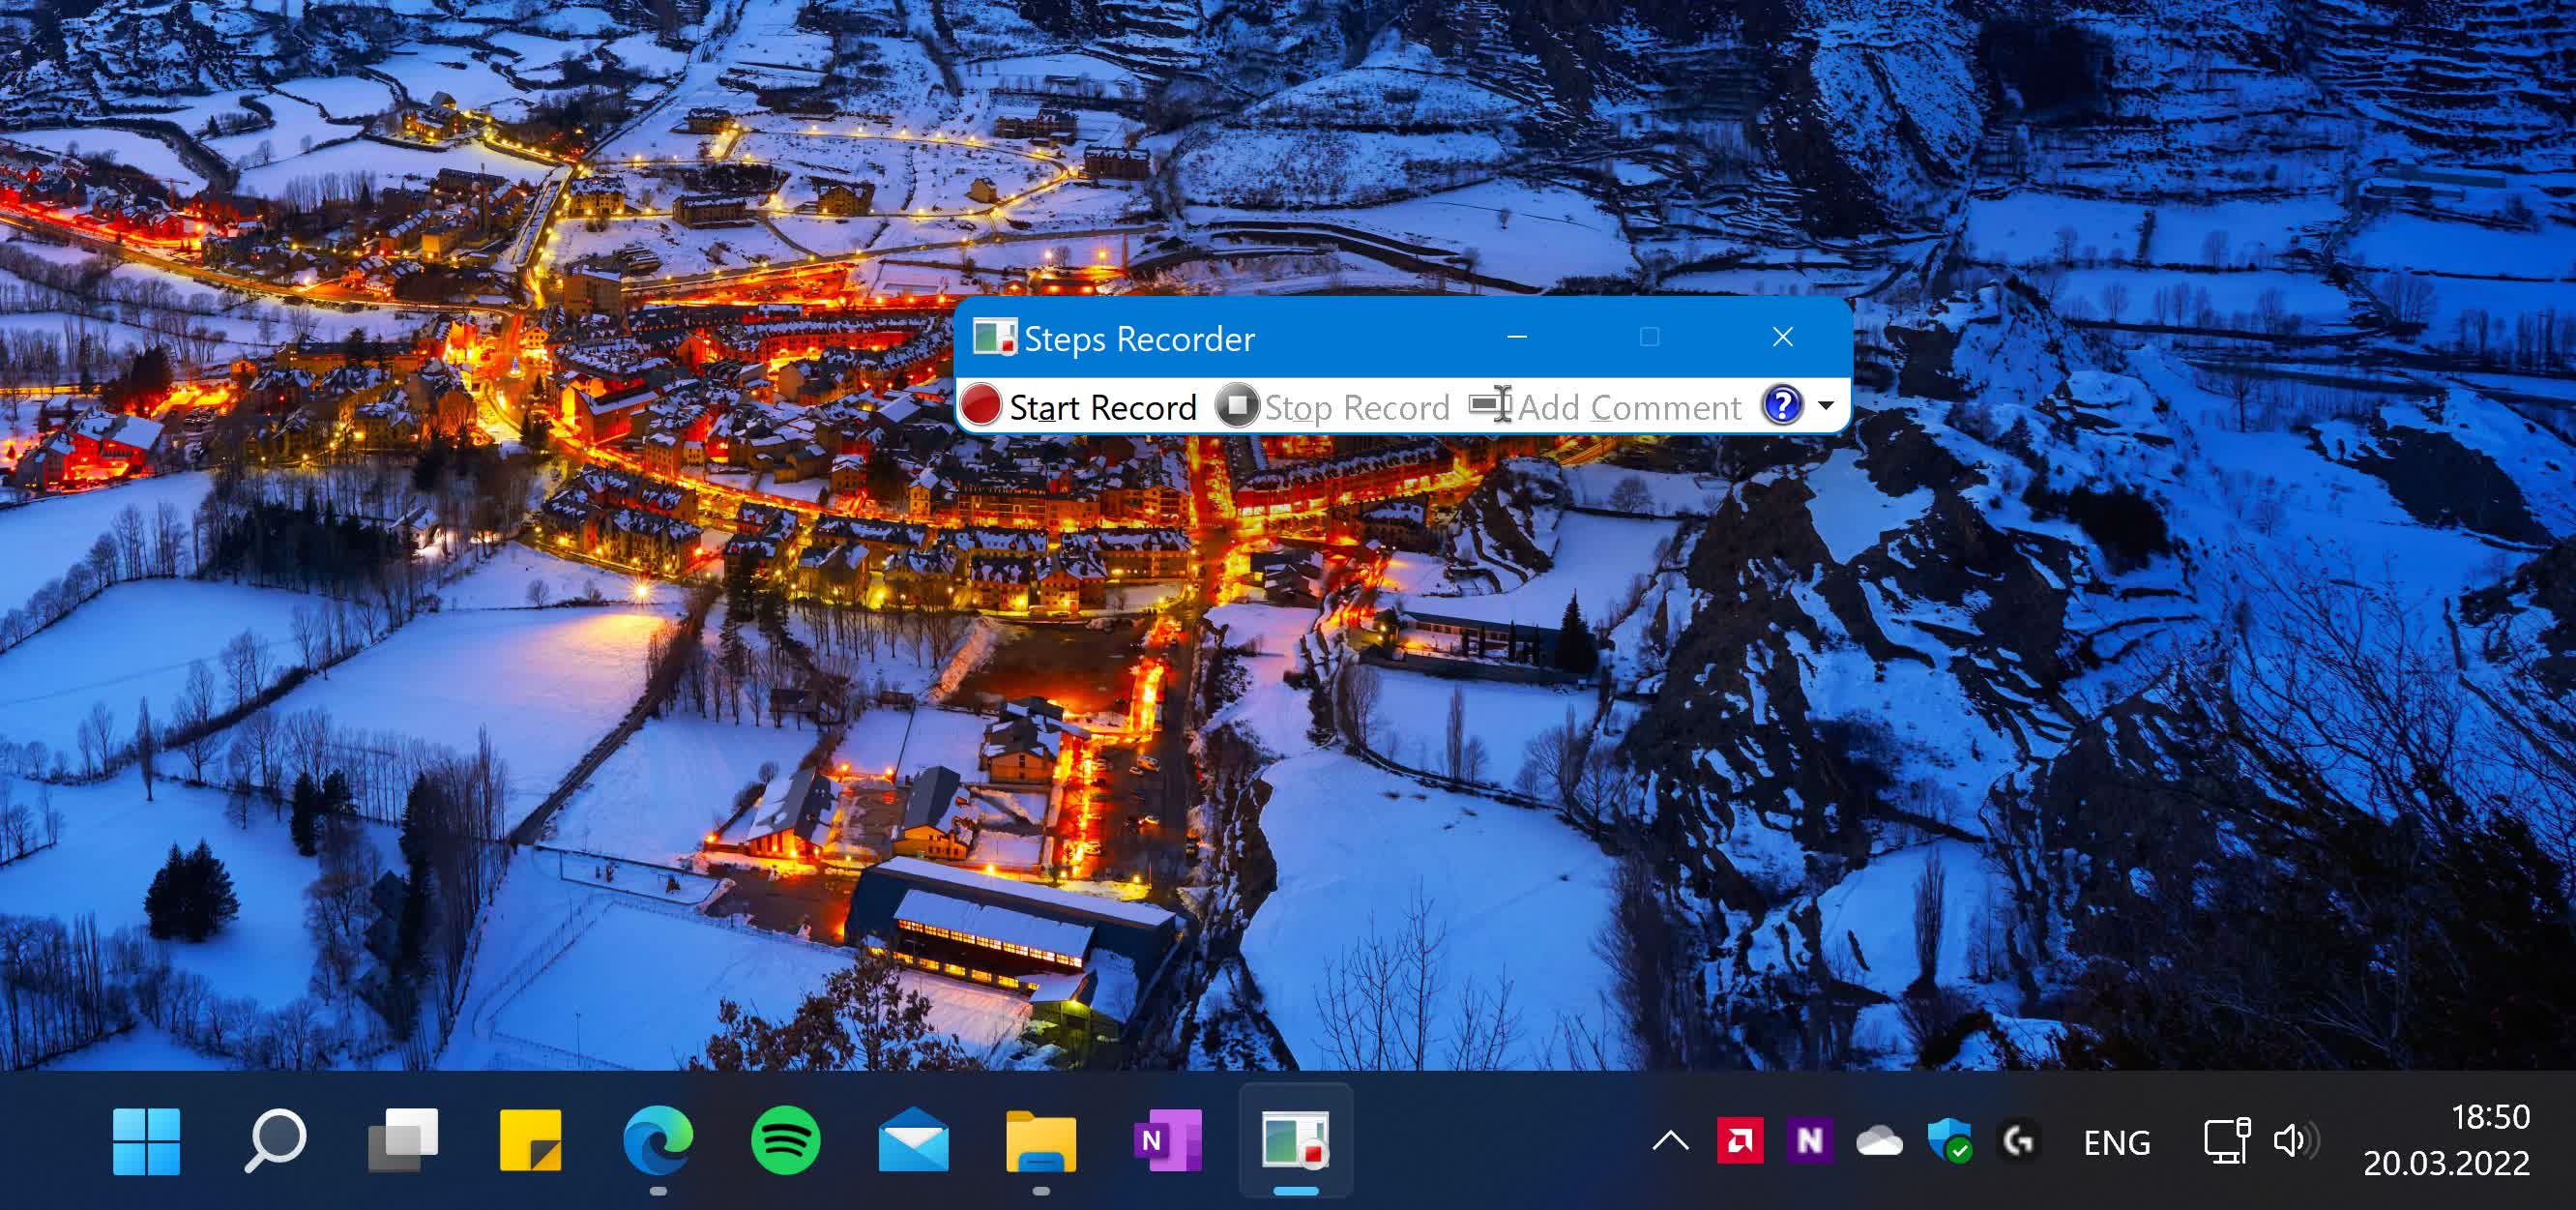
Look up the Steps Recorder in the Start Menu. From there, all you need to do is press "Record," perform the actions you want to capture on screen, and then stop and save it as a zip file you can easily share with others.
Examples of actions include clicking on something, opening apps, typing, navigating a menu, snapping a window to one side of the screen, copying a file, exporting your work from an app to a certain file format, and more.
If you're still on Windows 7, you won't find this utility on Start. Instead press Windows + R, type "psr" and then press Enter. This method also works on Windows 10 and 11.
Keep in mind that Steps Recorder will capture everything that's going on on your PC screen in great detail, so make sure to close any unrelated apps beforehand. This will ensure you can isolate the issue you are trying to document, and also makes it easier to troubleshoot by the person or group who will receive your recorded steps.
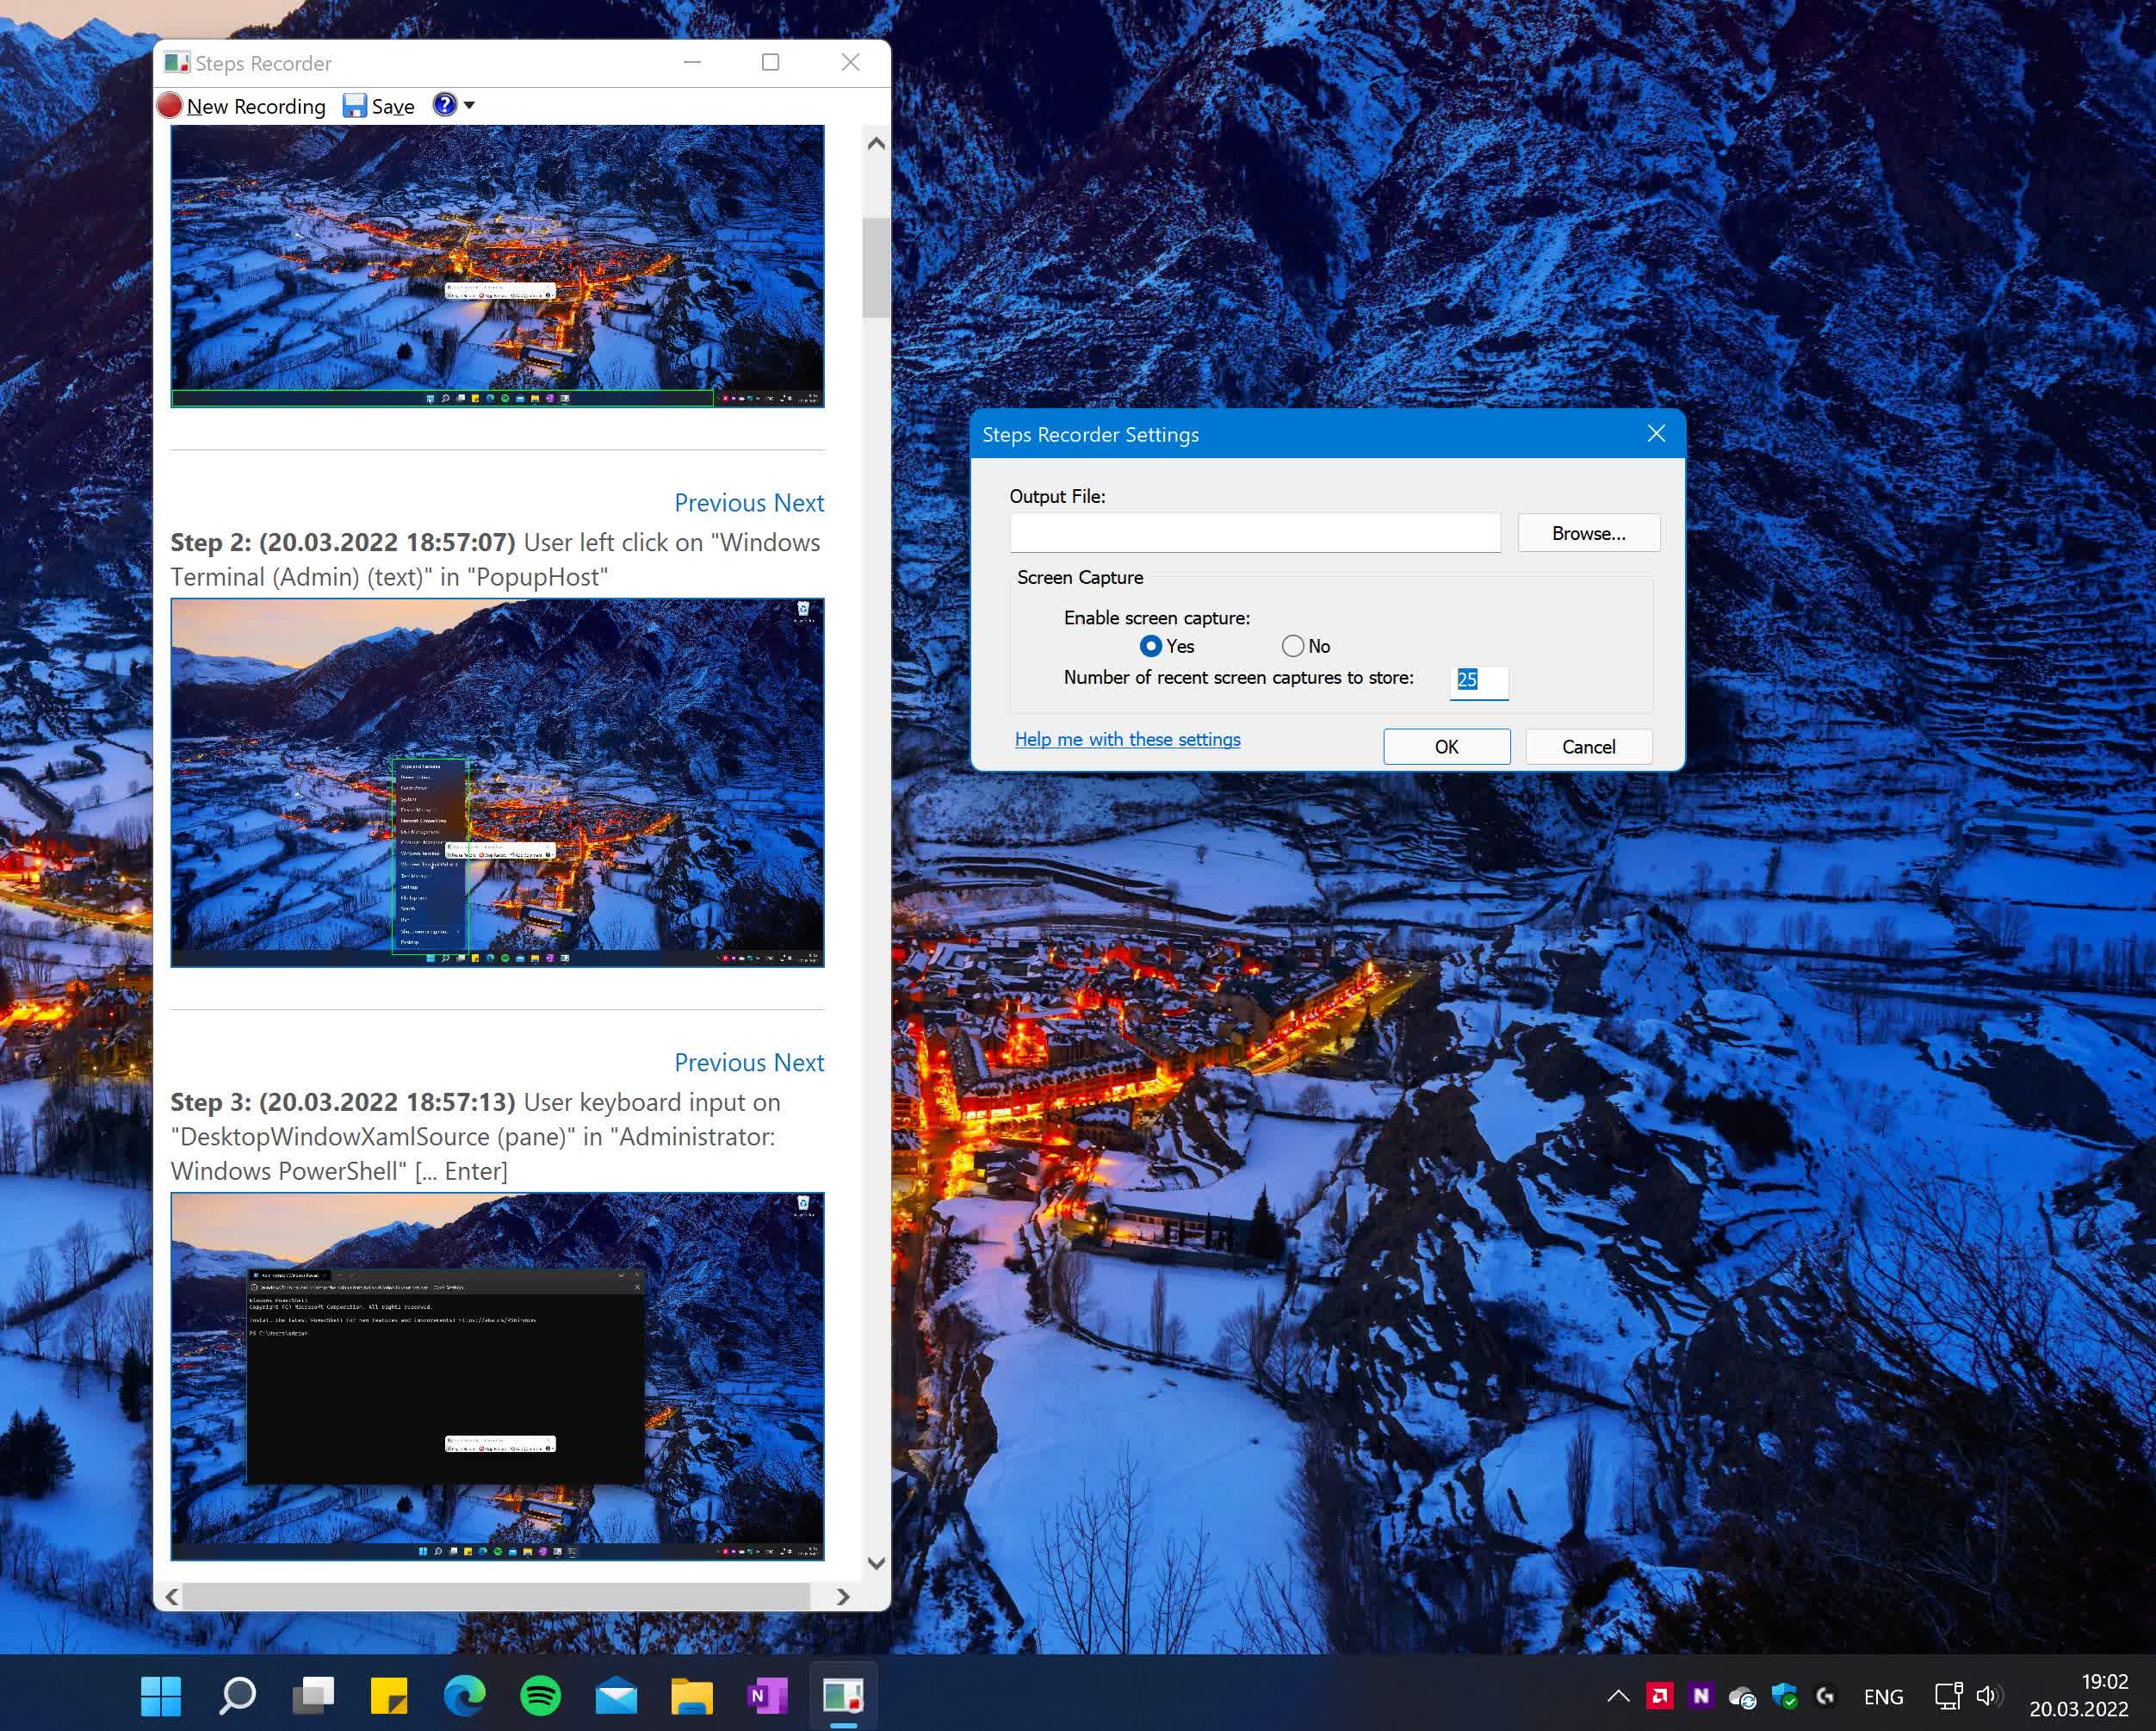
You can pause the recording at any point, so you don't record any unnecessary information. During the recording you can also use the "Add Comment" button to highlight a section of your screen and add any notes about what's going on that you believe may be useful in troubleshooting the issue.
You can also adjust the maximum number of screen captures from the default of 25 to something above what you think you'll need.
When you stop the recording, you'll see a window with the results of the recording organized in a detailed report of what actions were performed on screen, with steps accompanied by screenshots and the names, locations, and the version of the apps that were accessed. If you're happy with the result and don't see any sensitive information exposed in the recording, save it as a zip file and it'll be ready to share with others.
Gameplay Screenshot Tools
Xbox Game Bar
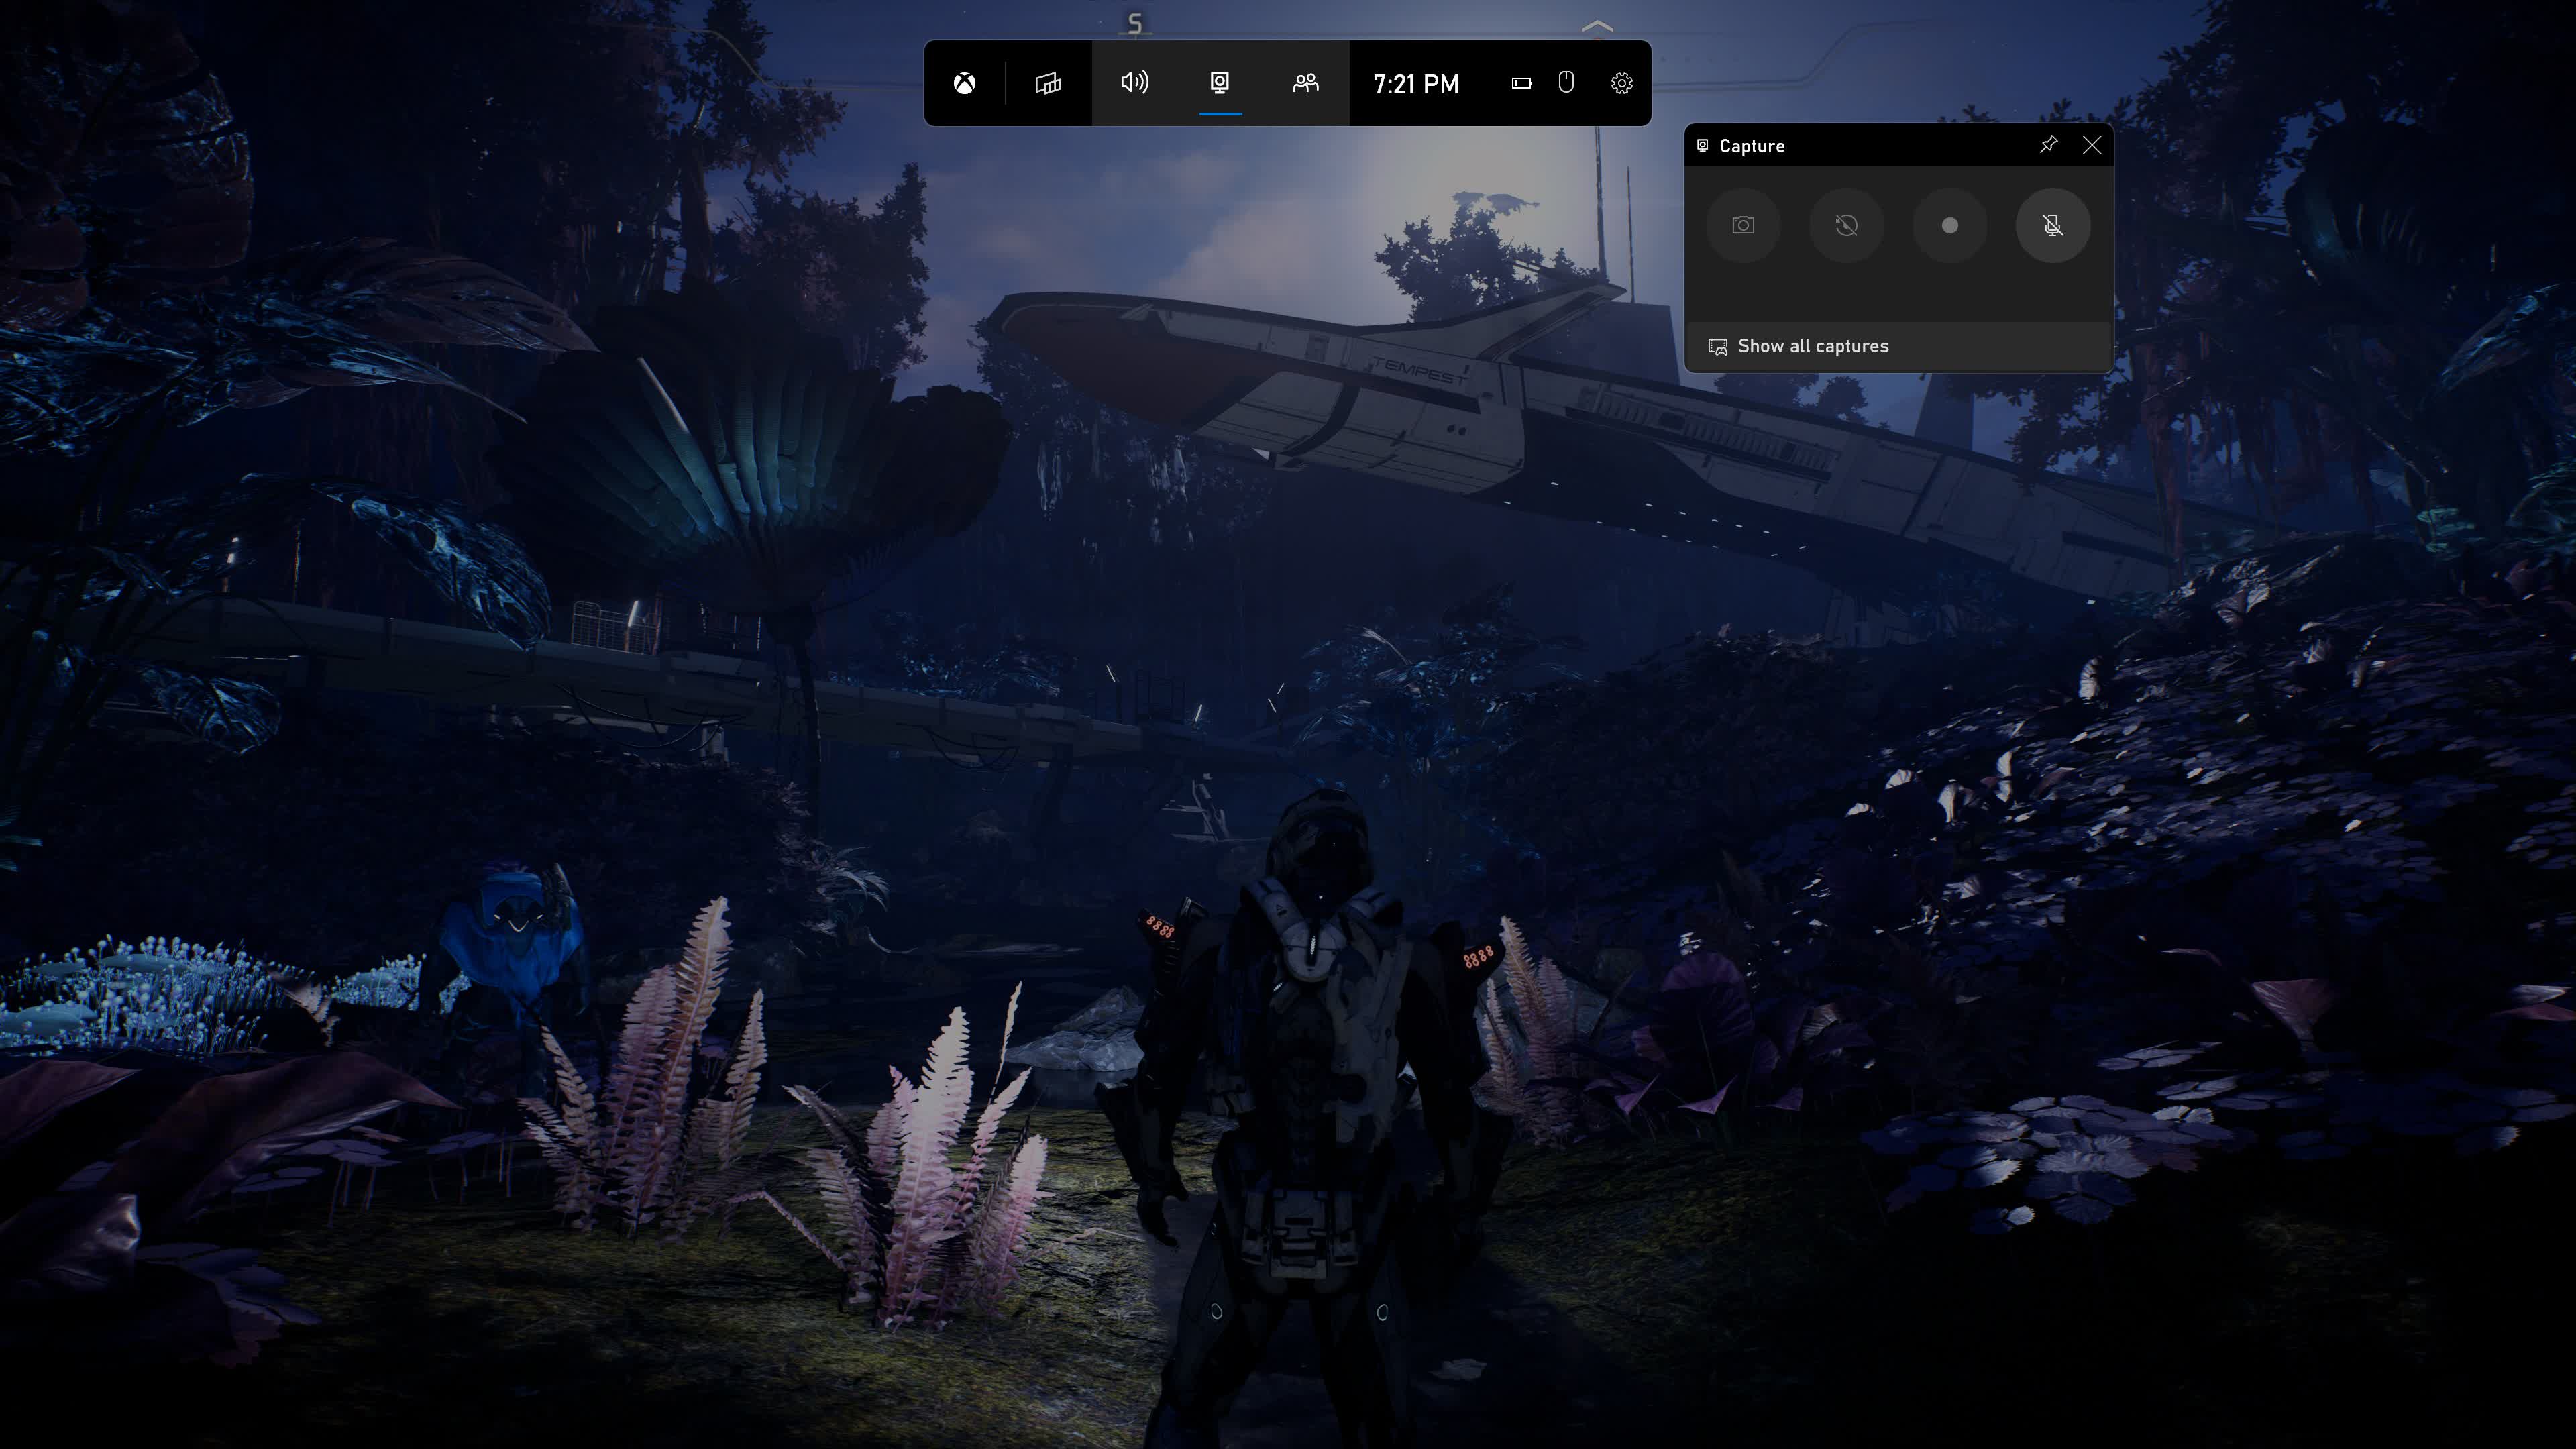
Another way of taking screenshots is to use the Xbox Game Bar in Windows 10 and 11. The intended purpose of this tool is to capture bits of gameplay and chat with friends, but it also works for taking screenshots of a particular scene.
Pressing Win + G should pop up the Xbox Game Bar.
The main benefit of using this method is that your in-game screenshots will be saved to Videos > Captures folder, they won't mix with other screen captures and will be organized by getting file names after the title you've captured them in.
Steam Client
If you're not a big fan of the Xbox Game Bar, you can also rely on the Steam client. Press the F12 key during gameplay to save a screenshot, which will be confirmed with a small notification with a preview of the capture.
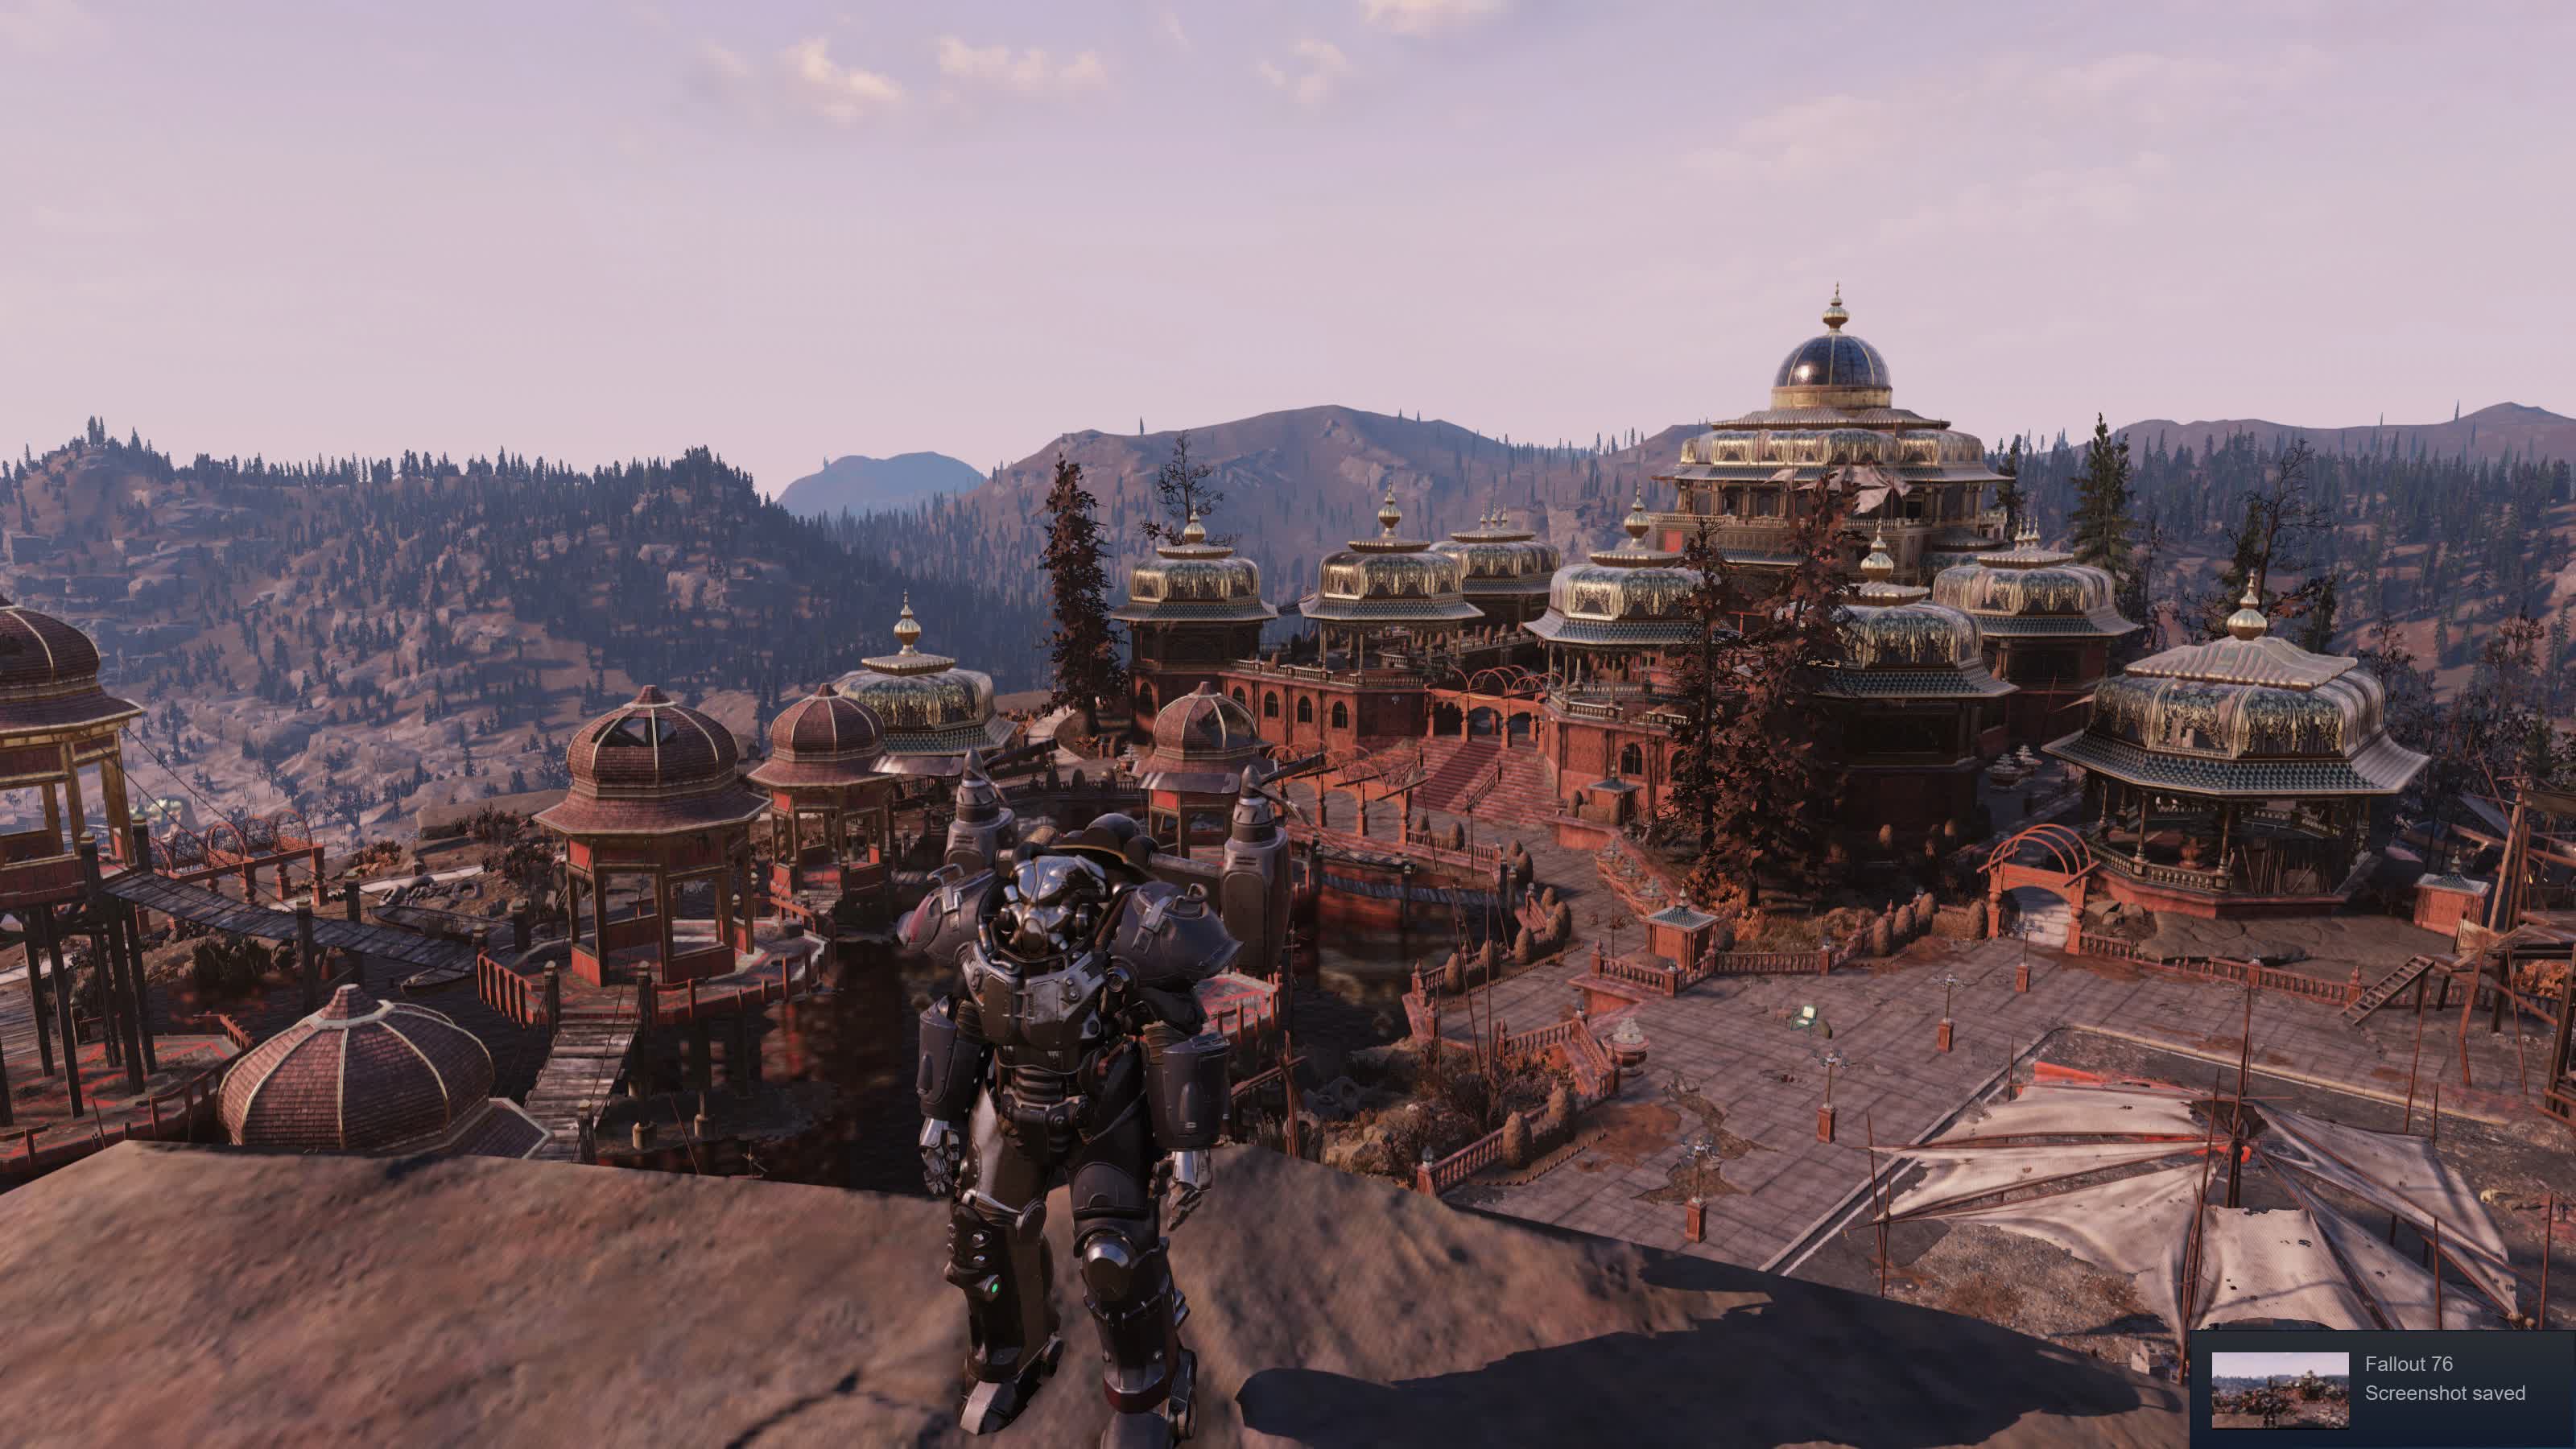
You will find the resulting screenshots by going to the game's page in the Library section of the Steam app. It's worth noting that Steam can save your screen captures as both .jpg and .png, so you have some flexibility there.
Nvidia Ansel
For those using an Nvidia GPU, the GeForce Experience app has a nifty tool for taking in-game screenshots called Nvidia Ansel. Not all games support Ansel, but the list is growing and includes many popular games released over the past several years.
With this tool, you can pause the game, adjust the field of view, and move the camera around until you find the angle that looks the best to you.
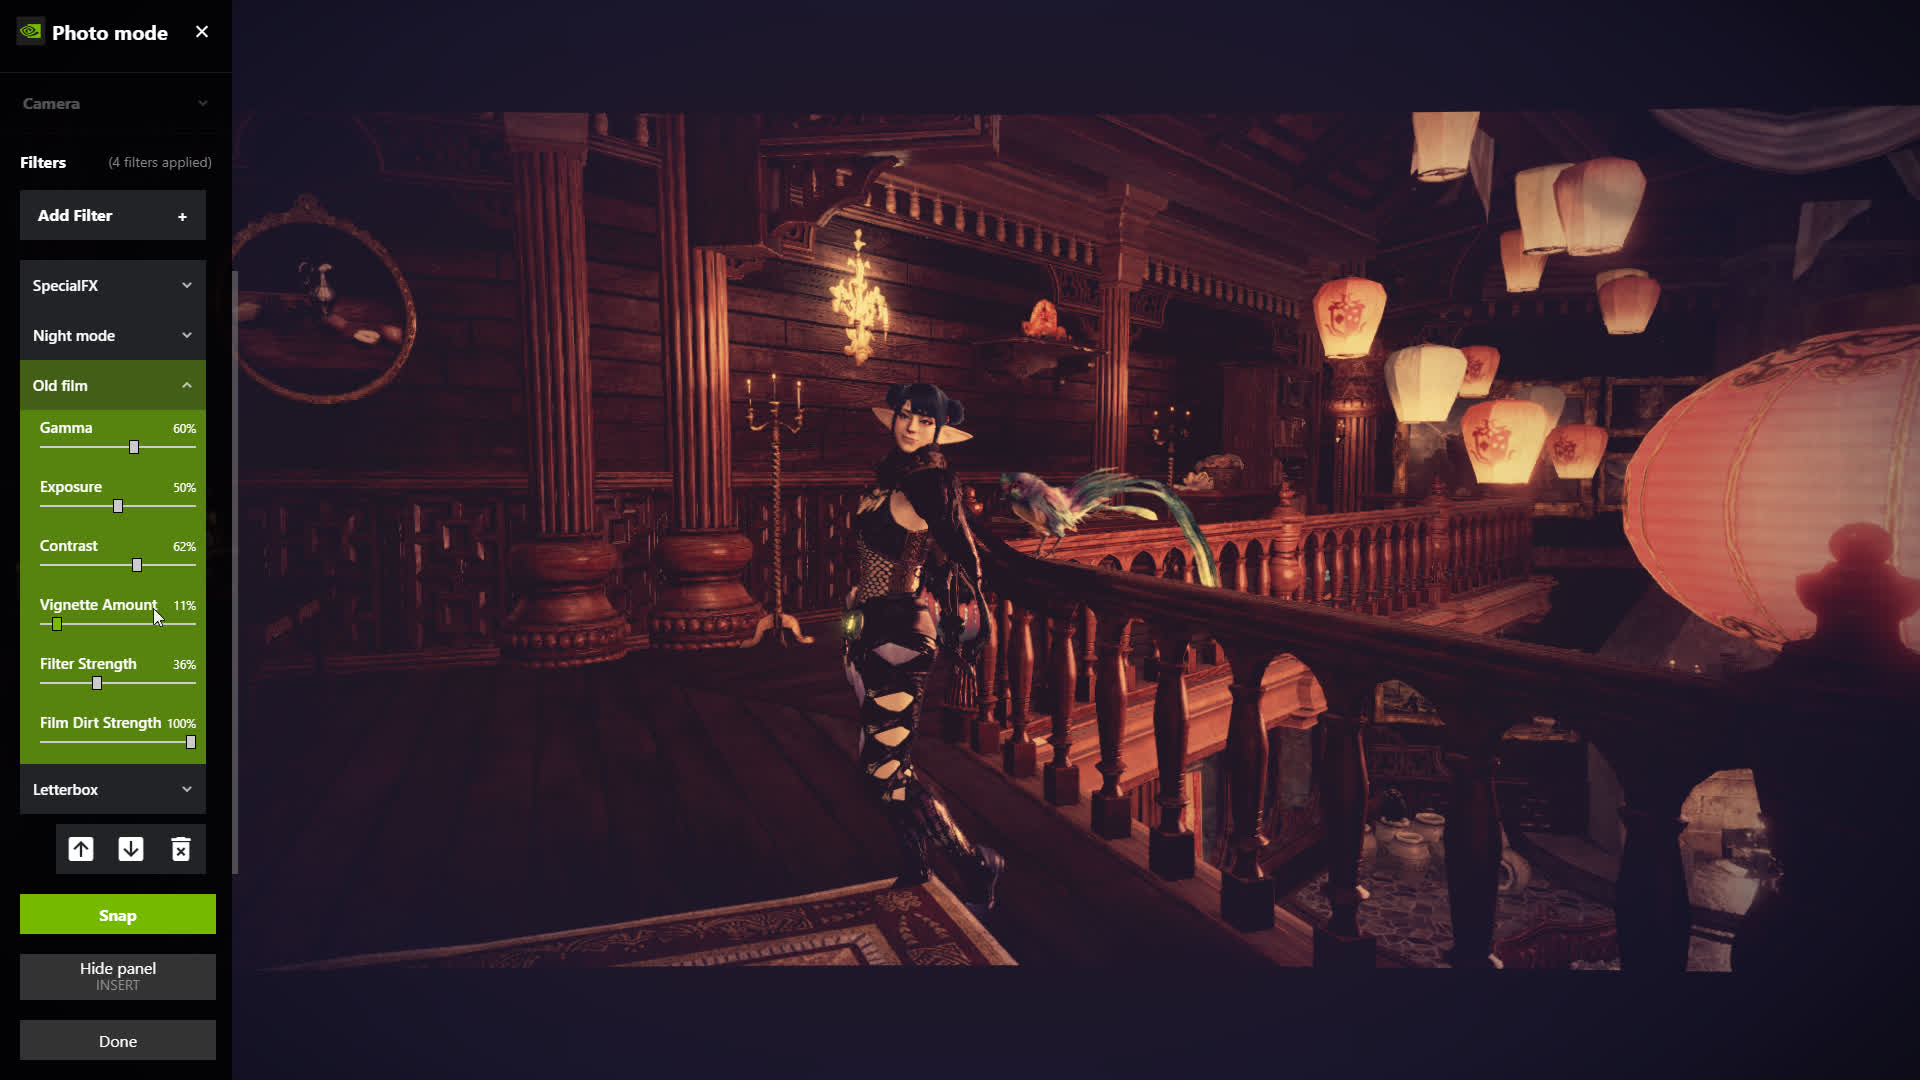
To use Ansel, press Alt + F2 to bring up the corresponding GeForce experience overlay. Alternatively, you can press Alt + Z and click "Photo mode" to get to the same interface.
From there you'll be able to apply a variety of filters, adjust the camera angle, and increase the resolution of the scene being rendered to well beyond what your monitor/laptop display supports natively. In some games, you can even create so-called 360-degree photospheres that can be viewed with a VR headset.
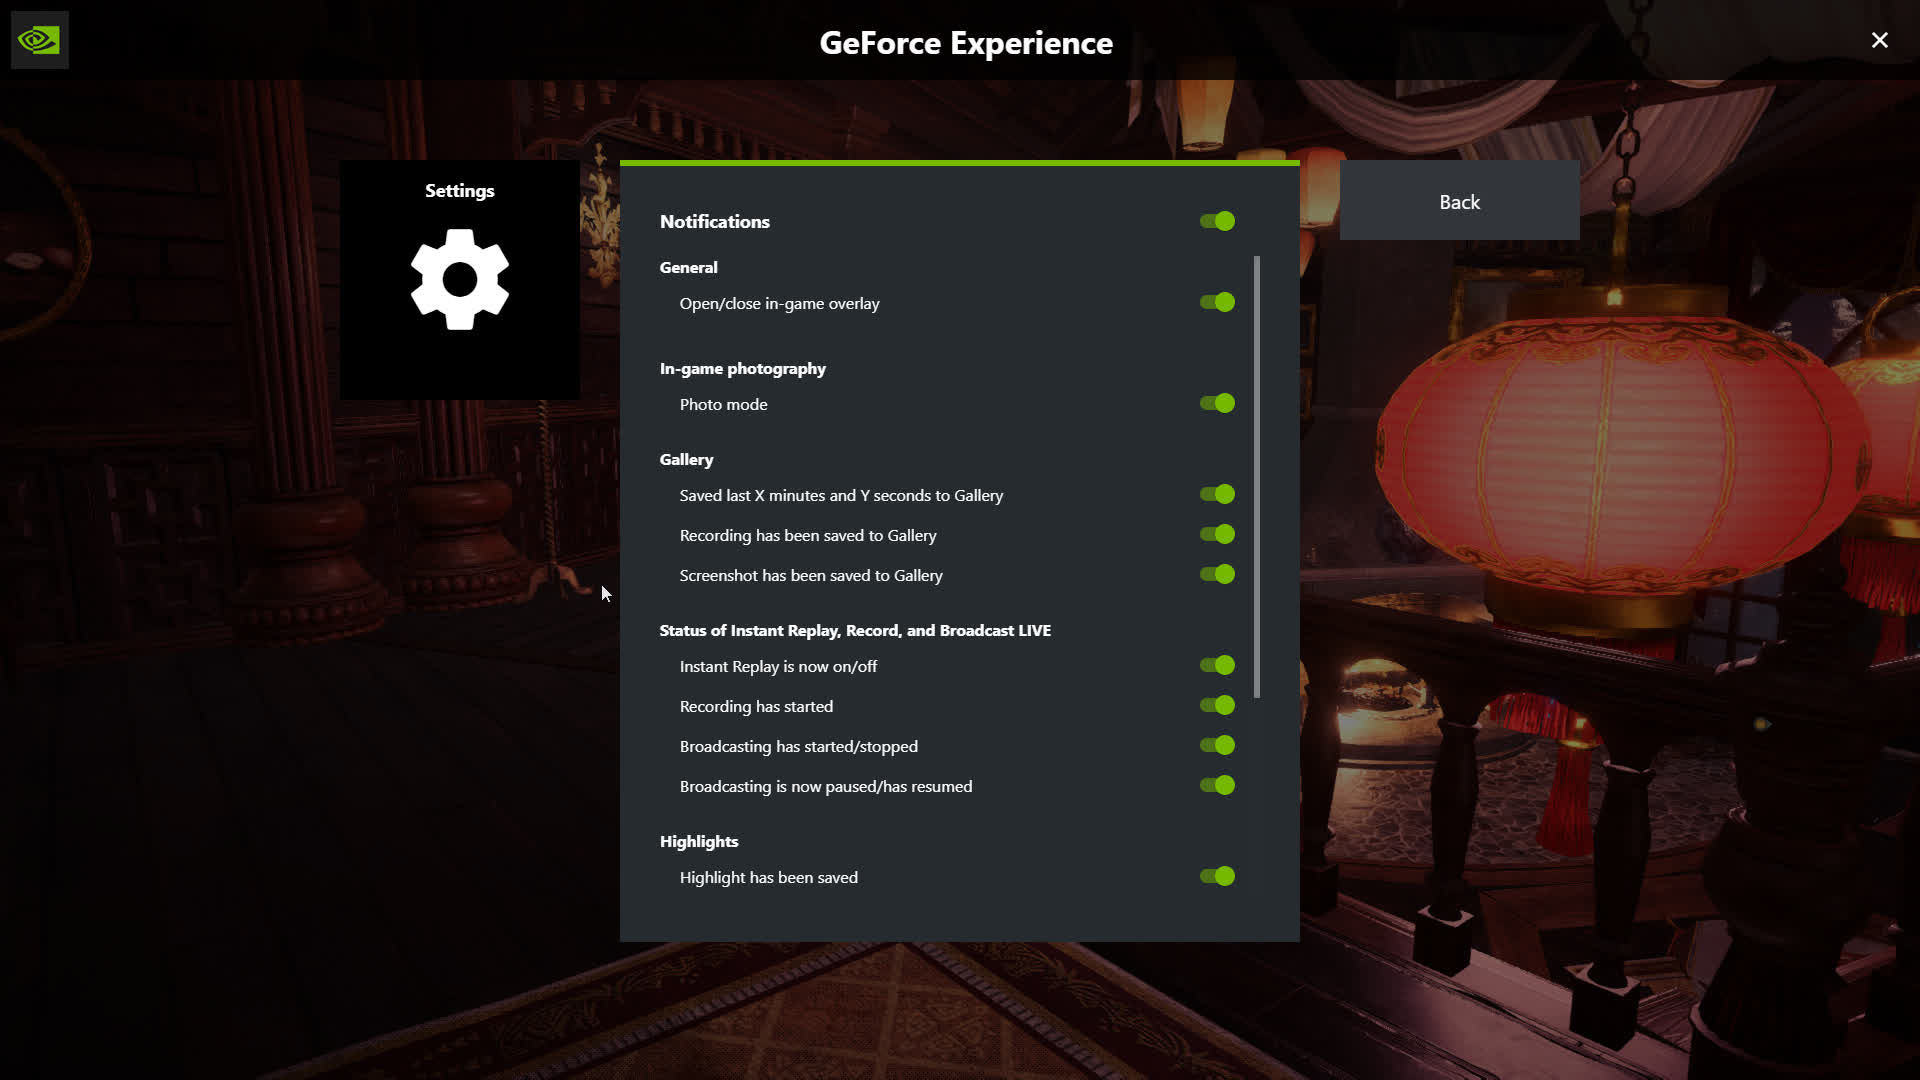
You'll see a notification whenever you take a screenshot. If you wish to make several captures in quick succession, you may want to disable this notification in the GeForce experience settings.
Taking great in-game screenshots is an art, so naturally it will require some practice with tweaking various settings and finding the right angle or viewpoint before you achieve a great composition.
Third-party Apps for Taking Screenshots
There are several dedicated third-party apps you can use for your screen capture needs. These usually offer a variety of editing and export features that can save you time and simplify your workflow.
If you're looking for a minimalistic tool to grab screenshots and annotate in a snap, you should definitely take a look at Monosnap. This one gives you many editing basics like cropping and annotation in a lightweight interface that pops up every time you grab a screenshot.
While not as feature dense as ShareX (see below), it works for Windows and Mac, it's free for basic use and has some cloud capabilities which can go further if you need them (for a fee).
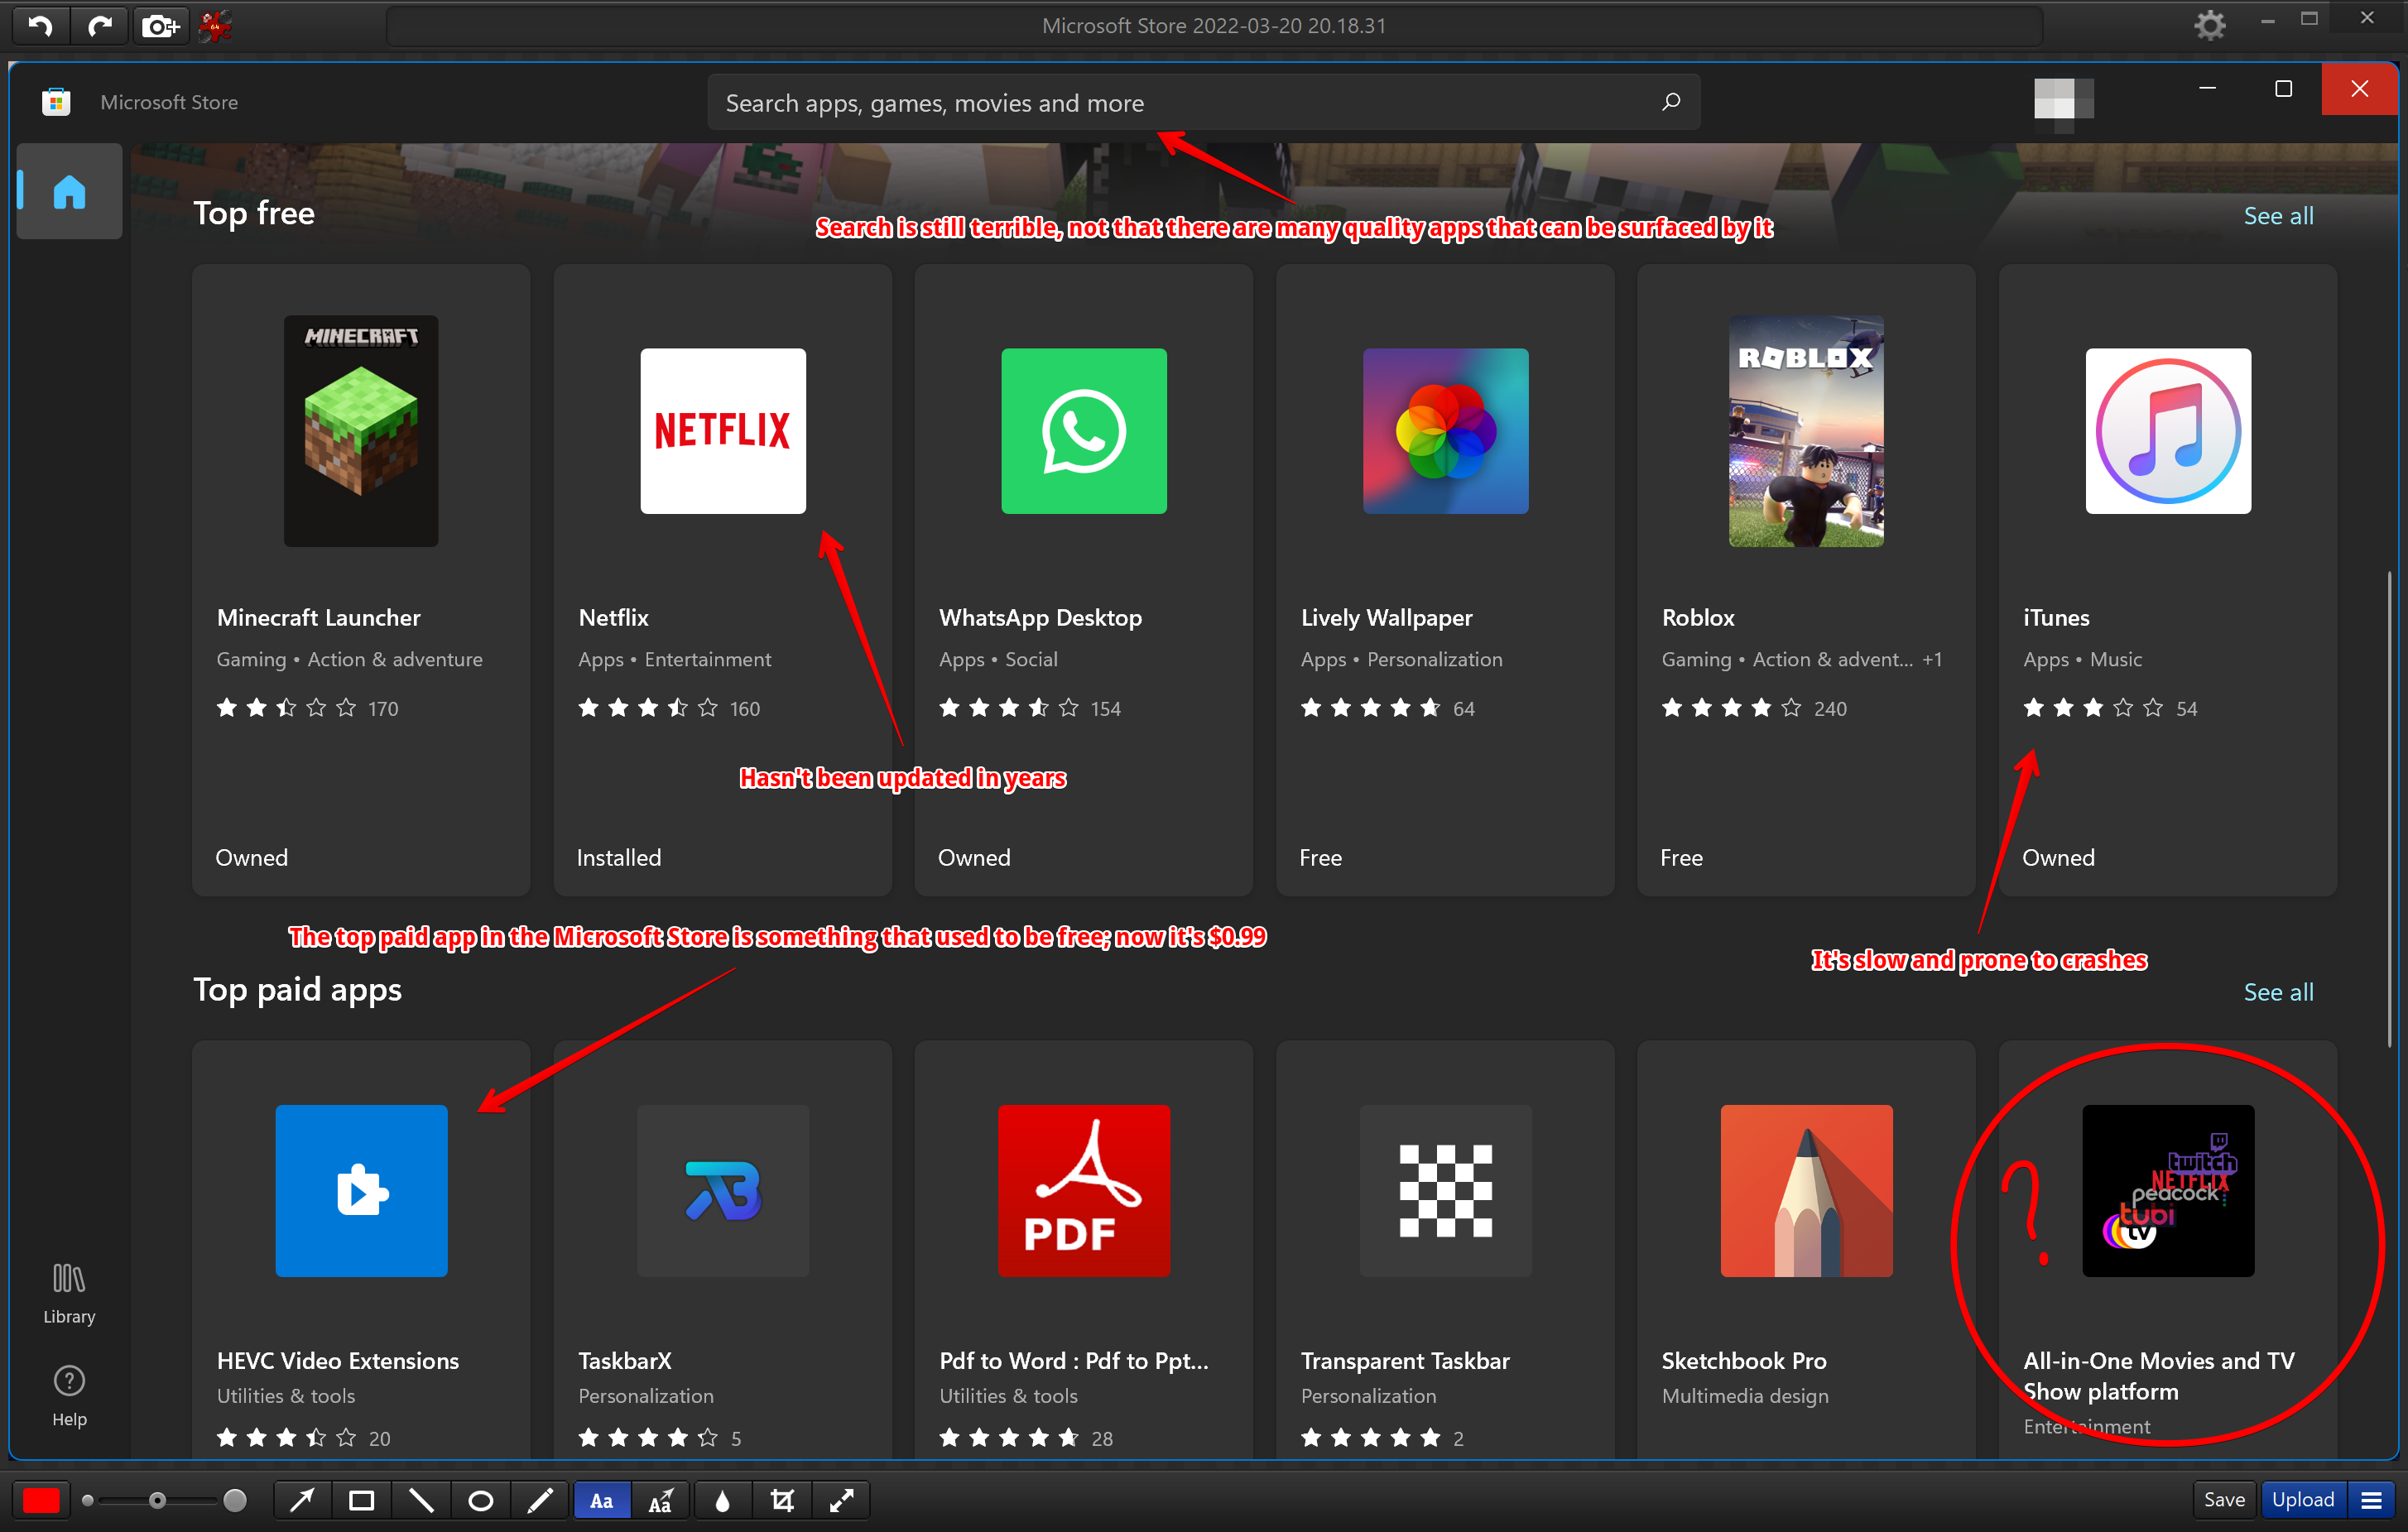
ShareX is a more powerful tool for taking, editing, and sharing screenshots, although its busy interface might intimidate first time users. It can capture your screen in a variety of ways, including scrolling captures that save you the trouble of having to stitch together multiple screenshots.
You can also automate parts of your workflow with it, and it's easy to upload your resulting screenshots to a variety of services including Imgur, Dropbox, Google Photos, Flickr, OneDrive, Twitter, and more.
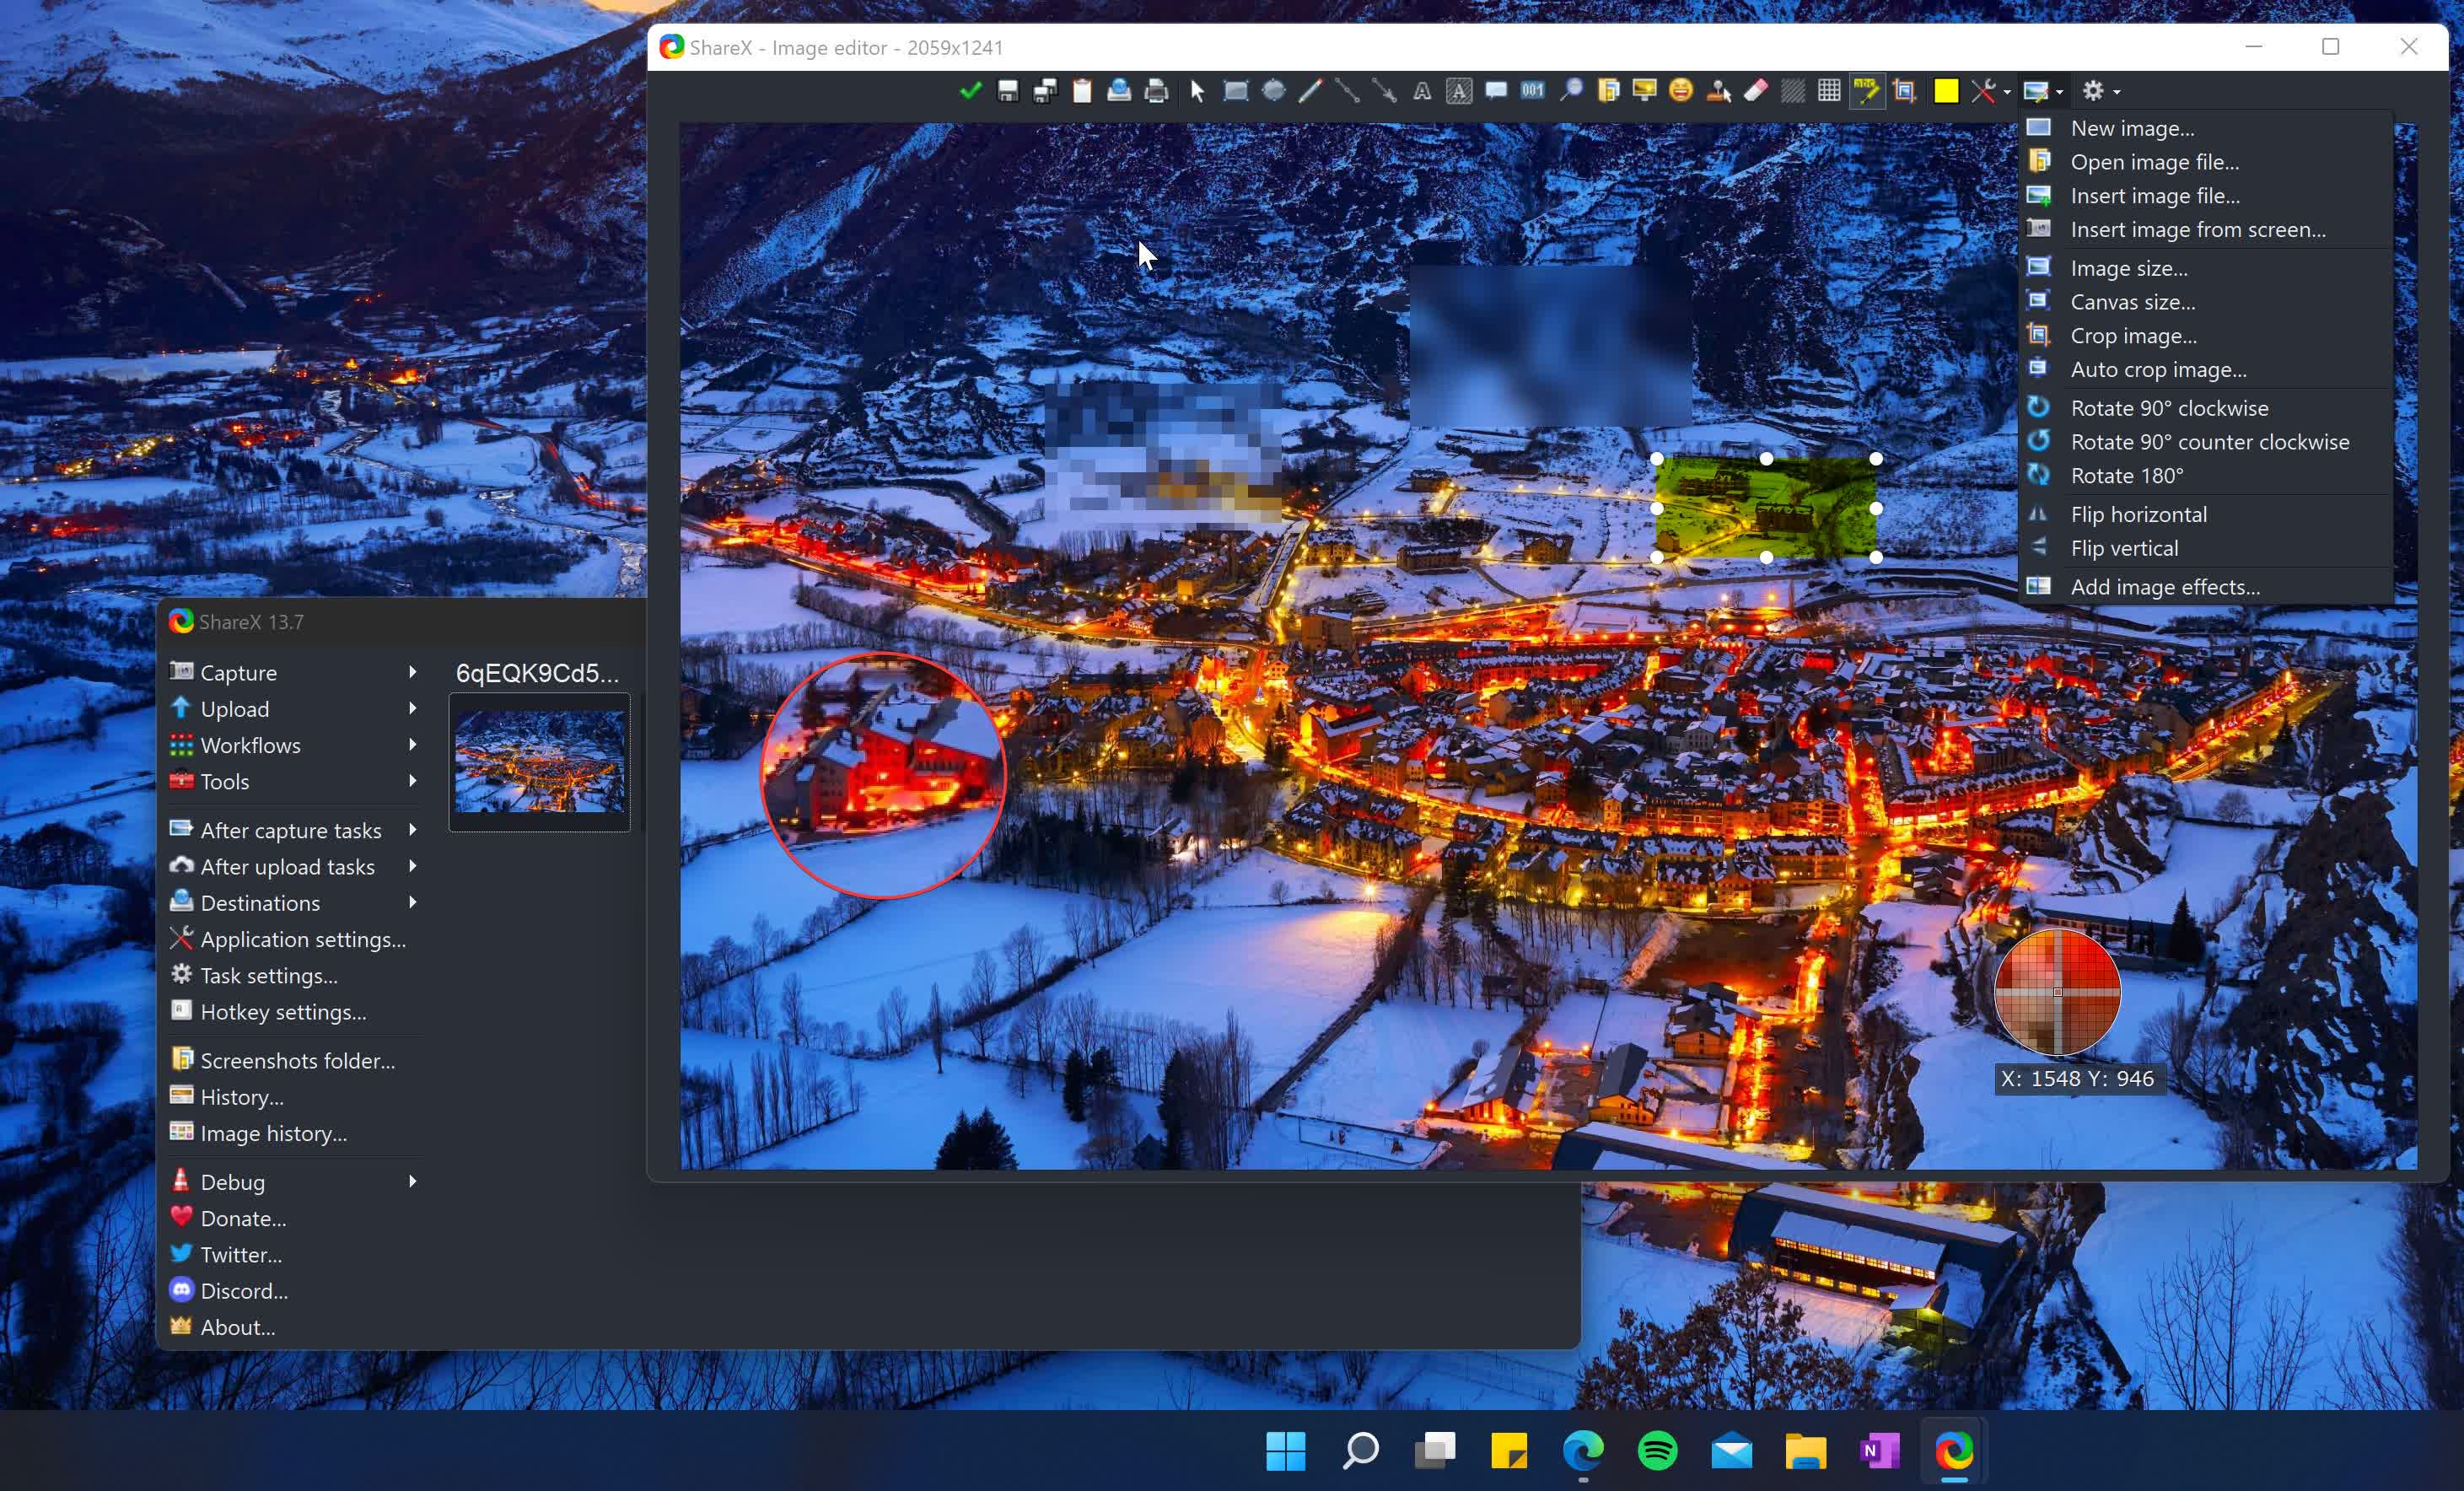
Once installed, ShareX will work with the default screenshot hotkeys in Windows. After making a capture, you can make a variety of edits with the integrated editor, everything from cropping, annotation and highlighting, to obfuscating sensitive information through blurring or pixelation of a selected area.
A third app to consider would be Greenshot, a long time screen capture tool for sysadmins and power users. It's a relatively lightweight tool with a small memory footprint. If needed, it can also be added as a plug-in to Microsoft's Office suite or tools such as Jira and Confluence. And like ShareX, once you finish editing your screenshots you can upload the results to services like to Box, Dropbox, and Imgur.
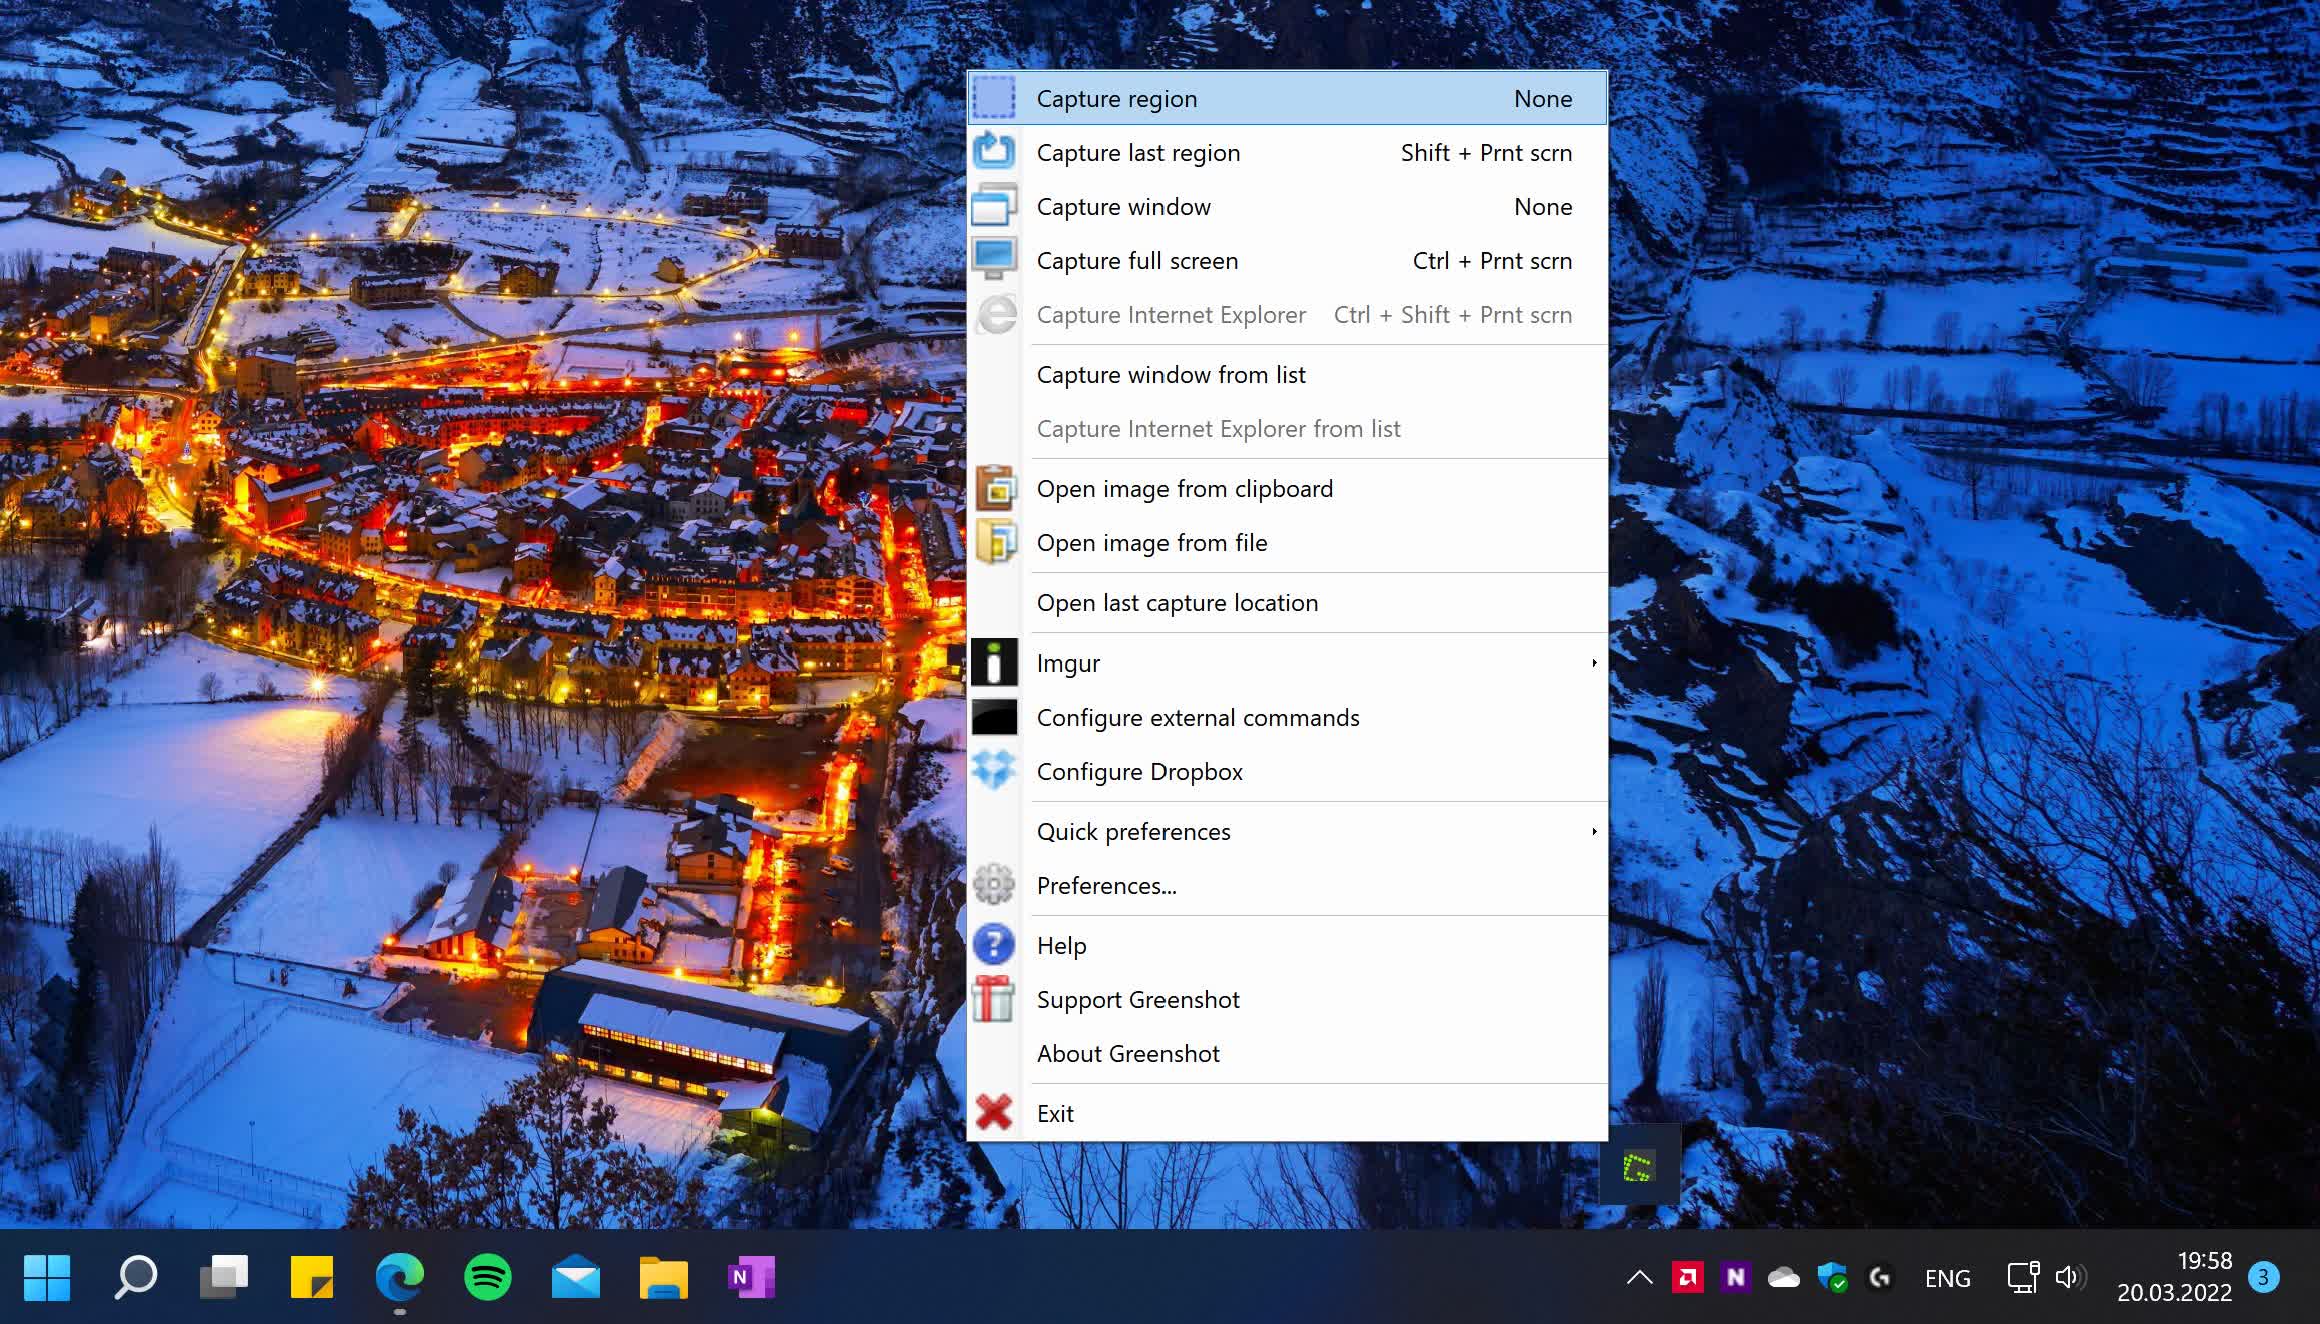
Unfortunately, development around Greenshot has been dormant for a few years, with some new signs of activity in the first few months of 2022. As such, you should proceed with caution as you may hit some bugs on newer versions of Windows 10 as well as Windows 11.
Bonus Tip for Tricky Situations
Some people take photos of a computer screen using their iPhone or Android phone, which doesn't generally result in great looking captures. However, this unorthodox method can prove useful when a PC freezes or displays a blue screen with an error code, as well as situations where you want to capture a digital whiteboard from something like a Surface Hub.
With the help of some apps, you'll be able to take much better screenshots, such as Microsoft Office Lens (Android / iPhone) and Adobe Scan (Android / iPhone).
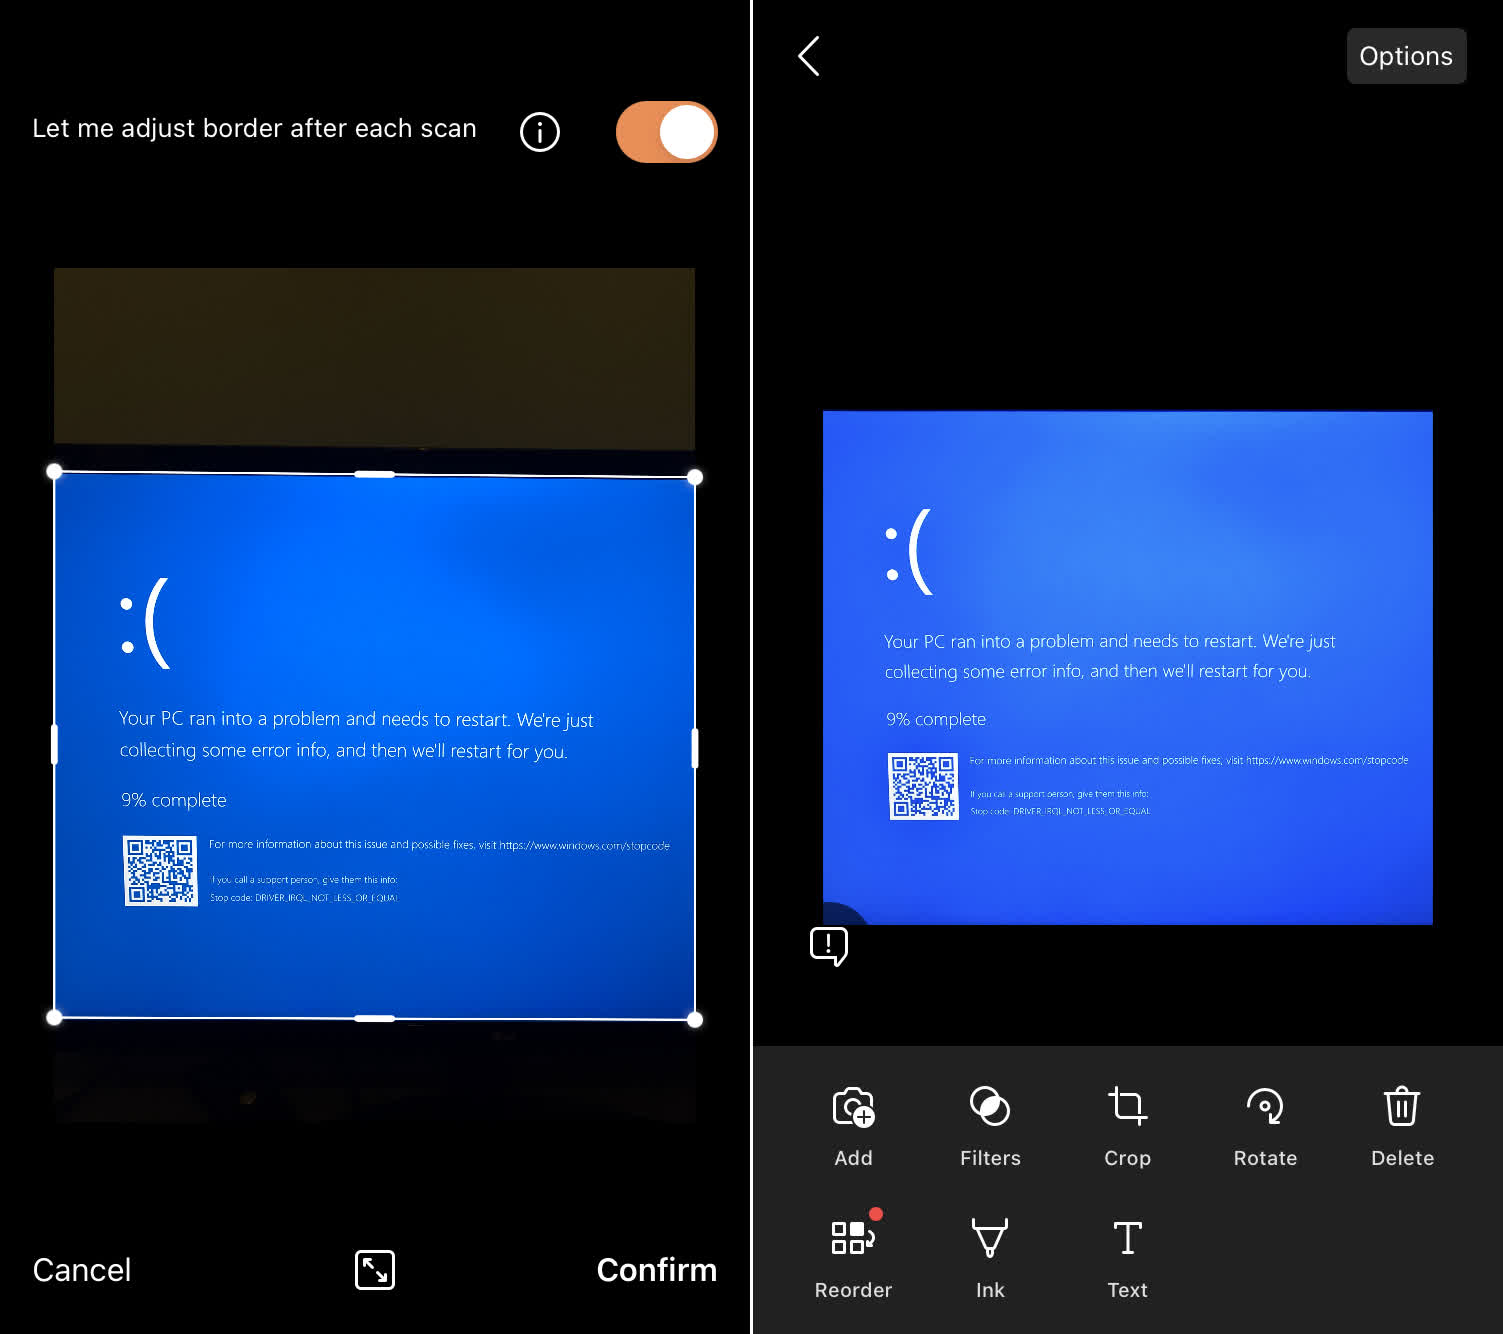
Both work in a similar way, in that they allow you to point your phone camera at any display and capture clear images of something on it – an error code, an app window, a graph, a drawing, or something you'd been working on before your PC froze due to a technical issue. If the capture includes text, you can even attempt to extract text from it.
