It's only a matter of time before most people want a new desktop background and changing your wallpaper is one of the first things you would typically do after installing a new operating system.
However, applying your own customizations to a copy of Windows 10 that hasn't been activated may not be so straightforward since Microsoft blocks access to the software's personalization settings without a valid product license.
While most of the operating system can be used for free without providing an activation key, not having access to the personalization menus can be annoying if you like having custom colors, sounds, start menu and task bar settings, or again, even just your own desktop background. Fortunately, applying a new wallpaper isn't impossible, despite some of the menu options being blocked.

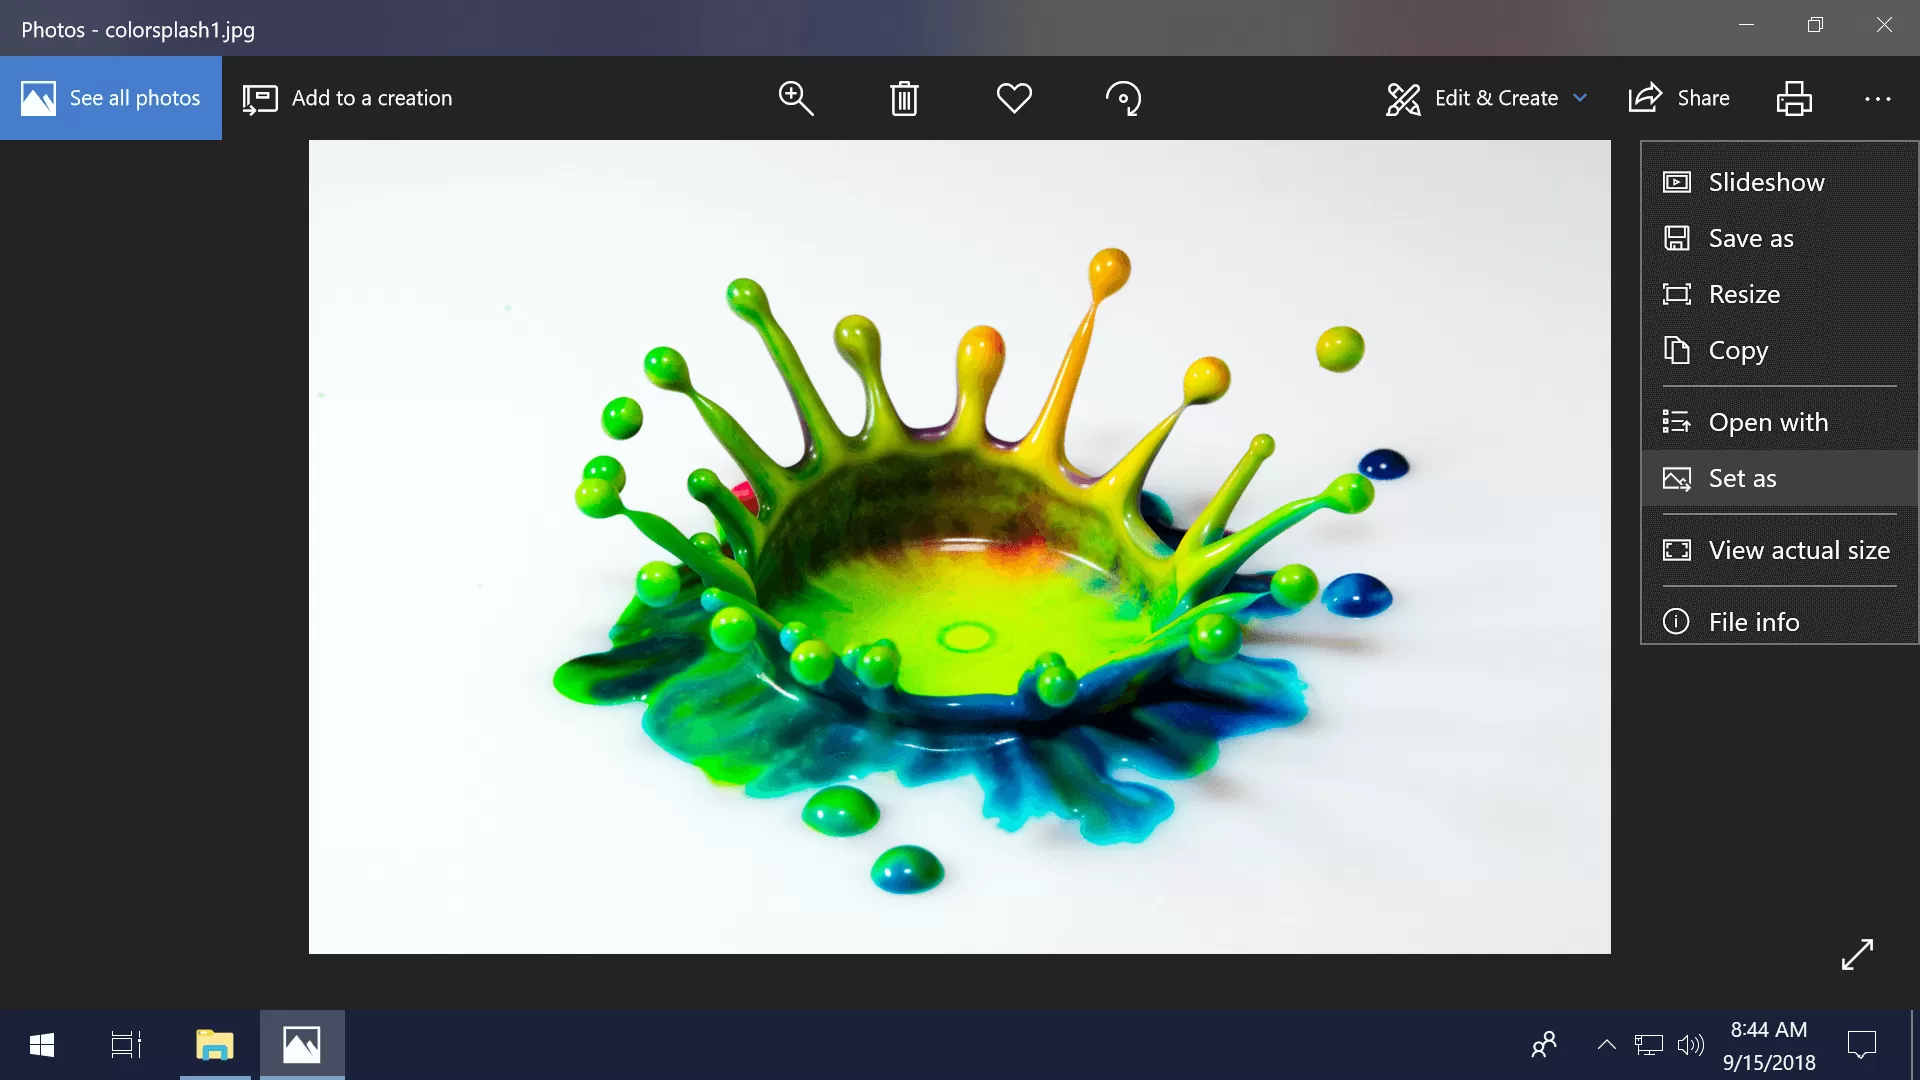
Right clicking on any image file around a non-activated installation of Windows 10 will still provide the option to "set as desktop background," and the same can be done by right clicking on pictures in a web browser, as well as the "..." menu in the Photos app.
Other settings such as custom sounds and colors can also be applied.

If you have a Microsoft account with theme settings synced to it from an activated copy of Windows 10, those should be applied to the non-activated copy as you log in for the first time.
Sync is enabled by default and includes "theme" settings (which includes wallpapers), but this feature may not simply transfer your wallpaper if that's the only thing you've customized on the account, and in our testing the theme settings that are synced may not be the most recent.
You can also download or create a themepack file (essentially a cab archive that contains a theme file and images) which can still be opened on Windows 10 non-activated. Launching the themepack will apply any settings in the theme file along with automatically rotating through the wallpapers inside the archive, which may be of interest considering wallpaper slideshows are otherwise disabled in the personalization menu.

There are some quirks with using themepacks on a non-activated Windows 10 installation of course, such as the inability to tweak one color without switching to a whole new themepack, and they change different settings so you might have to try many new packs to finally get black text again for instance.
You also can't apply the same themepack twice or choose it again from the menu after applying new themepack (renaming and reapplying the same themepack sometimes works). That said, you can create a custom themepack file from the GUI options of an activated copy of Windows by right clicking the theme in the personalization menu and choosing "save theme for sharing" to create a themepack file.
You can also manually modify an existing themepack or create a new one from scratch with this guide on theme file formatting from Microsoft.

Note that you can extract the contents of a .themepack file with Windows Explorer by changing the file extension to .cab, while the software Cabpack makes it easy to repack files into a new cab archive.
If you decide to activate your copy of Windows 10 so you aren't jumping through these extra hoops: Right click the Start button > System > Change product key or update your edition of Windows, where you will find a link to the Microsoft store which sells Windows 10 for $139.
The same page will also let you provide a product key purchased elsewhere, and it's worth noting that Windows 10 keys are often available for $10 or so on eBay, however your mileage will vary and those keys acquired on the cheap may only work for a few weeks if you're lucky.

And before you go, some wallpapers...
You can find some wallpapers in these Windows directories and TechSpot articles:
- 5 Days of Awesome Wallpapers
- Great Wallpaper Resources
- C:\Windows\Web\Wallpaper
- C:\Windows\Web\4K
- C:\Windows\Web\Screen
Bonus: Disable the activation watermark
You can disable the watermark that is displayed on the bottom right of the desktop on a non-activated copy of Windows 10 (the one that reads "Activate Windows - Go to settings to activate Windows"):

- Enter regedit into Start or Run to launch the Windows Registry Editor
- Navigate to HKEY_LOCAL_MACHINE\SOFTWARE\Microsoft\Windows NT\CurrentVersion\SoftwareProtectionPlatform\Activation
- In the right pane of "Activation," double-click on NotificationDisabled and change the DWORD value from 0 to 1
- Reboot your PC for the changes to take effect (logging out didn't work for us)