SteamOS is Valve's Linux-based operating system. It features a seamless user experience that's optimized for gaming, while retaining access to the power and flexibility of a PC.
SteamOS plays tens of thousands of games on Steam, and we are constantly testing the Steam catalog for SteamOS compatibility. It's an open Linux platform that leaves you in full control, and you can install new software or content as you wish.
Is SteamOS open source?
SteamOS is an Arch Linux-based Linux distribution, and all of the base operating system components are open source. SteamOS ships with the Steam client, which is proprietary software, in addition to some proprietary third party drivers.
Can you install SteamOS on any device?
SteamOS can be installed on some unsupported PCs and handhelds, but Valve currently expects most users to get it preinstalled on a Steam Deck or another device that is officially supported. Right now, that list is limited to the Steam Deck and Legion Go S, though Valve is working to broaden support. If you want to experiment installing SteamOS on your PC (AMD-based only recommended), we have a guide for that here.
Can SteamOS only play Steam games?
No, gamers can install other game launchers and software as they wish using the Linux-based OS. Go to desktop mode and go for it.
Features
SteamOS provides access to the full Steam ecosystem: your Steam Library, Steam Cloud, Steam Chat, Steam Game Recording, and more. The user interface is optimized for controller use, and offers features like quick suspend / resume to get you quickly in and out of games. Best of all, you don't have to worry about driver updates and hardware tweaks - all of this is handled seamlessly through built in system updates.
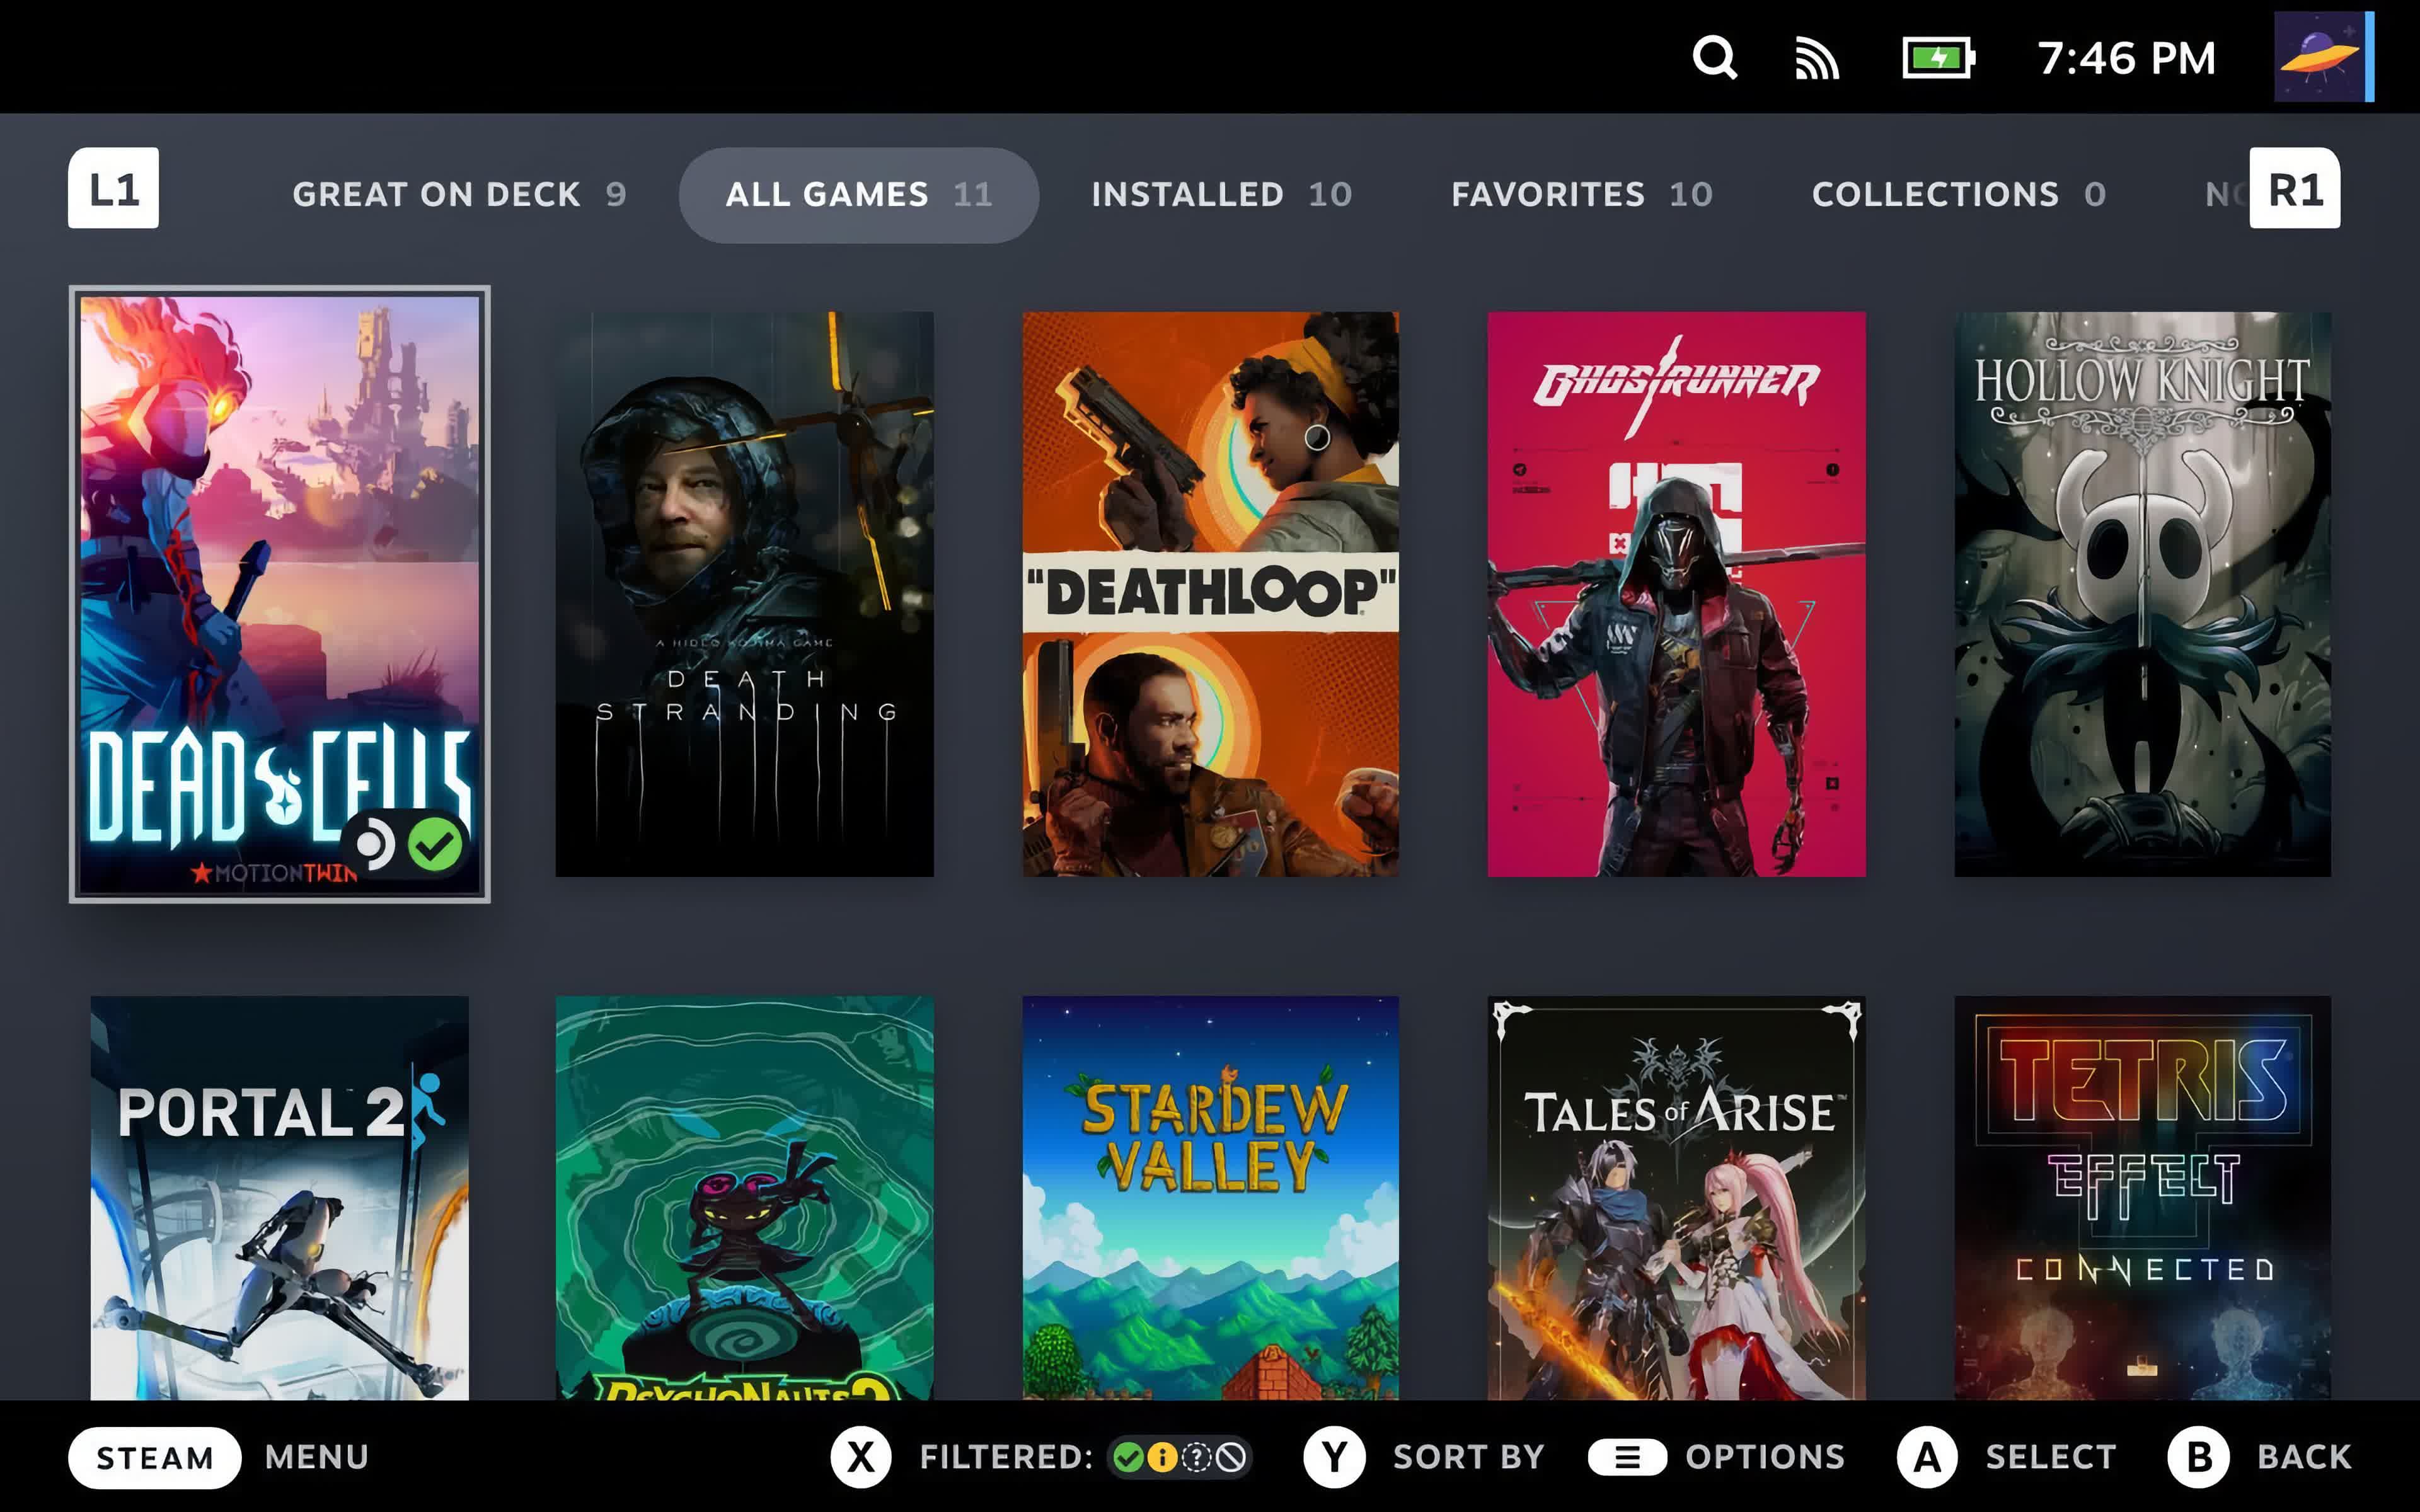
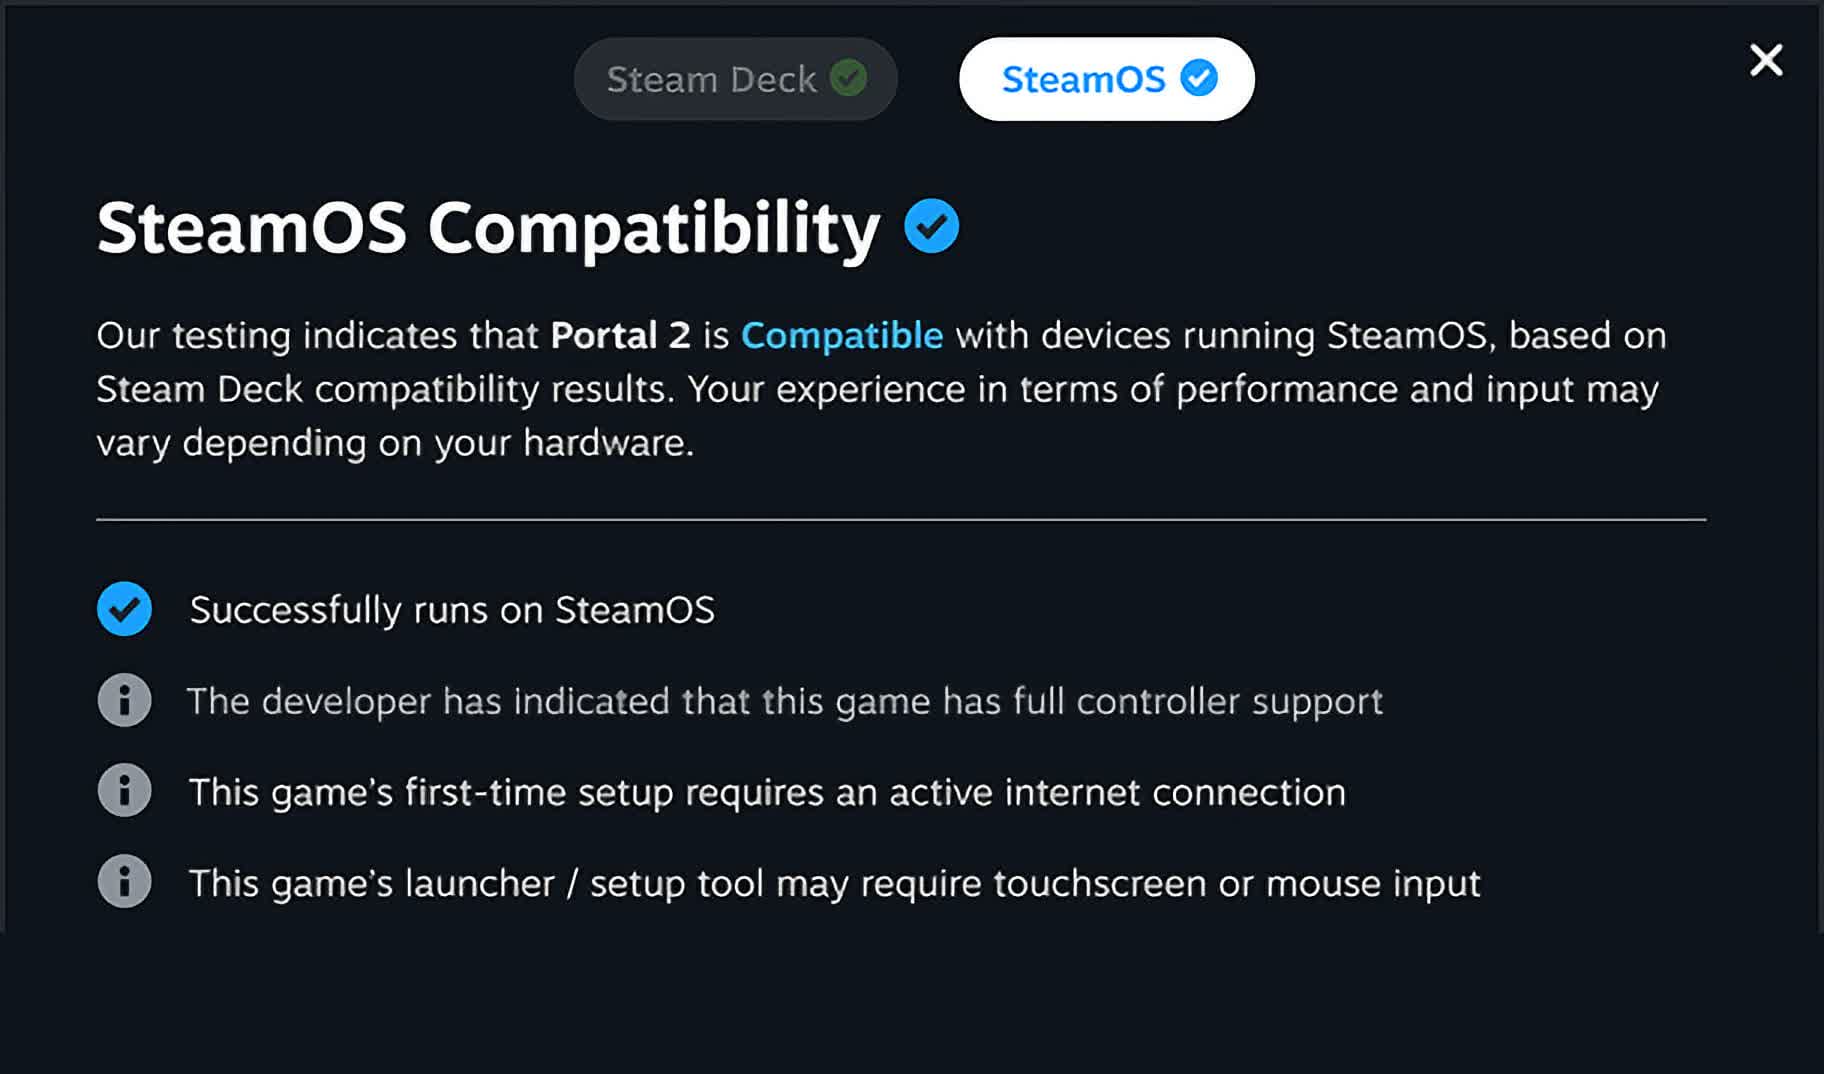
SteamOS is Linux-based, and the vast majority of the Steam library runs on SteamOS, thanks to the Proton compatibility layer Valve ships (over 18,000 titles last we checked). This allows developers to ship games for Windows without worrying about porting to Linux, and games will seamlessly work on SteamOS. When a game doesn't run well on SteamOS, we call it out with our Verified program so customers know what will and won't work well.
How to install SteamOS on a PC
SteamOS is no longer just for the Steam Deck, but installing it on a regular PC is still an experimental process. Valve's official support remains focused on its own hardware and approved SteamOS devices, so expect some trial and error depending on your motherboard, GPU, storage, and peripherals.
This guide is intended for AMD-based systems or compatible handheld PCs. Nvidia GPUs are not recommended for this setup. If you are using Nvidia hardware, Bazzite or Nobara will usually be a better option. Credit: This guide is based on a Reddit post by u/ProfessionHonest3193 on r/SteamOS, with additional notes and context for PC users.
Before you begin - a few important warnings:
- The installer will wipe the target drive. Back up anything important before continuing.
- Secure Boot must be disabled in your BIOS.
- Install SteamOS to an NVMe drive.
- Official dual-boot support is not available. Advanced users may be able to multi-boot from separate drives, but the cleanest method is to install SteamOS on its own drive.
- You will need a USB flash drive, keyboard, mouse, and an internet connection.
- Use a USB drive with at least 16GB of capacity.
What you need
- A compatible AMD PC or handheld
- An NVMe SSD dedicated to SteamOS
- A 16GB or larger USB flash drive
- The latest SteamOS recovery image
- A flashing tool such as Balena Etcher or Rufus
For most users, start with the SteamOS image provided on TechSpot's SteamOS download page. Users with newer AMD GPUs, especially RDNA 4 hardware, should make sure they are using a recent SteamOS 3.8 or newer recovery image, also available in the mirror list here, as older images may lack the Mesa driver updates needed for newer graphics cards.
Create the SteamOS installer
- Download the SteamOS recovery image.
- Insert your USB flash drive.
- Open Balena Etcher or Rufus, select the extracted SteamOS .img file.
- Choose your USB drive as the target and flash the image and wait for the process to finish.
The image may look small when downloaded, but it expands when written to the USB drive, which is why a 16GB flash drive is recommended.
Prepare your PC
- Shut down the PC.
- Enter the BIOS or UEFI setup. This is usually done by pressing Delete, F2, F10, F11, or F12 during startup, depending on the motherboard.
- Disable Secure Boot.
- Make sure the NVMe drive you want to use for SteamOS is installed. If possible, disconnect other internal drives to avoid wiping the wrong one.
- Save your BIOS changes.
- Boot from the SteamOS USB drive.
If the USB installer starts correctly, you should see Linux boot text before the system loads into a KDE desktop environment.
Install SteamOS
Once the SteamOS recovery environment loads:
- Select the option to wipe the drive and install SteamOS.
- Confirm that you want to erase the target drive.
- Wait for the installer to finish.
- When prompted, reboot the system.
- Remove the USB drive before the system restarts.
After rebooting, SteamOS should launch into its first-time setup flow. Connect to Wi-Fi or Ethernet, sign into Steam, and let the system apply any available updates.
After installation
Once SteamOS is installed, check for updates immediately.
Open Steam > Settings > System > Install any available SteamOS updates.
If you installed an older recovery image, updating is especially important because newer SteamOS builds include better support for recent AMD and Intel platforms, discrete GPUs, handheld controls, display rotation, VRR, HDR, and external displays.
Troubleshooting tips
- If the installer does not boot, recheck that Secure Boot is disabled and try another USB port. Some systems are picky about front-panel USB ports, hubs, or USB-C adapters.
- If SteamOS installs but does not boot, check your BIOS boot order and make sure the NVMe drive is selected. On some systems, recent SteamOS builds include fixes for UEFI chainloader issues, so using a newer recovery image can help.
- If you want to keep Windows, the safest approach is to install Windows and SteamOS on separate drives, with only the target drive connected during each OS installation. Then use your motherboard's boot menu to choose which drive to start from. This is not the same as officially supported dual-boot, but it avoids some of the partitioning risks.
How to install SteamOS on Steam Deck
The following instructions are for how to recover, repair, or re-image your Steam Deck or other SteamOS device using the SteamOS image. This method will clear all data on the device and then install SteamOS.
- Download the recovery image on this page.
- Prepare a USB key (8GB minimum) with the recovery image:
- On Windows we recommend using the Rufus utility. Select the recovery file and write it to your USB drive (this will format the contents of your USB drive). When it's done, select 'Close' and eject the drive.
- On MacOS you can use Balena Etcher to write the recovery file to your USB drive.
- On Linux you can also use Balena Etcher to write the recovery file to your USB drive – or if you prefer you can do this directly from the command line:
bzcat steamdeck-recovery-4.img.bz2 | sudo dd if=/dev/stdin of=/dev/sdX oflag=sync status=progress bs=128M(set /dev/sdX to the USB device you inserted)
- Shut down your Steam Deck or other SteamOS device if it isn't already off. On a Steam Deck, hold 'Volume Up' and click the Power Button – when you hear the chime, let go of the Volume Up button, and you'll be booted into the Boot Menu. Use the dpad and A button to select the Boot Manager. On other SteamOS devices, follow the instructions for your specific device to get to the Boot menu.
- Use a USB-C adapter or hub to plug the boot disk in.
- In the Boot Manager, boot from the 'EFI USB Device' (your USB key).
- The screen will go dark while it's booting – give it a minute.
- Once booted you will be in a desktop environment, you can navigate using trackpad and trigger, touchscreen, or mouse.
Recovery options via Image
In the recovery environment, there are four different options to choose from.
- Re-image Device - This performs a full factory reset - all user info, installed games, applications, or operating systems will be wiped and replaced with stock SteamOS.
- Repair SteamOS - This will reinstall SteamOS on the Steam Deck or other device, while attempting to preserve your games and personal content.
- Recovery tools - This opens a prompt with the ability to make changes to the device's boot partition.
Legion Go / Legion Go S (Windows) - Secure Boot Settings
- Power down completely
- Hold volume + button, press power button – keep holding volume button
- In the 'Novo Button Menu' pick bios setup (may have to use touch screen)
- Tap More settings
- Tap Security
- Under Secure boot > pick disabled
- Tap Exit
- Tap Exit saving changes
- Follow instructions to install SteamOS on your device
ROG Ally - Secure Boot Settings
- While powered on, hit restart
- Once restarting, hold down volume + button to get to bios utility
- Hit 'Y' for advanced mode
- Hit dpad-right to the security tab
- Dpad down to secure boot, A to select
- Secure Boot Control to 'disabled'
- B to go back
- Right arrow to save and exit
- Follow instructions to install SteamOS on your device
What's New
SteamOS 3.8.25 Beta Release Notes:
Known Issues - Beta
- There is a known issue with degraded performance in some cases when composition is required (such as when having FSR enabled).
- This issue is fixed in the latest SteamOS stable release (3.8.16). Affected users may wish to switch to the stable update channel while we work on bringing this fix to the beta channel.
General
- Added support for waking up from the Steam Controller Wireless Adapter (2015)
- Improved battery indications when the device is charging in but using more power than the charger can provide
- Preliminary support for the Steam Frame Wireless Adapter
- Added support for Steam Controller (2026) to the built-in hid_steam controller driver, enabling use with native controller applications when Steam is not running
- Fixed an issue where hotplugging HDMI displays could cause lockups in Desktop Mode
- Fixed an issue where TVs supporting an HDMI "Game Mode" would display the initial boot logo before engaging said mode, causing unnecessary delay and flashing
- Fixed some cases of slow or stuck Wi-Fi connections with certain adapters
- Fixed an issue causing previous SteamOS updates to fail to apply for some users
Security and stability fixes
- Steam Machine Firmware 108
- Fixed an issue where the system could occasionally wake up immediately after going to sleep
- Fixed a rare issue where CPU performance could be degraded until reboot after waking up from sleep
Audio
- Fix for HDMI audio dropouts with some game and TV combinations
- Improve reliability of HDMI hotplug detection
- Add option to prefer lower latency audio codecs for Bluetooth devices
Non-Valve Devices
- Improve support for MSI Claw and OneXPlayer device variants
- Improve support for devices with external or no Wi-Fi adapters
- Fixed an infrequent bug where some 3rd party handhelds would have input ignored when held
- Added initial gamepad support for MSI Claw 8 EX AI+
- Added initial gamepad support for Konkr FIT
- Added initial gamepad support for AYANEO Pocket S2
- Updated gamepad support for OneXPlayer Apex with new firmware
Developer
- Updated the Linux kernel to 6.18.42
SteamOS 3.8.14 Stable Release Notes:
We have just shipped an updated Steam Client update to the Stable channel.
Downloads
- Fix bug negatively affecting the efficiency of the Steam content delivery system.
General
- Improved notification settings layout in some languages
- Restored the full set of options to the 'Maximum Game Resolution' dropdown. They can be found under the 'More Options' sub-menu.
- Fixed a case where the 'Patch Notes' preview box in Settings->System would incorrectly show an event for the wrong channel. E.g. showing Beta Channel notes when the client is opted in to the Stable Channel.
- Fixed a crash when manually starting a game recording.
- Fixed mouse cursor changing to resize cursor at screen edges.
- Fixed a case where the controller pairing screen could pop up during controller firmware updates.
Desktop Mode
- Fixed incorrect UI scale being used when in Big Picture Mode.
Steam Machine
- Show Steam Machine Verified information on the game capsules in home, and on the game details screen.
- Added 'Great on Machine' section to the Library
Steam Workshop
- Re-worked system that managed what subscribed items needed to be updated.
Remote Play
- Added 59.94 FPS as an available framerate limit
- Reduced frame drops when the framerate limit is set to automatic
- Fixed offline devices showing as streamable when they aren't.
- Fixed overloading the client video decoder when unlimited bandwidth is enabled
- Fixed mouse coordinates for input-only streaming
- Fixed very low refresh rate on some systems, introduced in the last beta
Steam Input
- Steam Controller: The Gyro Calibration Threshold has been set to 50% of the previous value so that it is less likely to trigger while in hand.
- Steam Controller: Gyro Calibration threshold is now available in Steam->Settings->Controller->Details->Calibration & Advanced (Open)->Gyro Calibration.
- Steam Controller: You can choose to disable hardware calibration and rely on the standard Steam Input Gyro Calibration tools instead, by using the "Enable Software Calibration for Steam Controller" toggle.
- Steam Controller: Fixed Gyro stutter due to IMU timestamp being ignored.
- Added support for both the wired and wireless versions of the PDP Afterglow Wave Controller for Nintendo Switch.
- Added support for Turtle Beach controllers for Nintendo Switch 2.
Steam Controller Firmware
- Fixed occasional repeated trackpad samples that caused issues with momentum during trackball mode.
- Fixed an issue with unintentionally waking host devices while shutting down the controller.
- Fixed an issue with occasional repeated button presses on the B Button.