If you're switching from Photoshop to GIMP and want to feel at home right away, PhotoGIMP is for you.
Features
- Photoshop-like tool layout - Tools are reorganized to mimic the positions you're used to in Adobe Photoshop.
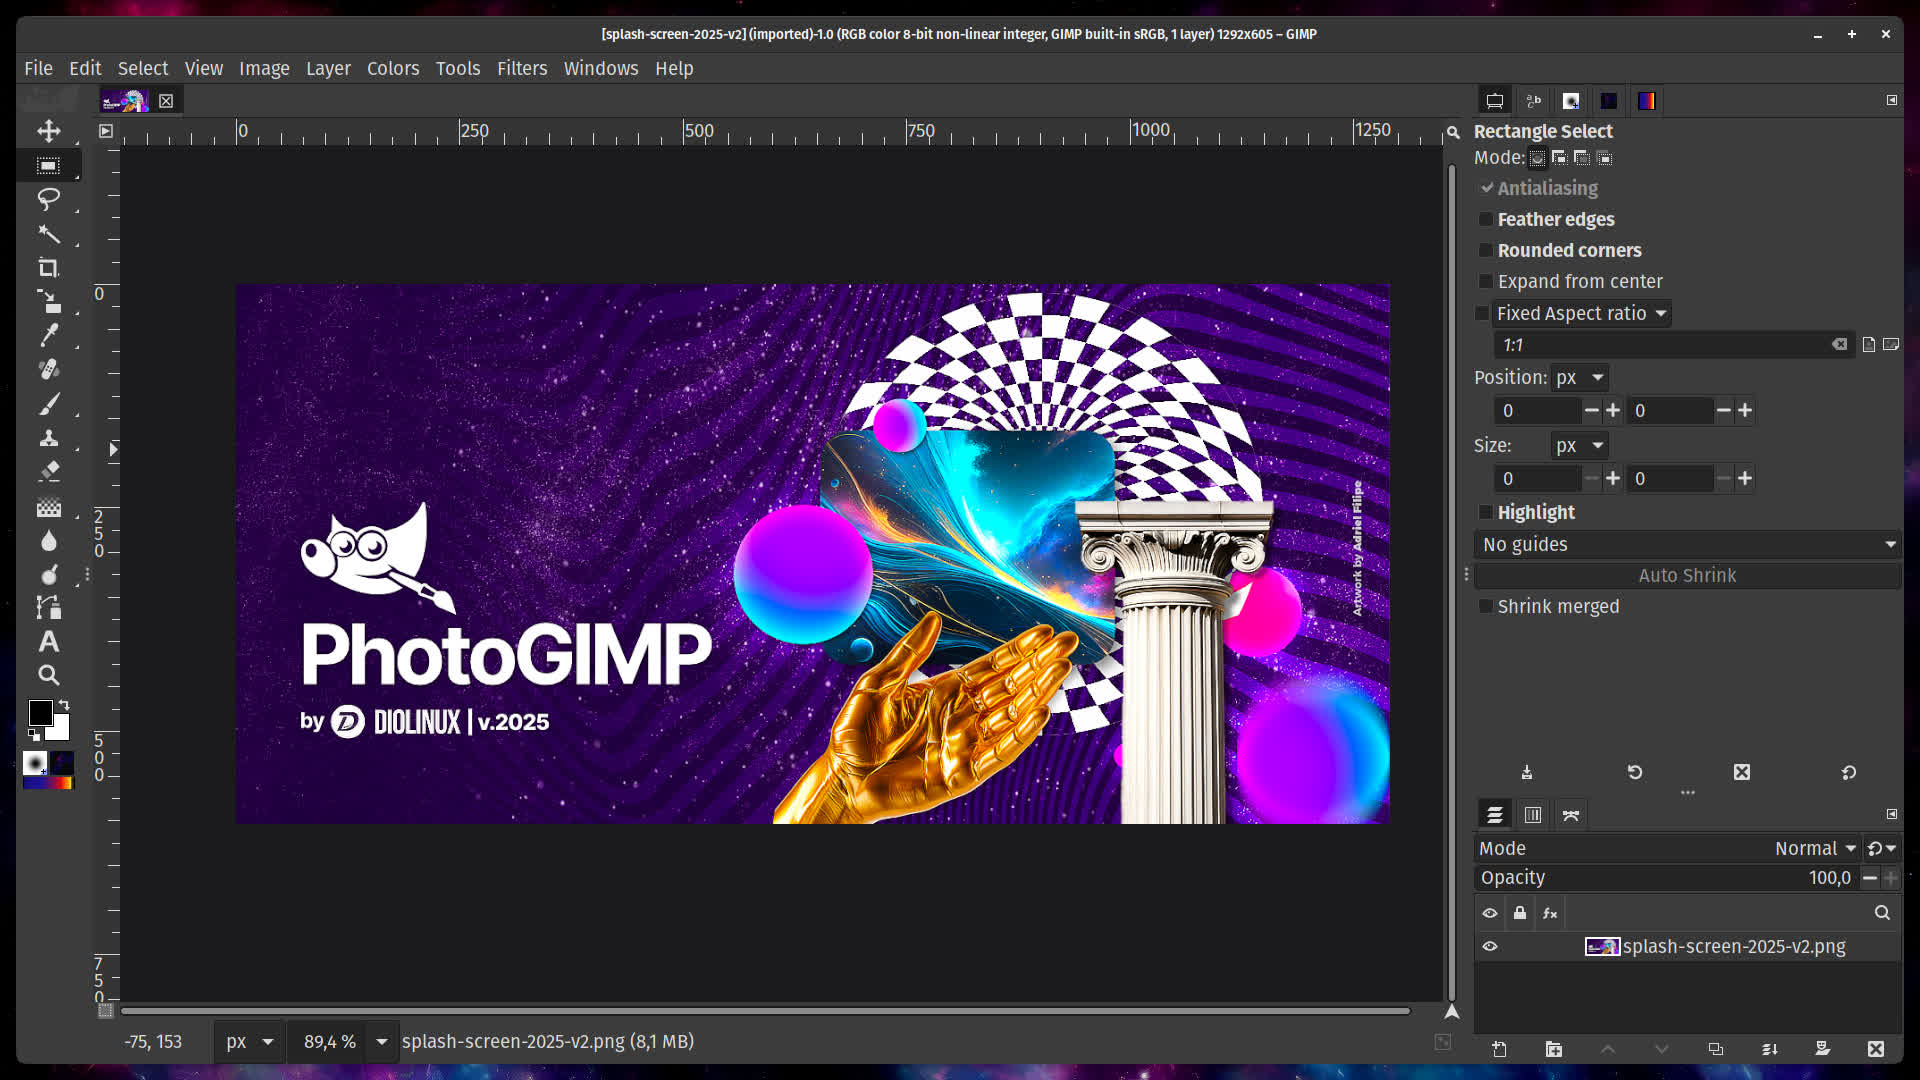
- Custom Splash Screen - A unique PhotoGIMP splash screen greets you on startup.
- Maximized canvas space - Default settings are optimized to give you the largest possible working area.
- Photoshop keyboard shortcuts - Keyboard shortcuts follow Adobe's official documentation for the Windows version.
- Custom icon & name - A dedicated .desktop file gives PhotoGIMP its own icon and app name in your system menu.
Before installing PhotoGIMP, make sure you have:
- GIMP 3.0 or newer
- Run GIMP at least once. GIMP needs to generate its config files before PhotoGIMP can overwrite them. Install GIMP → open it → close it → then install PhotoGIMP.
Install on Windows:
- Make sure you have GIMP installed.
- Open GIMP once, then close it – this creates the config folders that PhotoGIMP needs.
- Download the latest PhotoGIMP for Windows (.zip)
- Extract the contents of PhotoGIMP.zip to any folder (e.g., your Desktop).
- Open the extracted folder and copy the 3.0 folder.
- Press Windows + R to open the Run dialog.
- Type %APPDATA%\GIMP and press Enter – this opens GIMP's settings folder.
- Paste the 3.0 folder here.
- When prompted about existing files, select "Replace the files in the destination".
- Open GIMP – you should see the new PhotoGIMP layout!
Install on macOS:
- Make sure you have GIMP installed.
- Open GIMP once, then close it – this creates the config folders that PhotoGIMP needs.
- Download the latest PhotoGIMP for macOS (.zip)
- Extract the contents of PhotoGIMP.zip to any folder (e.g., your Desktop).
- Open the extracted folder and copy the 3.0 folder.
- Open Finder, press Cmd + Shift + G to open "Go to Folder".
- Type ~/Library/Application Support/GIMP and press Enter.
- If you see a 2.10 folder from a previous installation, delete it to avoid conflicts.
- Paste the 3.0 folder inside the GIMP folder.
- When prompted about existing files, select "Replace" or "Merge".
- Open GIMP – you should see the new PhotoGIMP layout!
What's New
A patch for optimizing GIMP 3.0+ for Adobe Photoshop users, including features like:
- Tool organization to mimic the position of Adobe Photoshop;
- New Splash Screen
- New default settings to maximize space on the canvas;
- Shortcuts similar to the ones in Photoshop for Windows, following Adobe's Documentation;
- New icon and Name from custom .desktop file.
- System Language is now used by default, you can still change in settings if you want.
What's Changed
- Create README_pt.md by @henriquesebastiao in #76
- Rename README-PL.md to README_pl.md by @emsspree in #79
- Added debugging steps to installation process for Flatpak by @BenDundon in #85
- (PL Version) Improved Grammar & Add Fork Commits by @Klubuntu in #90
- update readme install file and added osx screenshot by @MatthijsKamstra in #87
- Update gimp-scale-tool by @NguyeQuanHuy in #89
- Additional information for Windows by @ravenastar-js in #92
- add contributors in README.md in #94
- Add Image & Canvas size keyboard shortcuts by @getsnoopy in #109
- Remove obsolete GIMP configuration files and plugins by @gabrielalmir in #123